Rack Mounting Instructions 65
6.
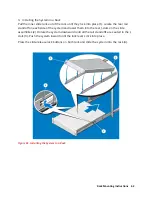
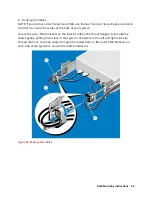
Routing the Cables
NOTE: If you did not order the optional CMA, use the two hook and loop straps provided in
the rail kit to route the cables at the back of your system.
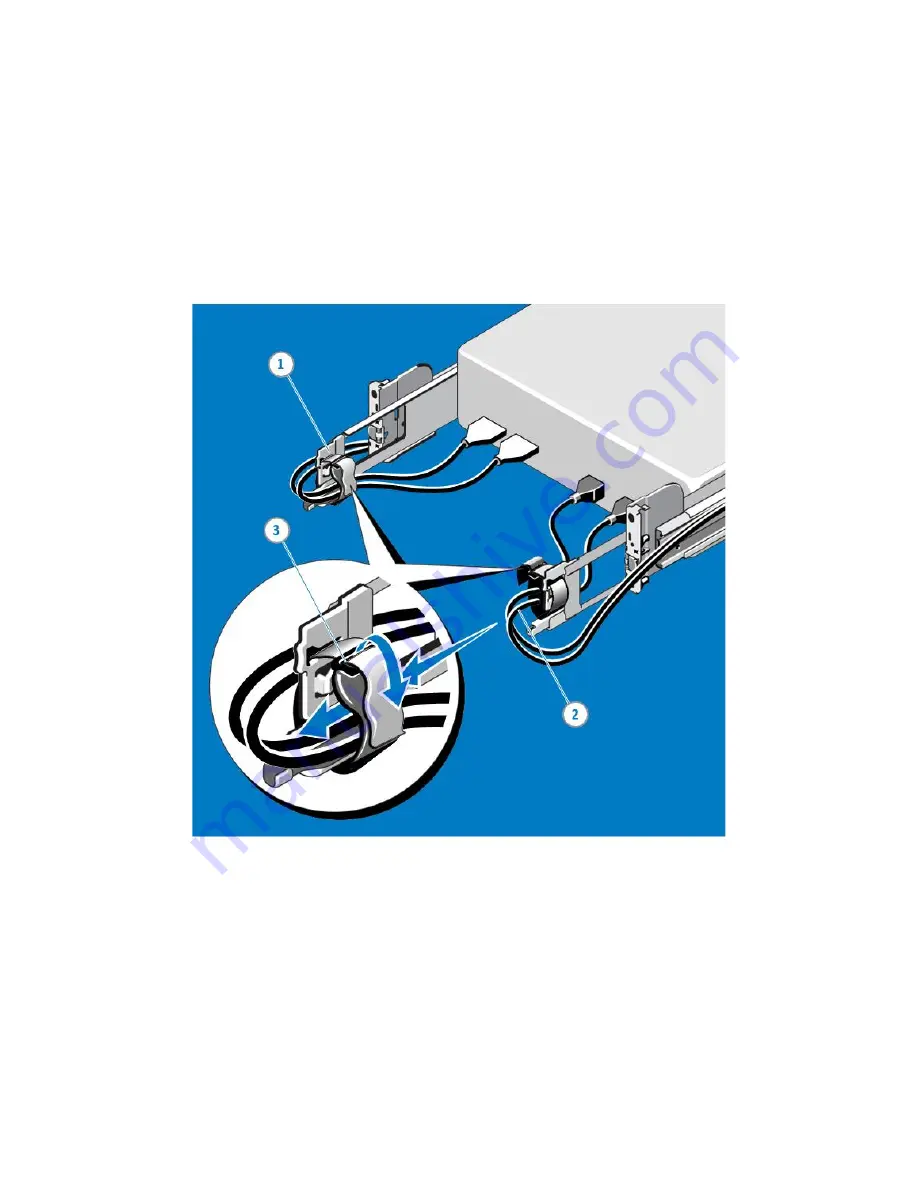
Locate the outer CMA brackets on the interior sides of both rack flanges (1). Bundle the
cables gently, pulling them clear of the system connectors to the left and right sides (2).
Thread the hook and loop straps through the tooled slots on the outer CMA brackets on
each side of the system to secure the cable bundles (3).
Figure 58. Routing the Cables
Summary of Contents for A8
Page 1: ...rcgs20200916 2020 2020 2020 2020 2020 2020 2020 2020 2020 ...
Page 27: ...V12 Overview 26 Figure 21 Service Information with System Touch Points ...
Page 75: ...RAID Storage 74 Select Virtual Disk Management Figure 63 PERC Adapter Server Profile View ...
Page 81: ...RAID Storage 80 Select Create Virtual Disk Figure 69 Create Virtual Disk ...
Page 82: ...RAID Storage 81 Select RAID level Figure 70 Select RAID Type ...
Page 83: ...RAID Storage 82 Select Physical Disks Figure 71 Select Physical Disks ...
Page 85: ...RAID Storage 84 Scroll up and Click Apply Changes Figure 73 Apply Changes ...
Page 86: ...RAID Storage 85 Select OK Figure 74 Confirm Completion ...
Page 89: ...RAID Storage 88 Confirm and Click Yes Figure 77 Confirm Operation ...
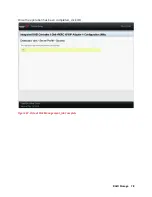
Page 96: ...RAID Storage 95 Verify all settings and if correct click Finish Figure 84 Complete the Wizard ...

