background image

6

Need Help? 

Visit our web site for replacement parts, product support, a list of authorized service centers in the US and customer service contact information 

at 

www.razor.com

. Please have the product I.D. code (located on the white label of your product) available for better assistance. Additional Customer Service 

contact information is listed at the back of this manual.

REPAIR AND MAINTENANCE

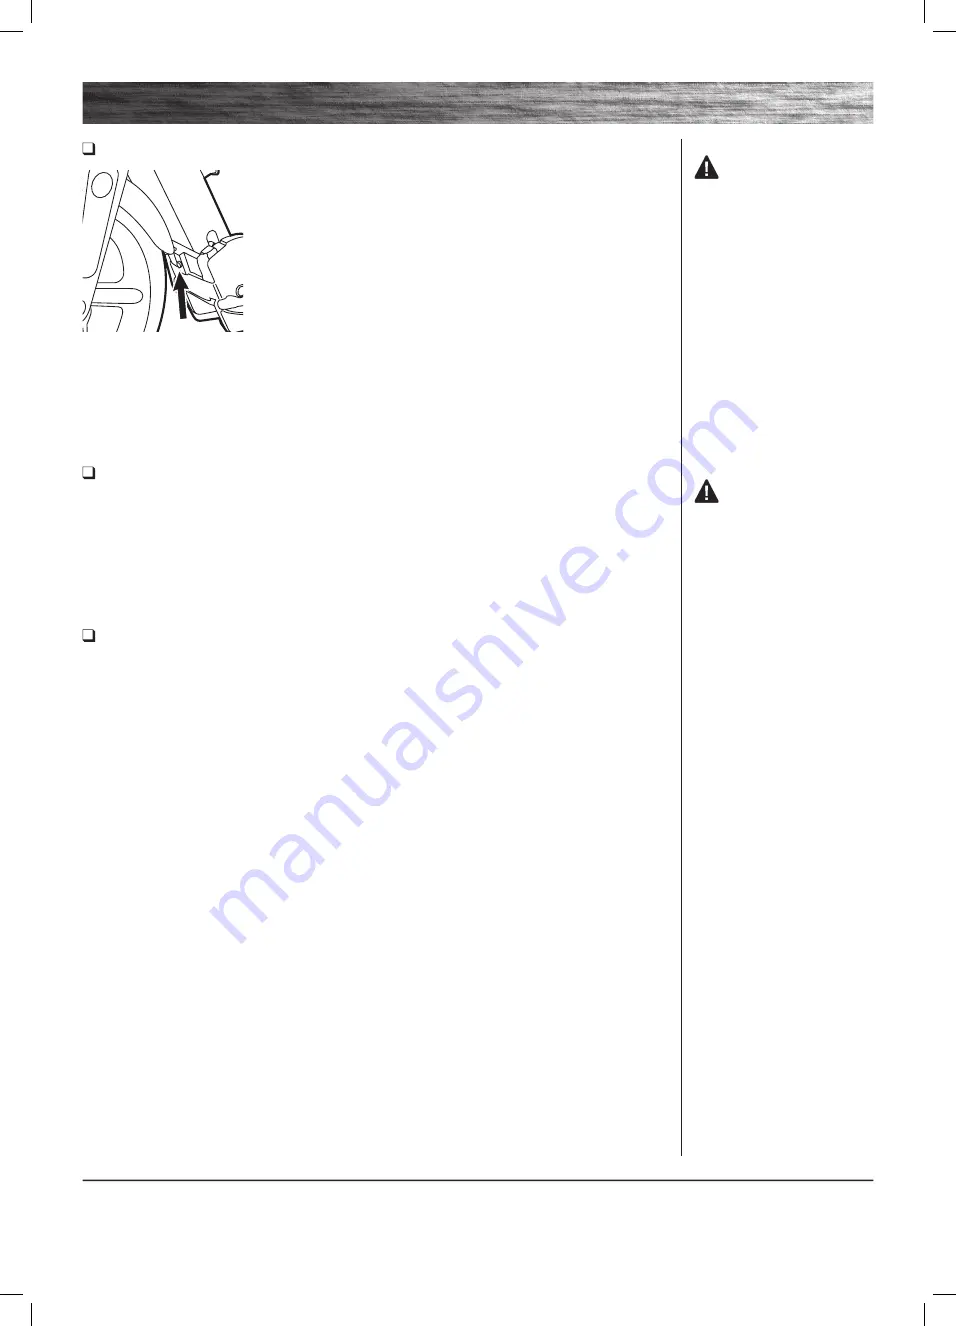
Using a 3 mm Allen wrench and with the scooter in the upright and locked position, adjust the set screw at the 

baseboard until there is no free-play between the baseboard and the steering column. Be careful not to over-tighten 

this screw as it need only be snug against the steering column. Verify the adjustment by releasing the steering column 

from the locked position and folding the scooter. The joint lever should not bind and the folding movement should be 

smooth. The spring-loaded mechanism should automatically lock and be fully seated in the upright position.

 Baseboard/Steering Column Adjusting Screw(s)

 Wheels and Bearings

Under normal circumstances and conditions, Razor wheels and wheel bearings are maintenance free. Nonetheless, it 

is the responsibility of the owner or guardian to periodically inspect the wheels for wear and tear, the axle for proper 

tightness, and bearings for side-to-side play, and loose parts. When a wheel or wheel bearing develops play, this is an 

indication of excess wear and replacement is necessary. Replace immediately with only genuine Razor wheels. Worn 

wheels/bearings are considered normal wear-and-tear and are not covered by the Razor Warranty. Wheels other than 

genuine Razor wheels may not be compatible with your Razor scooter. The use of anything other than genuine Razor 

replacement parts may affect your safety and will void your warranty.

 Cleaning Your Scooter

Wipe with a damp cloth to remove dirt and dust. Do not use industrial cleaners or solvents as they may damage the 

surfaces. Do not use alcohol, alcohol-based or ammonia-based cleaners as they may damage or dissolve the plastic 

components or soften the decals or decal adhesive.

WARNING: 

Wheelies 

and other stunt-type riding reduces 

your ability to maneuver and control 

your scooter. Take the necessary 

precautions, such as wearing 

appropriate protective gear and 

practice in a area safe for stunt 

riding and free from obstructions.

WARNING:  

Keep fingers clear of the pivoting 

mechanism when folding or 

unfolding the scooter.

Summary of Contents for A 5 Lux

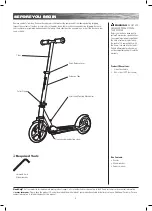
Page 1: ...ORE NOTE Manual illustrations are for demonstration purposes only Illustrations may not reflect exact appearance of actual product Specifications subject to change without notice Please have your 22 character product I D code ready before contacting Razor for warranty assistance and or replacement parts Product I D Code _____________ ____________ ____________ ...

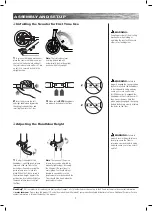
Page 2: ...ICES AND CONDITIONS Direct parental supervision is required Scooters are meant to be used only in controlled environments free of potential traffic hazards and not on public streets Do not allow your child to ride a scooter in any areas where vehicle traffic is present Child must maintain a hold on the handlebars at all times Never allow more than one child at a time to ride a scooter Never use ne...

Page 3: ...ccurred during shipping Because your scooter was assembled and packed at the factory there should not be any problems even if the box has a few scars or dents WARNING DO NOT USE NON RAZOR PRODUCTS WITH YOUR SCOOTER Razor scooters have been built to certain Razor design specifications The original equipment supplied at the time of sale was selected on the basis of its compatibility with the frame f...

Page 4: ...he Allen bolt Be careful not to over tighten You should always be able to open and close the quick release lever by hand and the T bar should slide freely when the quick release is open 1 To adjust the height of the handlebars open the quick release lever and slide the T bar to the desired position and resecure the quick release lever to lock into place When the T bar is raised to the maximum heig...

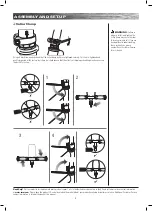
Page 5: ...listed at the back of this manual ASSEMBLY AND SET UP Collar Clamp Using a 5 mm Allen wrench check that the collar clamp bolt s are tightened securely This item is tightened and quality inspected at the factory but there is a slight chance that the effects of shipping or handling may have caused the bolt s to loosen WARNING Failure to properly install and tighten the collar clamp may cause the rid...

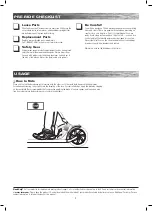
Page 6: ...and secure all fasteners before every ride Make sure the collar clamp quick release lever and handlebar spring buttons are locked properly in place before riding Replacement Parts Replace worn or broken parts immediately Call 1 866 467 2967 for parts or visit www razor com Safety Gear Always wear proper protective equipment such as an approved safety helmet elbow pads and kneepads Always wear shoe...

Page 7: ...enance free Nonetheless it is the responsibility of the owner or guardian to periodically inspect the wheels for wear and tear the axle for proper tightness and bearings for side to side play and loose parts When a wheel or wheel bearing develops play this is an indication of excess wear and replacement is necessary Replace immediately with only genuine Razor wheels Worn wheels bearings are consid...

Page 8: ... design are among the registered trademarks of Razor USA LLC in the United States and or select foreign countries US_140520 CUSTOMER SERVICE CONTACT INFORMATION UNITED STATES Razor USA LLC P O Box 3610 Cerritos CA 90703 USA 1 866 467 2967 Monday Friday 8 00 AM 5 00 PM Pacific Time DISTRIBUTED IN THE UK BY Re creation Limited 2 Meadows Business Park Station Approach Blackwater Camberley Surrey GU17...

Reviews: