9
other display terminals with a one-touch switch .
6.1.2 VGA connection
Connect the VGA input to the computer, and connect the VGA output to the projector, computer monitor
and other equipment. You can switch the screen of the computer interface and the interactive display
instrument interface on the display terminal by a one-key switch key.
☆
Can choose HDMI connection or VGA connection according to need, VGA and HDMI can work at
the same time.
6.2 Power on the device
Connect the adapter that comes with the product to a 220V power supply and plug it into the power jack
of the interactive display. During power up, the power indicator turns green.
6.3 Starting the device
Press the power switch of the device (2s-3s), wait for the screen display of the interactive display
instrument to display the startup logo, and release the power button; when the screen display shows the
real-time display interface, the startup is completed.
6.4 Configure the network
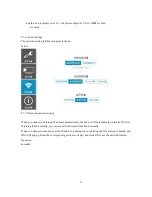
To configure the network environment for the interactive display, click the real-time booth
→
HOME
button on the menu bar
→
System Settings
→
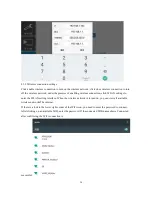
Network Settings (Configure the connection to the wired
network. When the wired connection setting interface displays the wired IP address, the configuration is
successful; configure the wireless network and set in the WLAN settings WIFI connected to the router.
When the wireless connection configuration interface displays the IP address, the configuration is
successful. For detailed operation instructions, please click
☛
Network Settings.
6.5 Function Introduction
6.5.1 One-touch screen switching
Support one-button switching of interactive display and HDMI / VGA input and output screens.
6.5.2 LED Light Switch
Turning on the LED light can enhance the front light of the subject, enhance the use of light environment,
and increase the sharpness of the subject in low or no light environment.
Press the LED light switch once: turn on the LED light;
Press the LED light switch again: turn off the LED light.
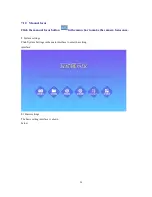
6.5.3 Live Demo
It can quickly show the teacher's operation or experiment process and can annotate the real-time screen.
Summary of Contents for PT800
Page 1: ...1 Visualizer Users Manual ...
Page 4: ...4 3 Appearance Description Front View Rear View ...
Page 5: ...5 TOP VIEW LEFT VIEW ...
Page 6: ...6 BOTTOM VIEW ...
Page 7: ...7 4 Remote control ...


