RBR#0008818revB
16
1.
2.
3.
4.
5.
6.
7.
1.
2.
3.
4.
5.
6.
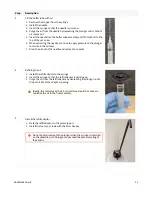
Replacing the O-ring
Use the plastic O-ring removal tool (included in the support kit) to remove the old O-ring from its groove. The O-
ring may need to stretch quite a bit as it is pushed off. This requires some effort, but can be done by hand.
Clean the groove thoroughly with a soft, lint-free cloth and compressed air, if necessary.
Select a new O-ring and inspect it for damage.
Lubricate with a very light film of silicone compound (included in the support kit).
Install the new O-ring by pushing it into place and popping it into its groove.
Once in place, inspect it once more for scratches and debris, and wipe away any silicone compound deposited
on the end-cap.
Once the inspection is complete, close the instrument.
RBR
quartz
3
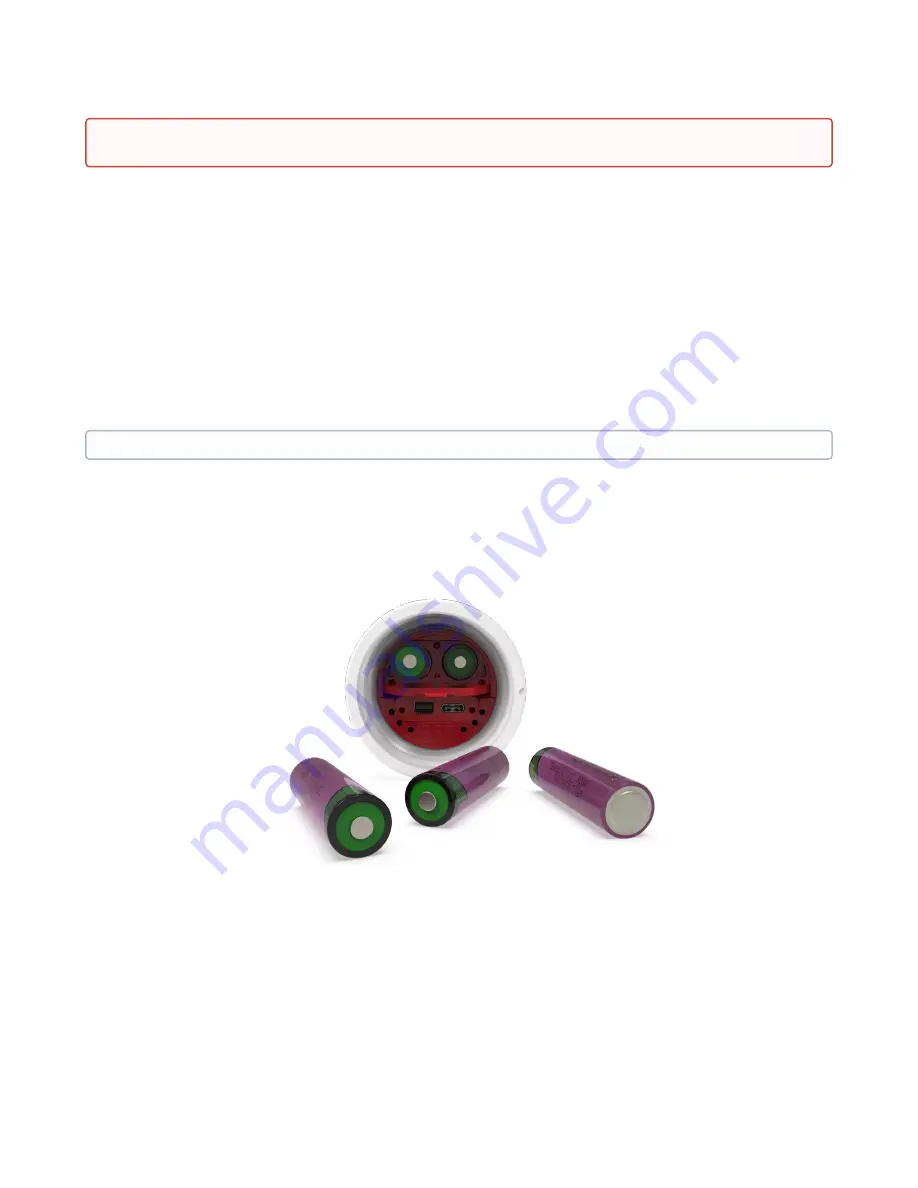
Q with batteries removed
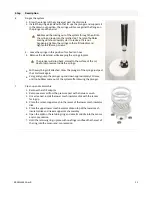
Replacing the batteries
Remove the battery end-cap.
Using both thumbs, press down on the "+" symbols on the battery cover and slide in the direction of the arrow.
Remove the eight old batteries from the battery carriage.
Insert eight new batteries.
Check for correct battery polarity.
Put the end-cap back on the logger and twist clockwise until aligned with
PAUSE
.
Do not use metal screwdrivers or any other metal tool! They may scratch the O-ring groove and render the
end-cap useless.
4.3 Replacing batteries
Refer to
Opening and closing the instrument
for details on accessing the batteries.
RBR ships new instruments with lithium thionyl chloride batteries included. Replace the batteries before each
deployment to maximise the operational time and prevent data loss.
tracking power consumption in mAh.
Ruskin User Guide: Standard Loggers
for more information on predicting
battery life.


