HT Druck Pressure Sensor Calibration
The TGR-1050HT and TWR-2050HT both use an atmospheric compensated Druck
pressure sensor that can be calibrated by the end user using a two-point calibration
method. Please note that this procedure is only for HT units, and does not apply to the
pressure sensor used in the single and multi-channel data logger instruments.
Steps
1. Program the datalogger to sample using a 10 second sampling interval. Use Sync to
PC to ensure the logger clock is synchronized to the PC clock, and ensure the end time
is set so that the logger will keep sampling until calibration is complete.
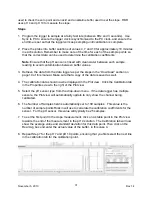
2. Hold the depth sensor out of the water for a period of approximately 5 minutes. This will
be the zero depth point for the calibration.
3. Immerse the depth sensor to a known depth for 5 minutes. This set of readings will be
the “at-depth” value.
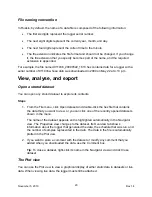
4. Retrieve the data from the data logger as per the steps in the “Download” section on
page 19 of this manual. Make sure that a copy of the data is saved as well.
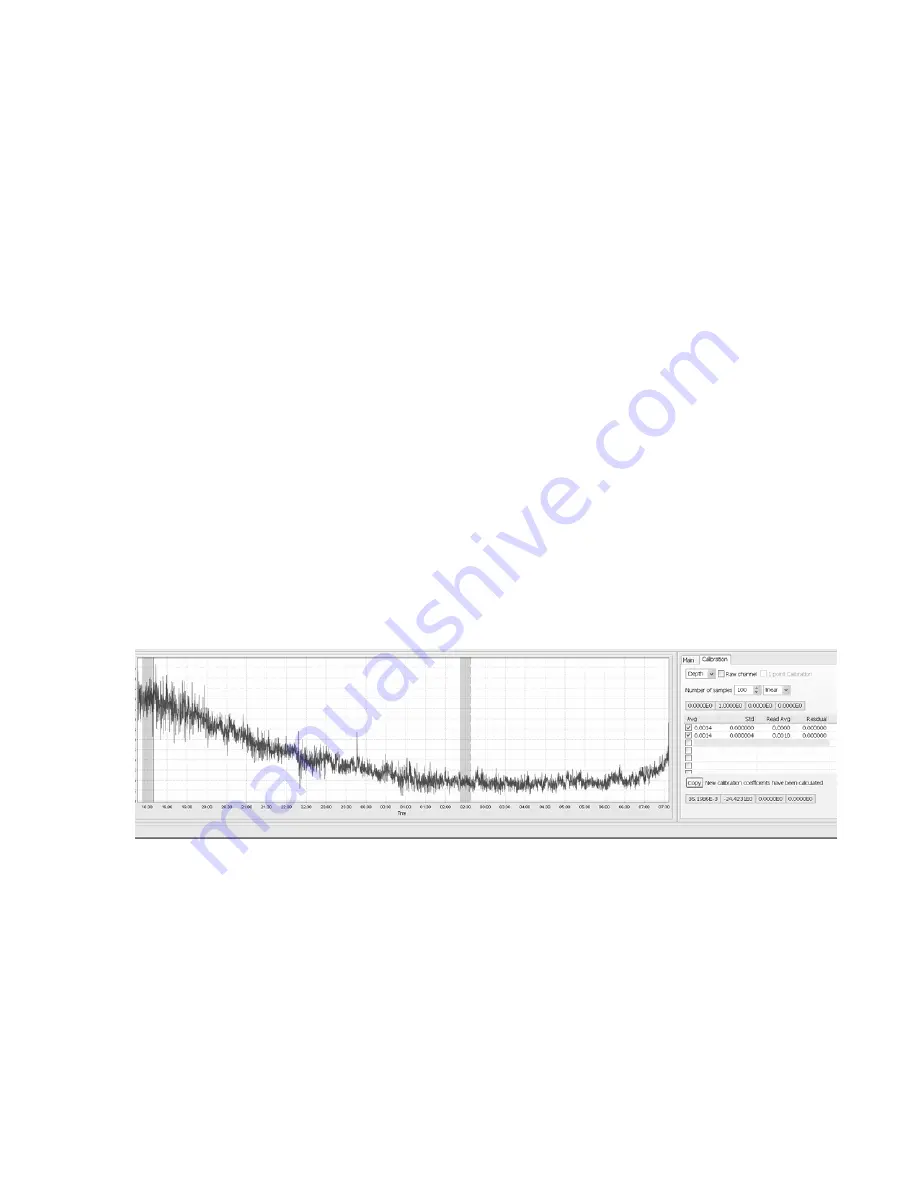
5. The calibration data should now be displayed in the Plot view. Click the Calibration tab
in the Properties view to the right of the Plot view.
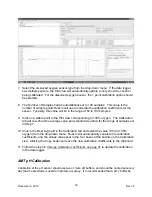
6. Select the Depth sensor type from the drop-down menu.
6.
7. The Number of Samples field is automatically set to 100 samples. This value is the
number of sample points Ruskin will use to calculate the calibration coefficients for the
sensor. For the depth sensor, this value should be set to 20 to 25 samples.
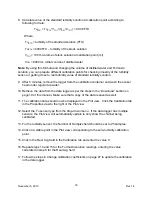
8. To set the first point for the two-point calibration, click on a stable point in the Plot view
corresponding to your zero depth point from step 2.. The Calibration tab will now show
the average value and standard deviation for this data point. Then click on the Real Avg
box and enter the value 0.
9. Repeat step 8 for your “at-depth” value, entering the known depth range into the Real
Avg box.
November 5, 2010
Rev1.4
34

