background image

10

11

EN

EN

Troubleshooting Tips

Solution

• Check power cord for a secure 
connection.
• Unplug the unit for a moment, and
then plug into power source again.
• Check the outlet by plugging in
another device.

• Increase the volume setting.
• Check connection to speakers.
• Check that you have selected the
appropriate function: CD, TAPE, Tuner.
• Make sure mute is off.
• Make sure headphones are not
plugged in.

• Check antenna connection.
• Move antenna.
• Turn off nearby electrical  appliances,
such as hair dryer, vacuum cleaner,
microwave, fluorescent lights.

• Check that CD is in the tray.
• Check that CD label is facing up.
• Check that PAUSE mode is not on.
• Check that CD function is selected.
• Use CD lens cleaner.
• Clean the disc.
• Try another CD.

• Clean the disc.
• Check disc for warping, scratches, or
other damage.
• Check if something is causing the 
system to  vibrate. If so, move the 
system.
• Make sure the speakers are at least 3
feet away or on a different surface
from the main unit.

Problem

System will
not turn on

No sound

Poor radio
reception

CD does not
play

CD sound
skips

Problem

CD button
will not
respond, or
does not
change
discs when
you press
DISC SKIP

Distorted or
noisy tape
recordings

Remote
control
does not
work

Solution

• Switch to another function (TAPE,
Tuner) and then back to CD.

• Inspect the tape head, clean it if 
necessary. 

• Check that the batteries are properly
installed.
• Replace weak batteries.
• Check the system is plugged into
power source.
• Point the remote directly at the 
system’s front panel.
• Move closer to the system.
• Remove any obstacles between the
remote and the system.

Maintenance

Disconnect the audio system from the power source
before performing any maintenance.

Cleaning

Clean the exterior of the system using a soft dust
cloth.

CD Player

CAUTION!

This system operates with a laser. It must

be opened by only a qualified technician.

Tape Player

To prevent deterioration of sound quality, periodical-
ly open the door of each deck and clean the magnetic
heads, pinch roller, and capstan with a cotton bud
dipped in alcohol. Also, demagnetize the head by
playing a demagnetizing cassette (available through
an audio equipment store).

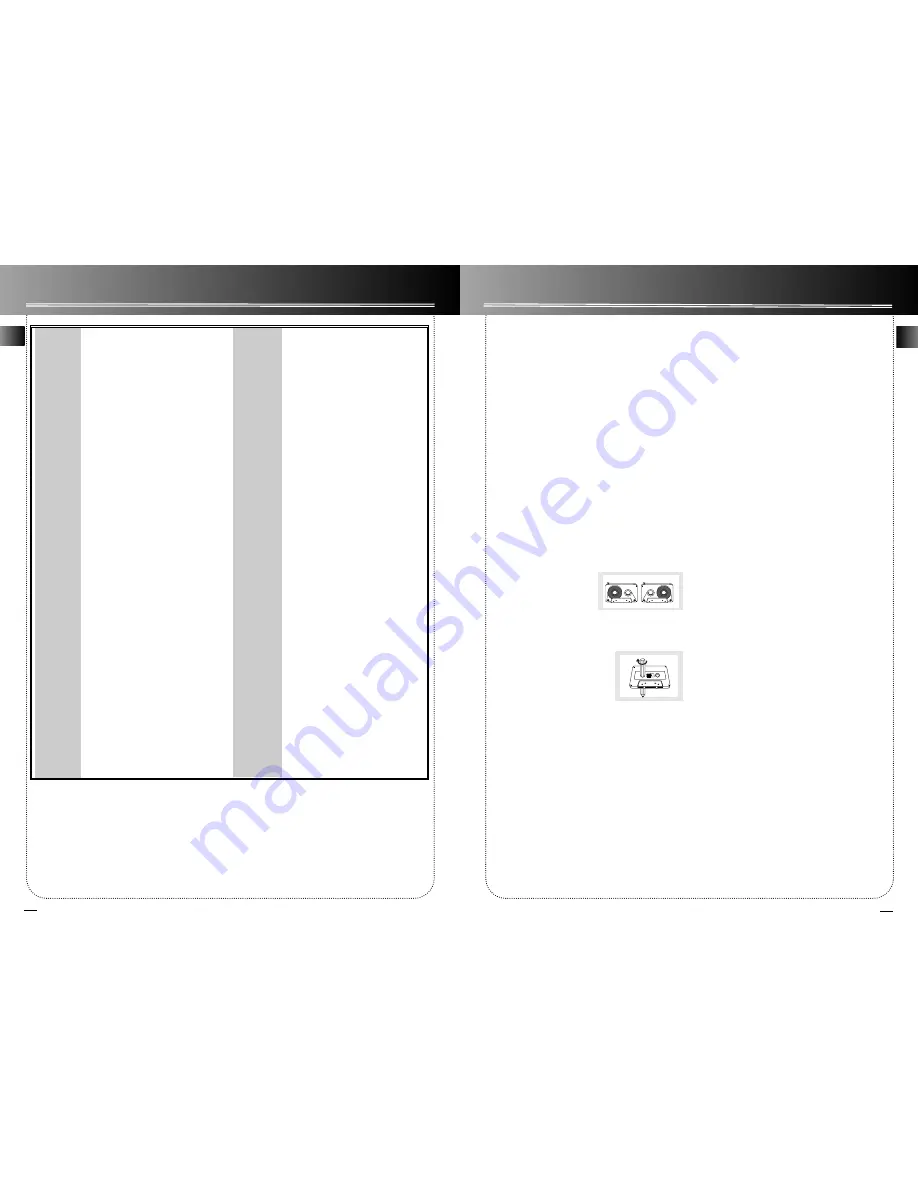
To protect recordings on
one or both sides of a tape,
remove the corresponding
tab. If you later want to
record on the tape, affix a
piece of adhesive tape over the hole.

Quit Slacking - A little bit of slack
in your tapes  can cause scratches
on the tape, or worse yet, the
tape could break. If you notice
some slack in the tape, use a
pencil to tighten it up before
you insert it.

Handling CDs

• Do not touch the signal surfaces. Hold CDs by the
edges, or by one edge and the hole. Do not affix
labels or adhesive tapes to the label surfaces. Do not
scratch or damage the label.  CDs rotate at high
speeds inside the player. Do not use damaged
(cracked or warped) CDs

Cleaning CDs

• Dirty CDs can cause poor sound quality. Always
keep CDs clean by wiping them gently with a  soft
cloth from the inner edge toward the outer perime-
ter.
• If a CD becomes dirty, wet a soft cloth  in water,
wring it out well, wipe the dirt away gently, and
then remove any water drops with a dry cloth.
• Do not use record cleaning sprays or antistatic
agents on CDs. Also, never clean CDs with benzene,
thinner, or other volatile solvents which may cause
damage to disc surface

CD Lens Care

When your CD lens gets dirty it can also cause the
system to output poor sound quality. To clean the
lens you will need to purchase a CD lens cleaner
which can maintain the output sound quality of
your system. For instructions on cleaning the CD
lens, refer to the ones accompanying the lens 
cleaner. 

A

Side A Protection

B

Side B Protection

A

Summary of Contents for 004-000-00345-4

Page 1: ... read this instruction book prior to using your new product for the first time Es importante leer este manual antes de usar por vez primera su euipo u s e r m a n u a l VOLUME CONTROL DECK DIGITAL TUNING PRESET EQ PLAYBACK RECORD PLAYBACK AUTOMATIC RECORD LEVEL AUTO STOP MECHANISM ONE TOUCH RECORDING CONTINUOUS PLAY 2 1 TAPE DUBBING 2 1 REPEAT PROG SET SOURCE CLOCK TUNE PRESET TIMER BAND DIMMER DE...

Page 2: ...t branch circuits If these measures do not eliminate the interference please consult your dealer or an experienced radio tele vision technician for additional suggestions Also the Federal Communications Commission has prepared a helpful booklet How To Identify and Resolve Radio TV Interference Problems This booklet is available from the U S Government Printing Office Washington DC 20402 Please spe...

Page 3: ...if possible The higher the better You ll also need to connect the AM antenna loop to the back of the unit if you listen to AM stations Rotate the AM loop antenna for better reception Connecting the Speakers Match the red wire on the left speaker to red terminal for the left speaker L on the back of the unit and the black wire on the left speaker to the black terminal for left speaker L Follow the ...

Page 4: ...he batteries Lightly push it closed with a snap EN EN SOURCE DN PRESET UP CD TUNER TAPE AUX E Q B BOOST VOL VOL REV PREV FW D N EXT REPEAT ON DEMO DIMMER DISC SKIP FM ST SLEEP INTRO OPEN CLOSE STOP Battery Size AAA or UM 4 or R03 Display Showing Demonstration Not operational in CD mode Press DIMMER DEMO CD DISPLAY to turn on off demonstration mode The demonstration scrolls through all display oper...

Page 5: ...en the tray while a CD is playing 2 Load change discs for available trays by pressing DISC SKIP 3 Press OPEN CLOSE to close the tray Skipping a Disc Press DISC SKIP Searching Through a CD Press and hold SKIP BACKWARD SKIP FORWARD to search through a CD while it is playing Shuffling the Play Order Press SHUFFLE to turn on off the playing of tracks in random order Remote Only Sampling Tracks Press I...

Page 6: ...PROG DECK 1 2 BASS BOOST CD DISPLAY 8 EN Radio Selecting Tuner Band 1 Press SOURCE to select TUNER 2 Press BAND to select between AM or FM radio band Tip Your audio system has 32 preset stations Tuning to a Station Press SKIP BACKWARD SKIP FORWARD to select frequencies Using Presets The tuner can be in either TUNE or PRESET mode When in PRESET mode the PROG light is on Press TUNE PRESET to toggle ...

Page 7: ...g a soft dust cloth CD Player CAUTION This system operates with a laser It must be opened by only a qualified technician Tape Player To prevent deterioration of sound quality periodical ly open the door of each deck and clean the magnetic heads pinch roller and capstan with a cotton bud dipped in alcohol Also demagnetize the head by playing a demagnetizing cassette available through an audio equip...

Page 8: ...for which it is not intended is unlawful and there fore not condoned by Thomson multimedia Technical Specification Power supply 120V 60Hz Dimensions H x W x D inches Unit size 12 2 x 12 x 15 4 Main Speaker 12 2 x 8 5 x 7 Tape deck Response curve 125Hz 8kHz 5dB CD player Response curve 2dB 60Hz to 15 kHz Rating Plate Look for it at the back of the set The descriptions and characteristics given in t...

Page 9: ...Warranty Canada What your warranty covers Defects in materials or workmanship For how long after your purchase One year from date of purchase for labor and parts The warranty period for rental units begins with the first rental or 45 days from date of shipment to the rental firm whichever comes first What we will do Pay any Authorized RCA Audio Service Center the labor charges to repair your unit ...

Page 10: ...F THIS PRODUCT EXCEPT TO THE EXTENT PROHIBITED BY APPLICABLE PROVINCIAL LAW ANY IMPLIED WARRANTY OF MERCHANTABILITY OR FITNESS FOR A PARTICULAR PURPOSE ON THIS PRODUCT IS LIMITED TO THE APPLICABLE WARRANTY PERIOD SET FORTH ABOVE How Provincial Laws relates to warranty This warranty gives you specific legal rights which are in addition to statutory warranties that may vary from Province to Province...

Reviews: