7
PLACING THE RECEIVER
Do not place objects directly on top of the receiver as it could
prevent proper heat dispersal.
When installing in a rack or shelf, be sure to leave an adequate
amount of space above and behind the receiver for air
circulation.
PLACING THE SPEAKERS
1. Place the front left and right speakers at equal distances
from the TV.
2. Install the center speaker above or below the TV so the
center channel’s sound is localized at the TV screen.
C
C
C
Caaaau
u
u
uttttiiiio
oo
on
n
n
n:::: If you choose to install the center speaker on top
of the TV, be sure to secure it to reduce the risk of damage
or injury resulting from the speaker falling from the TV in
the event of external shocks (for example, earthquakes).
3. Install the surround speakers slightly above ear level.
N
N
N
No
oo
otttteeee:::: Try not to install the surround speakers farther away
from the listening position than the front and center
speakers. Doing so can weaken the surround effect.
4. Place the subwoofer on the floor near the TV.
C
C
C
Caaaau
u
u
uttttiiiio
oo
on
n
n
n:::: Be sure all speakers are installed securely to prevent
accidents and improve sound quality.
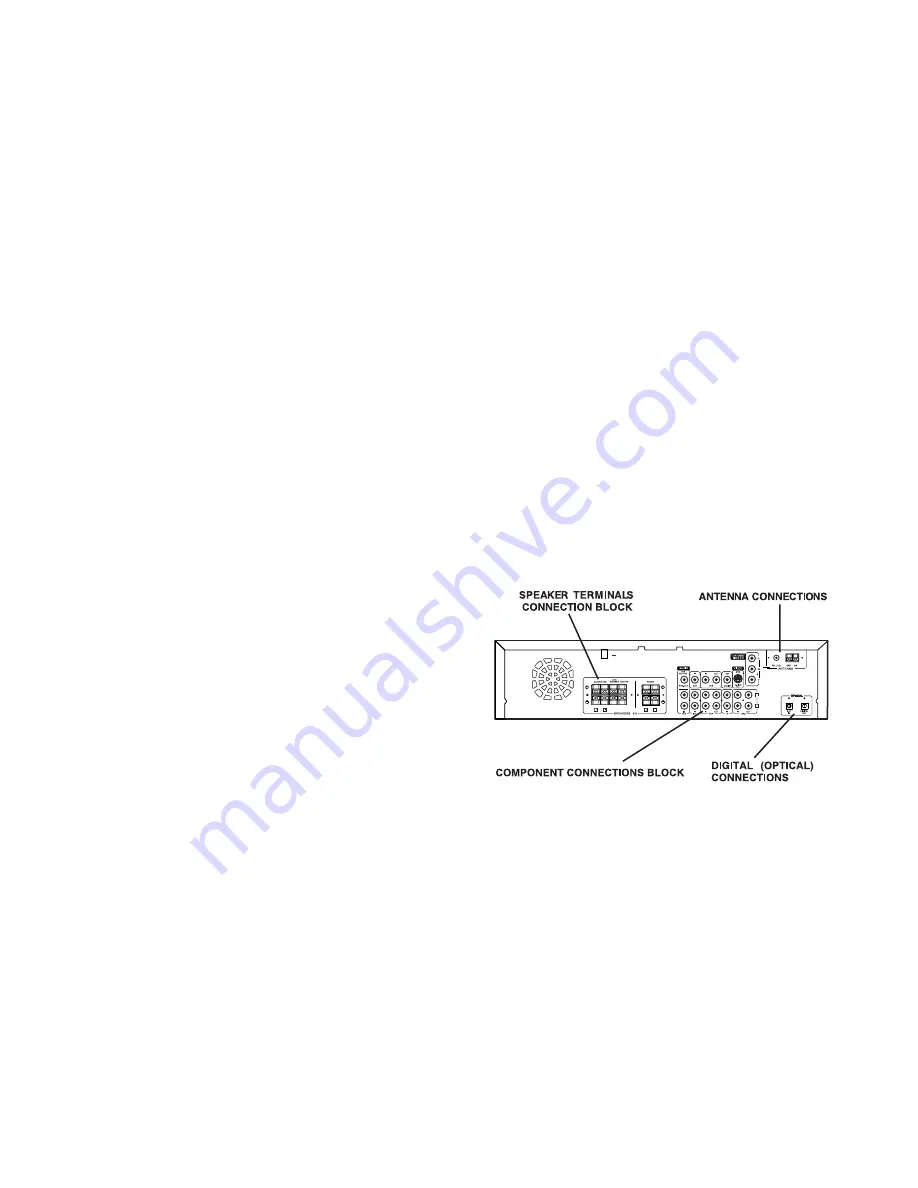
CONNECTING THE SPEAKERS
C
C
C
Caaaau
u
u
uttttiiiio
oo
on
n
n
n:::: When connecting equipment, always make sure the
power is switched off and the power cord is disconnected from
the AC outlet.
N
N
N
No
oo
otttteeeessss::::
• Use speakers with a nominal impedance of 6 Ohms or
more.
• Be careful not to bend cables over the top of the receiver. If
cables are placed on top of the receiver, the magnetic field
produced by the receiver’s transformers can cause the
speakers to produce a humming noise.
1. Press the speaker’s terminal up (or down) and insert the
appropriate wire ends. The color of the speaker wire’s
plastic coating matches the corresponding terminal.
N
N
N
No
oo
otttteeee:::: Be sure to connect each speaker to the appropriate
speaker terminal, connecting positive to positive (+ to +)
and negative to negative (– to –).
2. Connect the front speakers’ wires to the receiver’s
SPEAKERS FRONT L
and
R
terminals (Red/Black).
Connect the surround speakers’ wires to the receiver’s
SPEAKERS SURROUND L
and
R
terminals (Gray/Black).
Connect the center speaker’s wires to the receiver’s
SPEAKERS CENTER
terminals (Blue/Black).
Connect the subwoofer’s wires to the receiver’s
SPEAKERS
SUB WOOFER
terminals (Brown/Black).
3. Release the speaker terminal.
4. Plug the AC power cord into an AC outlet.
Connecting a Second Subwoofer
You can connect a second or larger powered subwoofer to the
system. Connect the sub woofer to the receiver’s
SUB WOOFER
PRE-OUT
jack using shielded audio cable (not supplied).
CONNECTING HEADPHONES
You may connect a conventional dynamic headphone with a
1
/
4
inch plug to the
PHONES
jack on the front of the receiver.
When you connect headphones, the receiver automatically
selects stereo mode.
N
N
N
No
oo
otttteeee:::: When you connect headphones, the sound from the
speakers is automatically muted. When you remove the
headphones, the speakers’ volume is restored.
CONNECTING COMPONENTS
C
C
C
Caaaau
u
u
uttttiiiio
oo
on
n
n
n:::: When connecting equipment, always make sure the
power is switched off and the power cord is disconnected from
the AC outlet.
You must connect a TV to the receiver in order to use the
receiver’s DVD player to watch DVDs. You can also connect
other audio and audio/visual components to the receiver in
order to fully utilize the Home Theater Audio System’s
surround sound capabilities.
N
N
N
No
oo
otttteeee:::: The system comes with one set of audio/video cables.
Your local RadioShack store sells a wide variety of audio/video
cables if you need cables to connect more components.


