background image

13

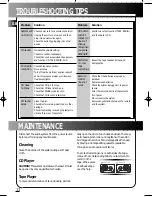
TROUBLESHOOTING TIPS

Disconnect the audio system from the power source
before performing any maintenance.

Cleaning

Clean the exterior of the system using a soft dust
cloth.

CD Player

CAUTION!

This system operates with a laser. It must

be opened by only a qualified technician.

Tape Player

To prevent deterioration of sound quality, periodi-

cally open the door of each deck and clean the mag-
netic heads, pinch roller, and capstan with a cotton
bud dipped in alcohol. Also, demagnetize the head
by playing a demagnetizing cassette (available
through an audio equipment store).

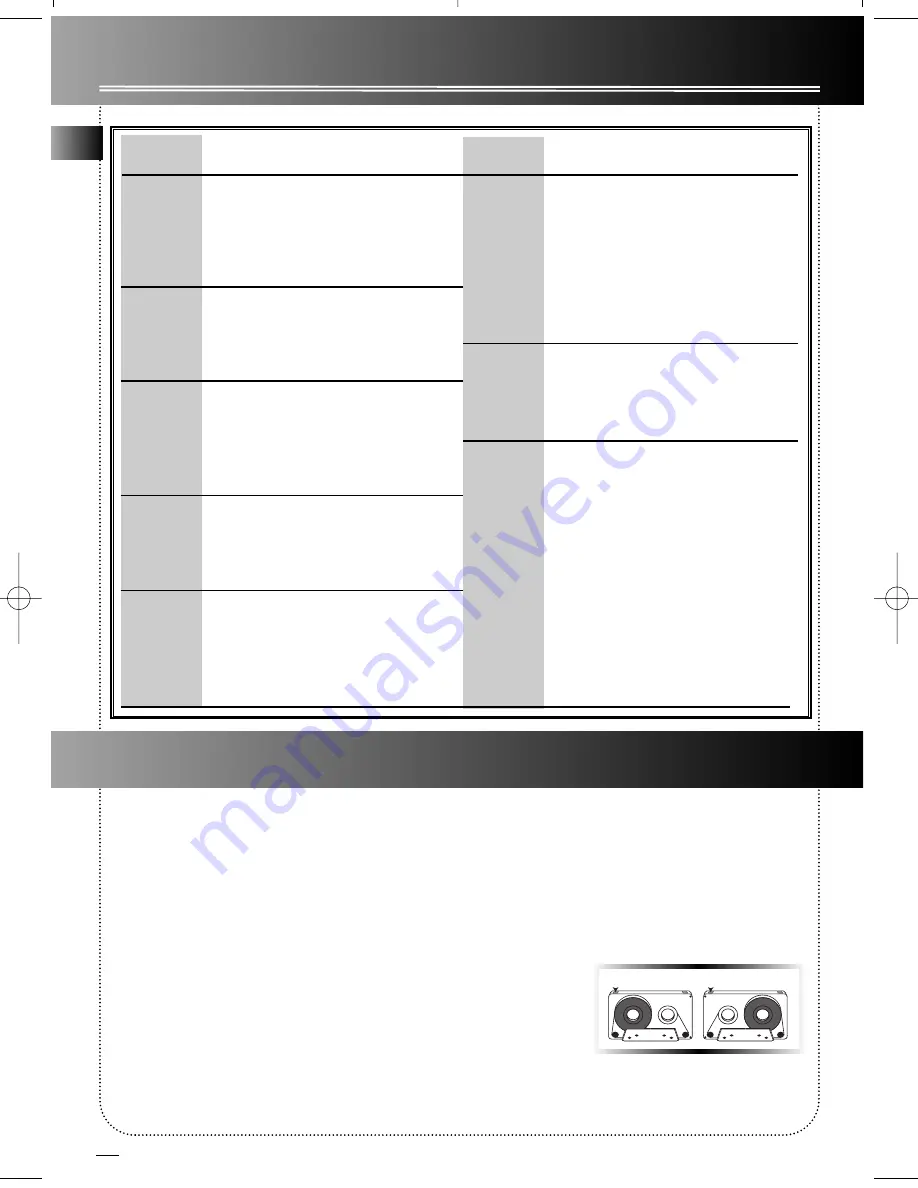
To protect recordings one or both sides of a tape,
remove the corresponding tab. If you later want to
record on the
tape, affix a piece
of adhesive tape
over the hole.

Solution

Check power cord for a secure connection.
Unplug the unit for a moment, and then
plug into power source again.
Check the outlet by plugging in another
device.

Increase the volume setting.
Check connection to speakers.
Check that you have selected the appropri-
ate function: CD, TAPE, RADIO, AUX.

Check antenna connection.
Move antenna.
Turn off nearby electrical  appliances, such
as hair dryer, vacuum cleaner, microwave,
fluorescent lights.

Check that CD is in the tray.
Check that CD label is facing up.
Check that PAUSE mode is not on.
Check that CD function is selected.

Clean the disc.
Check disc for warping, scratches, or other
damage.
Check if something is causing the system to
vibrate. If so, move the system.

Problem

System will
not turn on

No sound

Poor radio
reception

CD does
not play

CD sound
skips

Problem

CD button
will not
respond, or
does not
change
discs when
you press
DISC SKIP

Distorted
or noisy
tape
recordings

Remote
control
does not
work

Solution

Switch to another function (TAPE, RADIO)
and then back to CD.

Inspect the tape heads and clean and
demagnetize.

Check that the batteries are properly
installed.
Replace weak batteries.
Check the system is plugged in to power
source.
Point the remote directly at the system’s
front panel.
Move closer to the system.
Remove any obstacles between the remote
and the system.

MAINTENANCE

A

Side A Protection

B

Side B Protection

GB

UG-2501 rev 1  9/2/99  3:24 PM  Page 16

Summary of Contents for A180

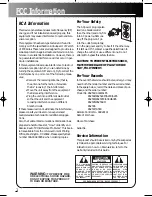
Page 1: ... D L O A D S Y S T E M C O N T I N U O U S P L A Y T A P E D U B B I N G 2 1 A U T O M A T I C R E C O R D L E V E L A U T O S T O P CK PLAYBACK D E C K 2 S E T E L E C T R O N I C E Q U A L I Z E R S U R R O U N D S O U N D S O U N D S Y S T E M DISC 3 DISC 4 D I S C 5 DISC 2 DISC 1 DISC SKIP u s e r m a n u a l POWER AUX TAPE CD TUNER EQ PRESET MUTE VOL VOL PLAY PAUSE HELP TRACK REV STOP TRACK F...

Page 2: ...e interference Move the unit away from the equipment that is receiving interference Plug the unit into a different wall outlet so that the unit and the equipment receiving interference are on different branch circuits If these measures do not eliminate the interference please consult your dealer or an experienced radio television technician for additional sugges tions Also the Federal Communicatio...

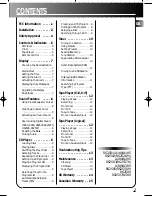
Page 3: ...rogram list 9 Deleting a Track from a Program List 9 Automatically Skipping Tracks ATS 9 Creating an ATS Program 9 Editing an ATS Program 9 Skipping a Disk 9 Searching through a CD 9 Tuner 10 Tuning to a Station 10 Using Presets 10 Setting Presets 10 Seeking Scanning for a Station 10 Suppressing Stereo Signal 10 Radio Data System RDS 11 Tuning to an RDS Station 11 Displaying RDS Station Informatio...

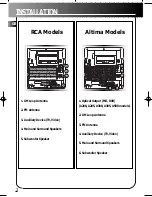
Page 4: ...ideo 4 Main and Surround Speakers 5 Subwoofer Speaker 1 Optical Output MD DVD A280 A285 A380 A385 A580 models 2 AM Loop Antenna 3 FM Antenna 4 Auxiliary Device TV Video 5 Main and Surround Speakers 6 Subwoofer Speaker Altima Models RCA Models R L 1 2 3 4 5 2 3 4 1 5 6 GB ...

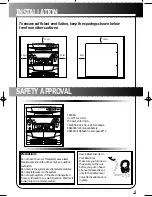
Page 5: ... extreme temperatures Do not splash water on the system Do not use the system if it has been transported from a cold location to a warm location Wait for it to warm up to room temperature T800 AS UL 1270 for U S A FCC part 15 for U S A CAN CSA C22 2 No 1 94 for Canada EN60065 for European Safety EN55013 EN55020 for European EMC DISC 3 DISC 4 D I S C 5 DIS C 2 DISC 1 DISC SKIP REPEAT INTRO SHUFFLE ...

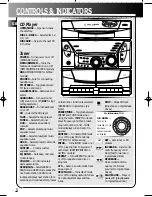
Page 6: ... on or off to play CDs randomly PTY MIX for Altima series INTRO Turns INTRO mode on or off to play the first 10 seconds of each track RDSTIME INTRO on ALTIMA models REPEAT Turns REPEAT mode on or off to repeat a track disc or program ATS Sets up an automatic track skip program HELP MODE Turns HELP mode on or off to display useful informa tion about system keys and fea tures STOP Stops CD track sto...

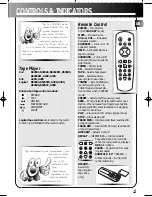
Page 7: ... the radio is active displays RDS information PAUSE Pauses the CD or tape logical decks SHUFFLE MIX PTY SEARCH Altima models Turns on off random listening RECORD Records to tape logical tape drive only POWER AUX TAPE CD TUNER EQ PRESET MUTE VOL VOL PLAY PAUSE HELP TRACK REV STOP TRACK FWD REPEAT DISC SKIP SHUFFLE RECORD SURROUND TUNING PRESET SEEK Tape Player 6 2 RS2501 RS2502 RS252KM RS2505 RS255...

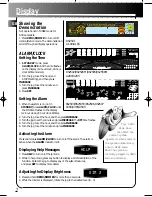
Page 8: ...turn on off the alarm The alarm is active when the ALARM indicator is lit Displaying Help Messages 1 Press HELP to turn on off help mode 2 While in help mode press any button to display a brief description of the function Rotate the jog to display any of the system features and press SET to display more detail Adjusting the Display Brightness 1 Press and hold DEMO DIMMER for more than 2 seconds 2 ...

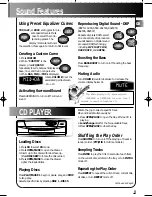
Page 9: ...iscs 1 Press CD to select CD mode 2 Press OPEN CLOSE to open the drawer 3 Insert up to five discs with label face up Press DISC SKIP to rotate the disc carrier 4 Press OPEN CLOSE to close the drawer Lights the loaded discs Playing Discs Press PLAY PAUSE to begin or pause play and STOP to stop play Select a specific disc by pressing DISC 1 DISC 5 Rotate the jog to select a specific track Play and l...

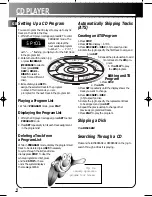
Page 10: ...o be deleted press SET if necessary to cycle through the list and imme diately press STOP To clear the whole programmed list press and hold STOP for 5 sec onds The system displays the message CLEAR Automatically Skipping Tracks ATS Creating an ATS Program 1 Press STOP 2 Press ATS to display A 01 3 Press DISC SKIP or DISC 1 5 to specify a disc 4 Rotate the jog to specify the first track to skip and...

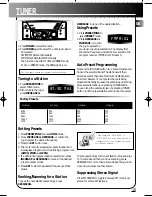
Page 11: ...resets 1 Press PRESET TUNE to access TUNE mode 2 Press INCREASE or DECREASE or rotate the jog to access the desired frequency 3 Press the SET button once 4 The most recently accessed program location will be displayed together with a blinking program icon AMPR FMPR or LWPR 5 If a different program location is preferred press INCREASE or DECREASE to move to the desired preset number 0 32 6 Press SE...

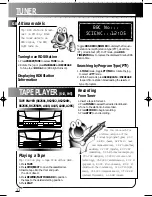
Page 12: ...logy VARIED miscellaneous POP M pop music ROCK M rock music MOR M middle of the road music LIGHTM l i g h t music CLASSI classical music OTHERM unclassified music ALARM alarm Altima models Tuning to an RDS Station 1 Press PRESET TUNE to access TUNE mode 2 Rotate the jog or press INCREASE or DECREASE to tune to an RDS station RDS light turns on Displaying RDS Station Information Toggle RDS DEMO DIM...

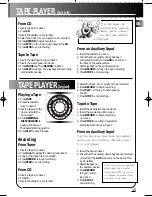
Page 13: ...the tape at the desired starting position 5 Press PLAY to play the tape Recording From Tuner 1 Insert a tape into deck 1 2 Press Tuner to access the desired radio band 3 Tune to the station to be recorded 4 Press RECORD to begin recording 5 Press STOP to end recording From CD 1 Insert a tape into deck 1 2 Press CD 3 Insert the disc s to be recorded 4 Select the track CD or program to be recorded 5...

Page 14: ...ers Check that you have selected the appropri ate function CD TAPE RADIO AUX Check antenna connection Move antenna Turn off nearby electrical appliances such as hair dryer vacuum cleaner microwave fluorescent lights Check that CD is in the tray Check that CD label is facing up Check that PAUSE mode is not on Check that CD function is selected Clean the disc Check disc for warping scratches or othe...

Page 15: ...for service not covered by the warranty Insure your shipment in case of loss of damage Thomson accepts no liability in case of damage or loss A new or refurbished unit will be shipped to you prepaid freight What your warranty does not cover Customer instruction Your Owner s Manual provides information regarding operating instructions and user controls For additional information ask your dealer Ins...

Page 16: ...his written warranty are in addition to and not a modification of or subtraction from the statutory warranties and other rights and remedies contained in any applicable legislation and to the extent that any such provisions purport to disclaim exclude or limit any such statutory warranties and other rights and remedies such provisions shall be deemed to be amended to the extent necessary to comply...

Page 17: ...VOLUME HELP MODE CD TAPE TUNER AUX FM STEREO POWER SURROUND BASS BOOST ALARM CLOCK B BOOST SURROUND OPEN CLOSE DISC DIRECT ACCESS S I M U L T A N E O U S P L A Y A N D L O A D S Y S T E M C O N T I N U O U S P L A Y T A P E D U B B I N G 2 1 A U T O M A T I C R E C O R D L E V E L A U T O S T O P RECORD PLAYBACK PLAYBACK D E C K 1 D E C K 2 S E T E L E C T R O N I C E Q U A L I Z E R S U R R O U N...

Reviews: