background image

Installing Your New 
ANT3901 Antenna

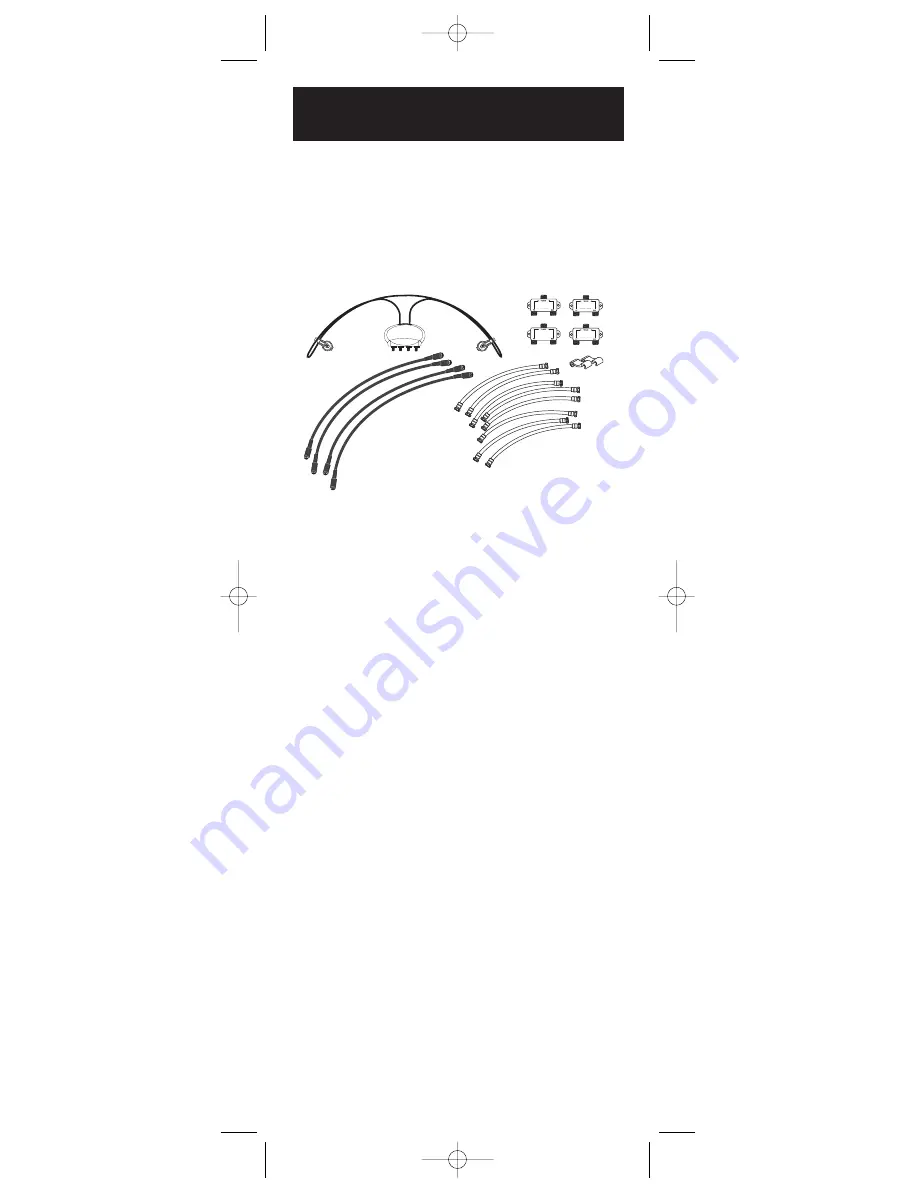
The ANT3901 installation consists of three basic steps:

Step A: Installing the ANT3901 on your satellite dish.

Step B: Installing the inside diplexers.

Step C: Setting up your TV to use the ANT3901.

Please be sure to complete all of these steps before
attempting to watch local channels with your ANT3901.

Step A: Installing the ANT3901 
on your satellite dish

Note:

Some satellite dishes have integrated multi-switches.

The “TO RECEIVER” terminals are connected to the cables
coming from the bottom of the dish. Treat these cables as
the “TO RECEIVER” terminals of the multi-switch.

Note:

For Dish Network owners; some Dish Network

installations use smaller SW21 multi-switches. Treat 
these as one multi-switch with two “OUTPUT” or 
“TO RECEIVER” terminals.
1.  Make sure all satellite receivers are turned 

off and unplugged from the electrical outlet.

2.  Unsnap the antenna from the back notch 

of the mounting clamp (see Fig 2 on page 6).

3.  Hold the antenna to the back of the dish so that the 

circular housing is centered with the RCA logo facing
out (see Fig 4 on page 6).

4.  Maneuver clamps over or around the edge 

of the dish one at a time (see Fig 3 on page 6).

5.  Snap the antenna back into the back notch 

of the mounting clamp. 

6.  Tighten the clamps by turning 

the thumb-wheel screw clockwise. 

Note:

We recommend the use of the enclosed security clips

for any dish. Snap the security clips onto the ANT3901 and
slide down towards the mounting clips (see Fig 4 on page 6).

5

Fig 1

ANT3901new  4/29/03  8:37  Page 5

Summary of Contents for ANT3901

Page 1: ...Warranty ANT3901 Amplified Outdoor Antenna VHF UHF FM User s Guide universal Designed for elliptical DBS satellite dish antennas with multi satellite LNB for sharp local channel reception ANT3901new 4 29 03 8 37 Page 1 ...

Page 2: ...ed One Year Warranty 10 WARNING Use extreme caution when installing or removing an outdoor antenna that is located close to overhead wires such as power lines telephone lines or cable TV lines If any part of the antenna makes contact with overhead power lines touching the antenna or the antenna cable can cause electrocution and death If the antenna is in contact with any type of overhead wires cal...

Page 3: ...d there is any doubt of clearing overhead wires Never install the antenna outdoors at night or in inclement weather conditions Make sure the antenna downlead cable is connected to suitable lightning arrestors Make sure the antenna installation is secure Always plug your TV and other electronic devices into a quality surge protector for maximum protection against lightning and power surges Do not t...

Page 4: ...ufactured to be weather resistant they ll perform at their best for many years to come For Best Reception Results For the best reception results the satellite dish and antenna combination should be high off the ground with minimal signal obstructions On the side of your house close to the roof or on the roof itself generally offers the best environment for reception Remember you can always rotate ...

Page 5: ...tallations use smaller SW21 multi switches Treat these as one multi switch with two OUTPUT or TO RECEIVER terminals 1 Make sure all satellite receivers are turned off and unplugged from the electrical outlet 2 Unsnap the antenna from the back notch of the mounting clamp see Fig 2 on page 6 3 Hold the antenna to the back of the dish so that the circular housing is centered with the RCA logo facing ...

Page 6: ...6 Fig 2 Fig 4 Fig 3 ANT3901new 4 29 03 8 37 Page 6 ...

Page 7: ...T3901 antenna see Fig 5 on page 7 9 Using the black 32 antenna cables connect the IN 1 4 terminals of the ANT3901 to the OUTPUT or TO RECEIVER terminals on your multi switch see Fig 6 on page 7 10 Continue to Step B Installing the Inside Diplexers on page 8 and follow the remainder of the standard installation procedure Fig 5 Fig 6 ANT3901new 4 29 03 8 37 Page 7 ...

Page 8: ...nside diplexer to your satellite receiver s SAT IN terminal see Fig 8 on page 8 4 Connect the other white 12 connector cable from the terminal labeled TV on the inside diplexer to your satellite receiver s ANT IN terminal see Fig 9 on page 9 5 Connect a coaxial cable not supplied from the satellite receiver s TV OUT terminal to your television or VCR see Fig 10 on page 9 6 Repeat step for each sat...

Page 9: ...manual for the exact steps to change this option 3 Turn on your DBS receiver and set to ANT then tune your TV to your favorite channel 4 To fine tune local channel reception rotate the ANT3901 antenna around the perimeter of the dish until you receive the best possible picture Tighten the clips so that the antenna is firmly secured to the satellite dish in that position 5 The ANT3901 is now ready ...

Page 10: ...nt equivalent This replacement is THOMSON INC s sole obligation under this warranty THOMSON INC will not be responsible for any incidental or consequential damages or for any loss arising in connection with the use or inability to use this product Some states do not allow the exclusion or limitation of incidental or consequential damages so the above limitation or exclusion may not apply to you Th...

Page 11: ...ANT3901new 4 29 03 8 37 Page 11 ...

Page 12: ...ANT3901new 4 29 03 8 37 Page 12 ...

Reviews: