35
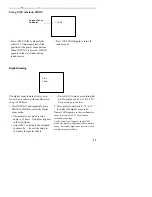
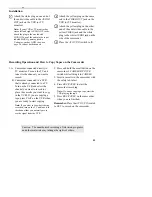
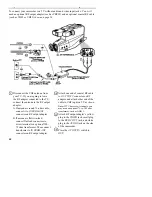
6. To begin dubbing, start the audio
source and press REC/PAUSE.
will disappear from the viewfinder
while you are dubbing.
7. Press STOP/EJECT when you are
finished dubbing.
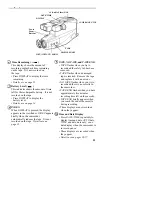
Remember: Place the AV OUT/IN s w i t c h
to OUT to record on the camcorder.
Notes: If you want to stop dubbing at a
certain point on the tape, turn on memory
stop, and set tape counter to “0000M” at the
point where you want the dubbing to stop.
The camcorder will stop dubbing
automatically when it reaches “0000M.”
ProEdit Features
Audio Dubbing
To Audio Dub
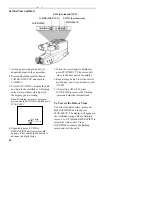
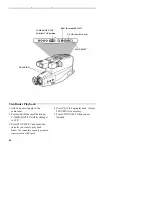
1. Press and hold the small button on
CAMERA/OFF/VCR while sliding it
to VCR.
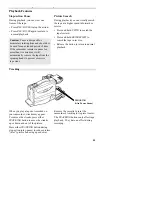
2. If you are recording from a source
connected to the white AUDIO jack on
the side of the camcorder, place AV
OUT/IN switch to IN.
3. Insert the tape you want to audio dub
and use PLAY, F.FWD, and
REW/REVIEW to locate a point on the
tape a few seconds before you want to
begin dubbing.
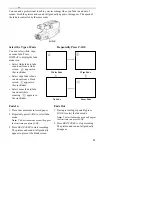
4. Press REC/PAUSE exactly where you
want to begin dubbing. This will place
the camcorder in play pause.
5. Press and hold AV DUB, and then
press PLAY. Release both buttons at
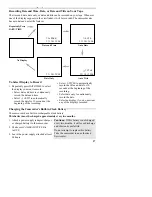
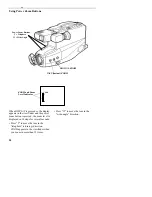
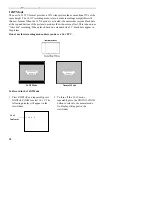
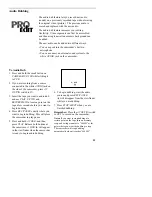
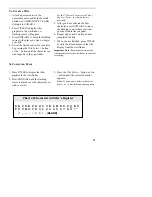
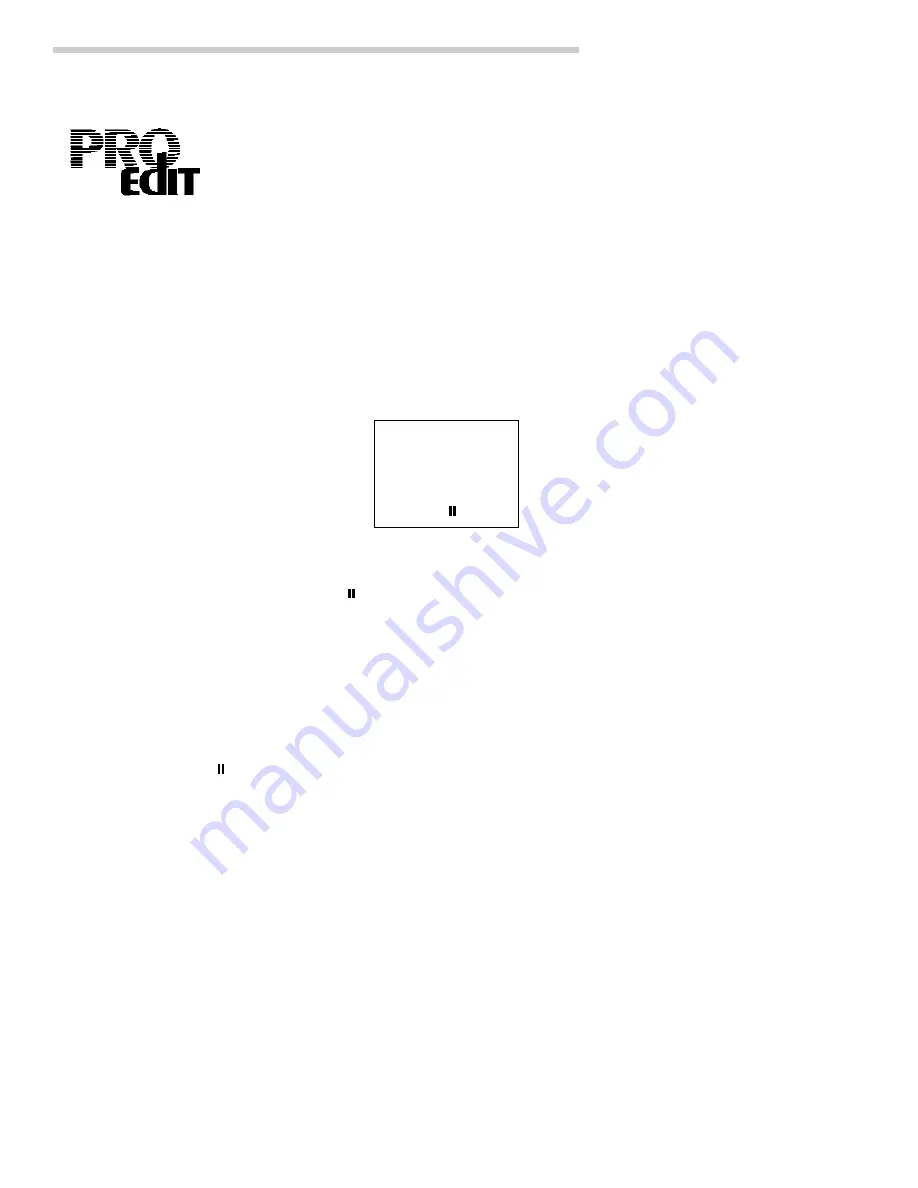
the same time. A. DUB
will appear
in the viewfinder when the camcorder
is ready to begin audio dubbing.
A.DUB
The audio dub feature lets you record new audio
(sound) on a previously recorded tape without erasing
the original video (picture). The previous audio is
erased and replaced with the new audio.
The audio dub feature increases your editing
flexibility. Video segments can first be assembled
and then a single narration or music background can
be added.
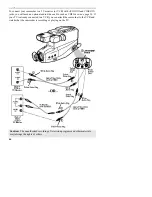
The new audio can be added two different ways.
• You can speak into the camcorder’s built-in
microphone.
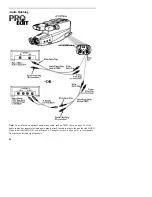
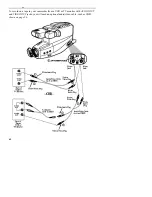
• You can connect an external sound system to the
white AUDIO jack on the camcorder.

