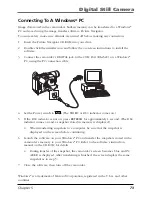
Digital Still Camera
62
Chapter 5
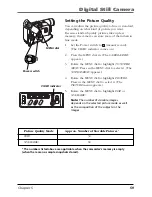
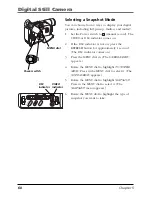
Taking Snapshots
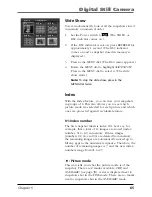
1.
Remove the lens cap.
2.
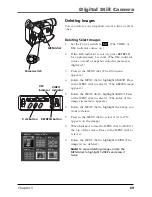
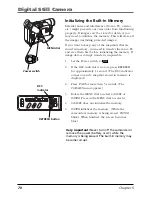
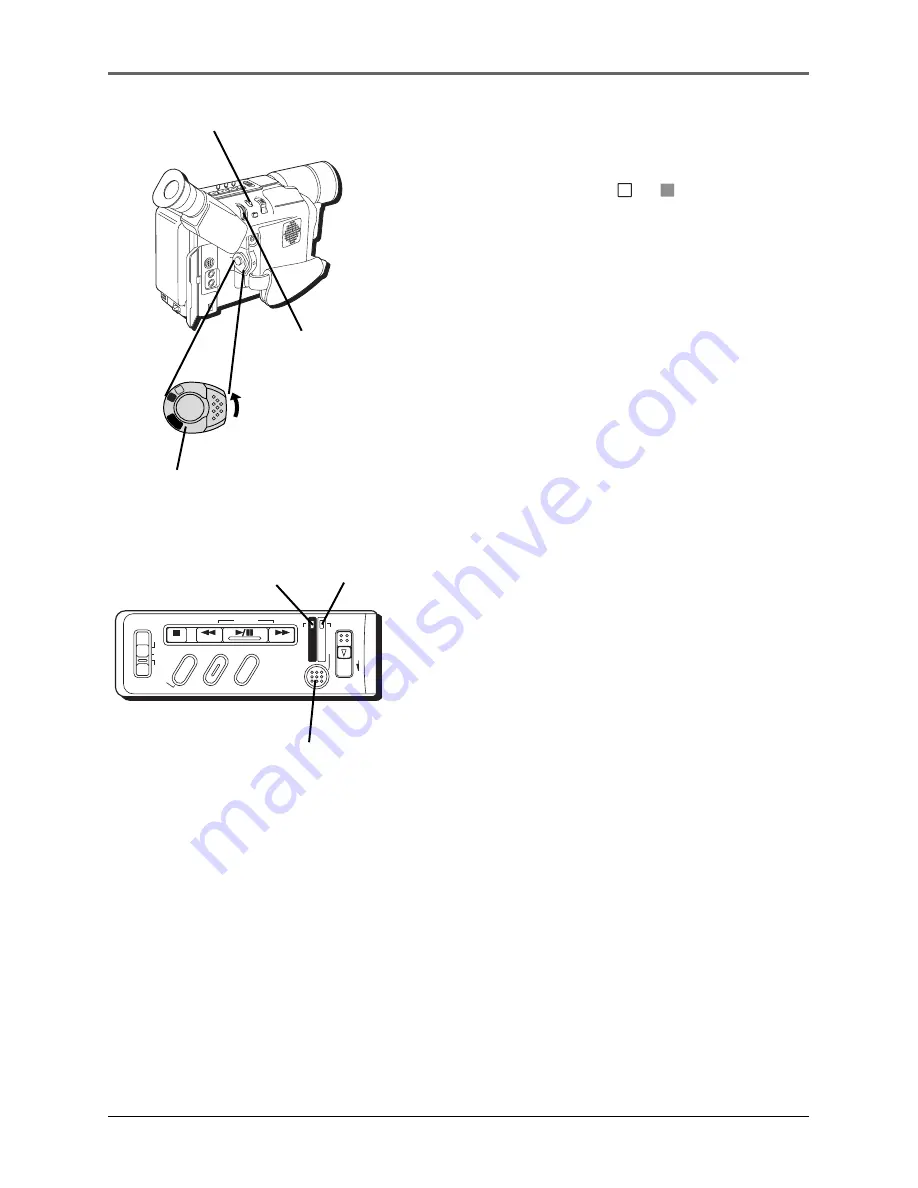
Set the Power switch to
M
or
A
(manual or
automatic record). (The VIDEO or DSC indicator
comes on.)
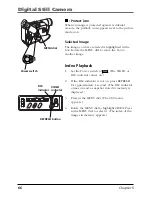
3.
If the DSC indicator is not on, press the REFRESH
button for approximately 1 second. (The DSC
indicator comes on.)
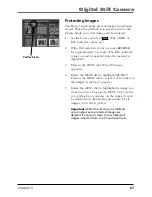
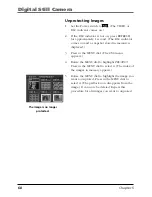
4.
When you’re ready to take a picture, press
SNAPSHOT.
Notes:
•
When the remaining picture number icon
blinks 0, you must delete some pictures
before you can store new ones.
•
Some sample images have been stored in
the built-in memory at the factory. If you
want to delete them, first unprotect them
(see page 68), then delete them (see page
69).
•
If a snapshot is taken while the camcorder
is in the 16 x 9 mode (see page 78), the
snapshot image is recorded without the
black bars at the top and bottom of the
screen.
•
During the DSC recording, the zooming
(see page 40), Steady Pix™ (see page 41)
and Video Light (see page 42) functions
can be operated.
•
Snapshots are taken in a format based on
JPEG (Joint Photographic Experts Group).
•
When you use the LCD monitor outdoors
under direct sunlight, the LCD monitor may
be difficult to see. If this happens, close the
LCD monitor and use the viewfinder
instead.
•
To store the snapshots you shot, we
recommend that you transfer them to a
computer and save them on disk (see page
73), or transfer them to a VCR connected to
the camcorder and record them onto a
tape.
DSC
STOP
R
RETAKE
F
LIGHT
OFF AUTO ON
C
O
U
N
TE
R
R
/M
FA
D
E/
W
IP
E
P.
A
E
D
IG
IF
EC
T
CHARGE
VIDEO
REFRESH
EJECT
VIDEO
indicator
Power switch
MENU/BR
IGHT
/TRACKIN
G
SNAPSHO
T
VOL
STEA
DY P
IX/TB
C
+
+
DIGI
TAL
(DSC
IN/O
UT)
PL
AY
O
FF
A
M
ST
OP
R
RE
TA
KE
F
LIGHT
OFF AU
TO ON
COU
NTE
R R
/M
FAD
E/W
IPE
P. A
E
DIG
IFEC
T
A
M
PL
AY
O
FF
MENU dial
REFRESH button
SNAPSHOT button
DSC
indicator

