Chapter 1
17
Chapter 1: Connections and Setup
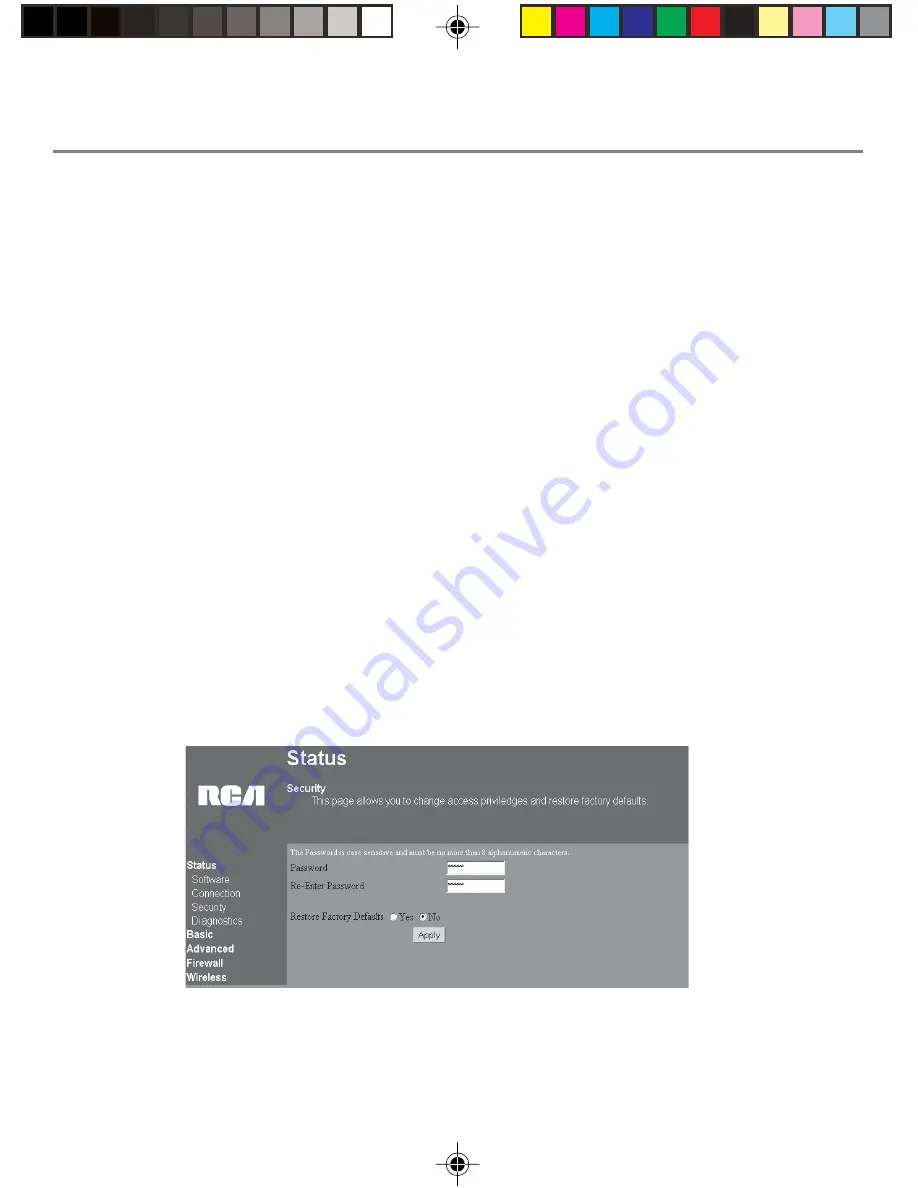
Fig. 16
3. If you are in CM or CH mode, the Basic webpage group hyperlink is visible. In this case, select
the Basic Setup web page by using the hyperlinks in the sidebar at the left of the screen.
Otherwise, skip to step 4. Based on the setup instructions from your cable company, you may
need to enter the following information.
LAN IP Address
: The value for the gateway’s local IP address is shown on the Setup screen.
The default value is 192.168.0.1. We recommend you keep this setting.
Host Name and Domain Name
: These fields allow you to provide a host name and domain
name for the gateway. These fields are usually left blank. If requested by your cable company,
complete these two fields.
Static IP Address and IP Mask
: If your cable company says that you are connected through a
static or fixed IP address, you should enter the field of
Default Gateway
,
Primary DNS
and/or
Secondary DNS
also.
Spoofed MAC Address
: You can give a spoofed MAC Address to hide your gateway’s real MAC
address. However, this is NOT recommended, as this could cause an address conflict, causing
your connection to the network to be rejected.
4. The gateway provides a Status Security webpage where you can change the web page’s access
password and restore factory default of the gateway. Also, you can enable/disable the DHCP
Server function and change the default “admin” password to the desired password.
IMPORTANT: If you have previously enabled any Internet-Sharing Proxy server software on any of
your PCs, disable it.
16096620 DCW615. 01 Connect
3/21/03, 4:58 PM
17


