

Playback Modes
Repeat Playback
While the disc is playing, press REPEAT button repeatedly to select a play mode:
DVD play modes: Title repeat, Chapter repeat, A-B repeat;
CD play modes: All tracks repeat, Track repeat, A-B repeat;
A-B Repeat
To repeat a segment between two points (A and B), press the REPEAT A-B button three times
at the beginning of the segment you want to repeat. Allow the disc to play to the end of the
segment or use FORWARD to advance to the end point (B). Press the REPEAT A-B button
a fourth times at the end of the segment. The segment plays repeatedly until you press
REPEAT A-B once more to resume normal playback.
Program Playback (all discs except WMA and mp3)
With this option you can program the playback order.
1. Insert a disc.
2. In Stop mode, press the PROGRAM button. The Program menu appears.
3. Use the number buttons to enter the title and/or chapter number (for DVD) or track
number (for VCD and Audio CD). Repeat Step 3 as often as necessary.
4. Use the , , and buttons to select Start.
5. Press the PLAY button to start playback. Tracks are played in the order of the playback
list. Playback stops once all tracks have been played.
6. Press the STOP button to stop program playback. Press the STOP button twice or the
OPEN/CLOSE button to cancel program playback.
Note:
The playback list remains until the disc is removed from the player. Press PROGRAM
repeatedly to take you back to the beginning or toggle between the lists.
Random Playback (VCD, Audio CD, mp3 & DivX is available)
All the tracks are played in random order (chosen by the DVD player).
1. Press the RANDOM button after loading a disc (Random appears on the screen).
2. The random playback will start once the random button is pressed.
3. Once all the track on the current disc have been randomly played, the player stops automati-
cally. Press the RANDOM button again to exit the random mode (off appears on the screen).
mp3, WMA, JPEG and DivX Files
Playing of mp3, WMA, JPEG and DivX files
mp3 is an audio file format which compresses recorded music.
The main advantage of the mp3 format is that it means CD-quality music
can be stored on a personal computer in a user-friendly, compressed files.
WMA (Windows Media Audio) is another audio file format, developed by Microsoft.
JPEG files are image files (make sure they have a resolution of less than 5 megapixels.)
Your player is an Official DivX Certified™ product that plays DivX®5, DivX®4, DivX®3
and DivX®VOD video content, in compliance with DivX Certified™ technical requirement.
Repeat Playback
While the disc is playing, press the REPEAT button repeatedly to select a play mode.
JPEG, mp3 and WMA: Repeat One, Repeat Folder, Folder (=Off),
DivX: Repeat One, Repeat All, Repat Off.
mp3, WMA, JPEG and DivX Files
Displaying JPEG files or playing mp3 or WMA or DivX files (and DivX Ultra)
Before inserting a disc, check that is compatible with the player.
1. Open the tray by pressing the OPEN/CLOSE button. Place a disc with the printed side
facing up and close the tray. The disc’s contents are displayed.
2. Select a folder using the and buttons, then press OK to see the folder’s contents.
3. Select a file using the and buttons, then press OK to start playback.
4. Press the STOP button to stop playback. To go back to the folder list, press the button
in stop mode.
Note:
During playback you can use the SKIP or SKIP button to go back to the previous file
or go on to the next one.
DivX subtitle
During DivX playback, press several times the TITLE MENU button on the remote control to
choose a character set: Czech, Slovak, Hungarian, Polish or Default.
Playing JPEG and mp3 music files at the same time
You can display JPEG files while listening to mp3 music files recorded on the same disc.
1. Insert a disc containing the two types of file in the player.
2. Select an mp3 music file using the and buttons, then press OK to confirm your selection.
3. Select a JPEG image file using the and buttons, then press OK to confirm your selection.
4. Press OK to start playback the two files at the same time. Press the STOP button to stop
playback.
To rent (or purchase) DivX®VOD files
DivX VOD files are downloaded after paying rental from certain commerical websites. Prior to
downloading a VOD you need to input the registration number of your DVD player on the pur-
chase form on the site. Follow the instructions below to find the registration number of your
player, press the SET UP button. Select the VOD option from the General Setup Menu and
press OK. Write down this VOD 8-character registration number so that you can fill in the form
on the website you purchase your DivX VOD files from.
Note:
If you cannot play a DivX VOD file recorded on a CD-R disc after downloading it, the
rental period allocated during purchasing from the website may have expired. It is also poss-
ible that the recorded file is not compatible with your player because of different versions or
incorrect download parameters. The parameters used when copying to CD-R may be another
reason for this. Since it is not possible here to supply all the information, parameters and advice
relating to the use of DivX VOD files, we recommend that you visit specialist websites such as
www.divx.com/vod.
Note on DivX files
Before playing DivX or mpeg4 files, please be sure of their origin and that you have legally
purchased or rented the contents. Pirate copying is illegal and may result in sanctions. Private
copies of your own material for your own use may be legal in some countries. Make sure you
are aware of any applicable laws.
Programme playback (mp3 and WMA)
1. Insert a disc. Use the , , and buttons to select the file you want to add to the play-
back list and press the PREVIEW button. Repeat this step as often as necessary.
2. Press the PROGRAM button to display the playback list and press PLAY to start playback.
Files are played in the order of the playback list. Playback stops once all files have been
played. To delete a file from the list, press the PROGRAM button, use the and
buttons
to select the file from the playback list and press PREVIEW to delete it.
3. Press the OPEN/CLOSE button to delete the playback list.
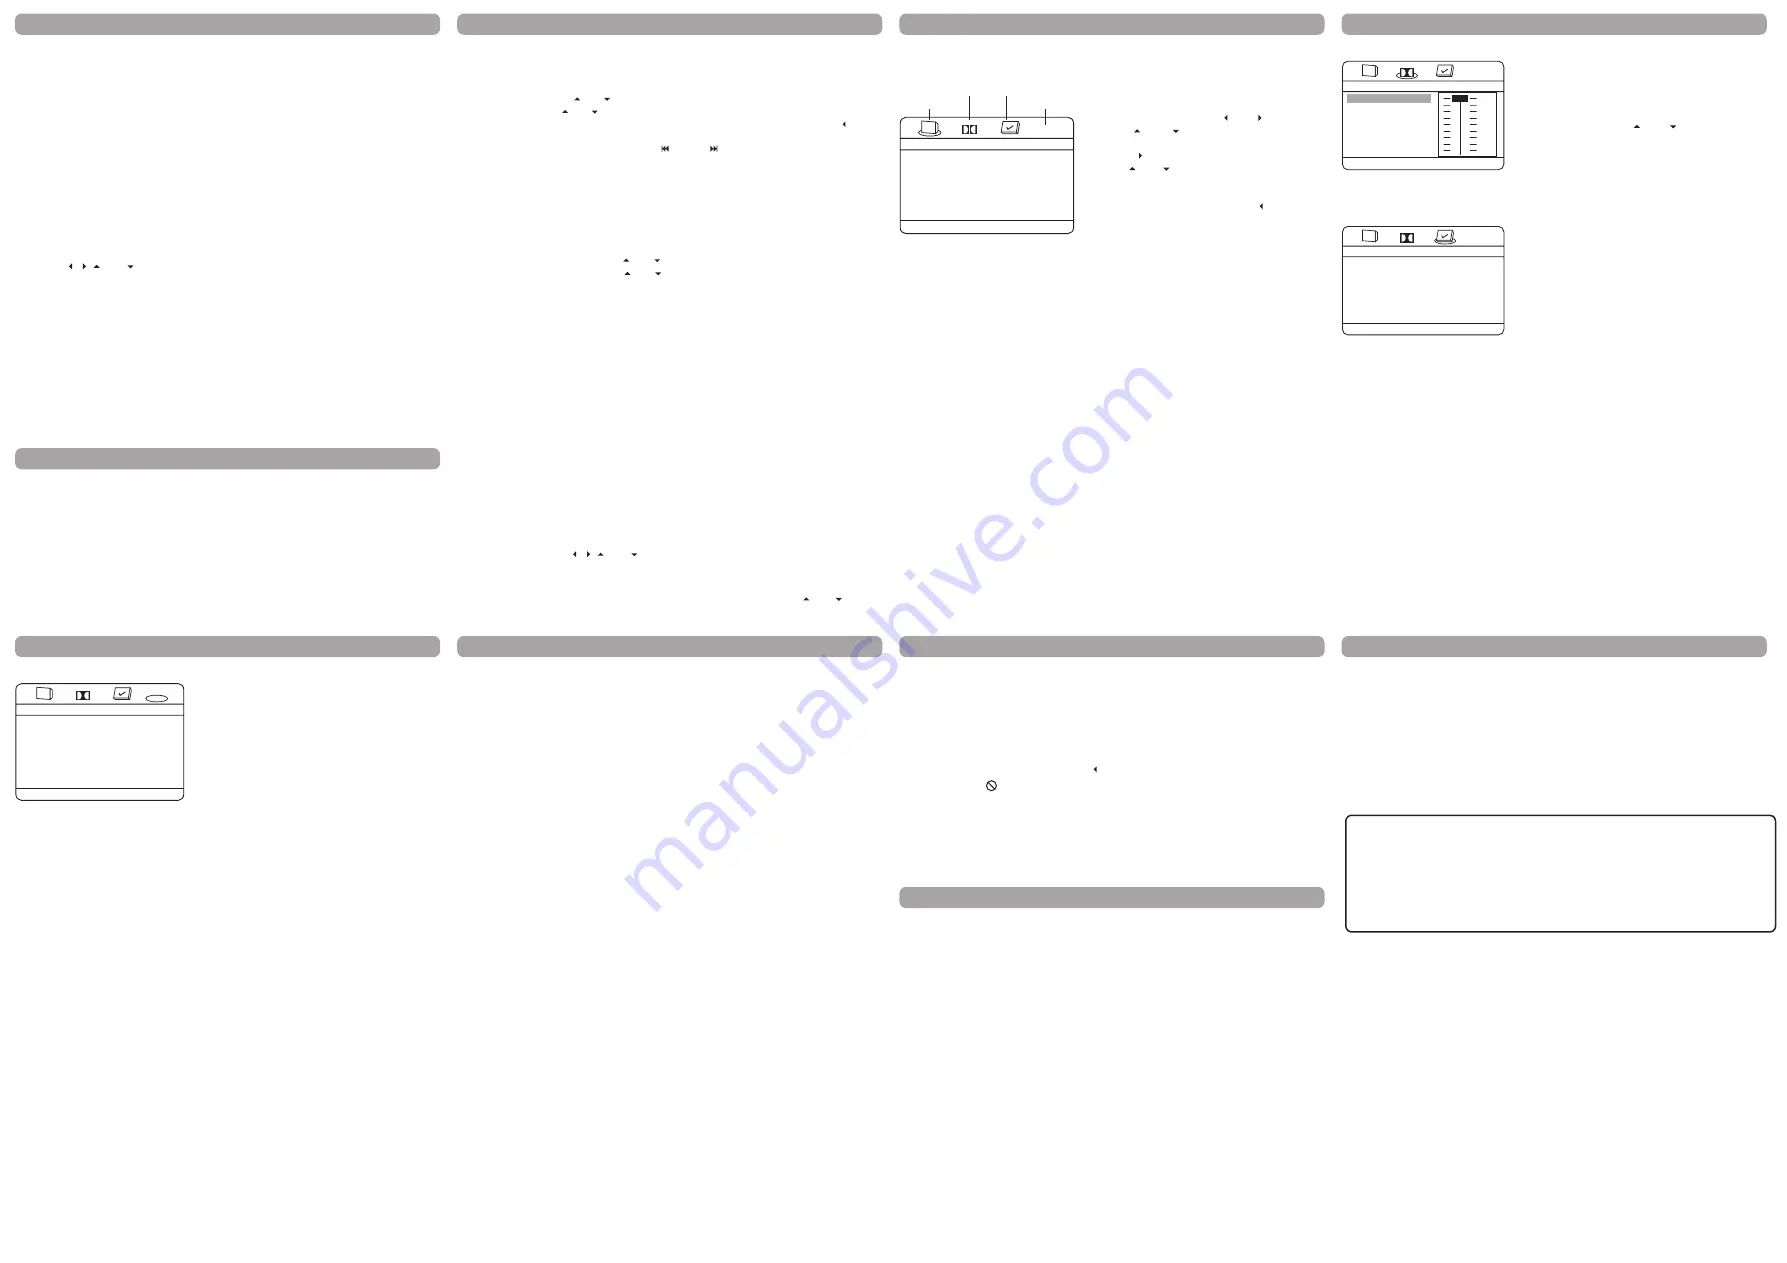
Menu System
The DVD Player Menu System
The DVD Player Menu System is not the same as the disc menu. The DVD player menu
appears when there is no disc playing.
To access the DVD player menus:
•
Press the SET UP button to display the main menu.
•
Select a menu icon using the and buttons.
•
Use the
and
buttons to select one of the
options in the menu.
•
Press the button to access the submenu.
•
Use the and buttons select one of the options
in the submenu.
•
Press OK to confirm your selection.
•
Return to a previous menu using the button.
•
To exit from the player menus, press the SET UP
button repeatedly.
General Setup Menu (shown above)
TV Display
You can choose a display option that affects how a disc’s content appears on your TV screen.
•
Normal/PS (4:3 Standard): reproduces a 4:3 picture with some distortion.
•
Normal/LB (4:3 Letterbox): gives best reproduction of pictures recorded in this format
(i.e., with horizontal bands at the top and bottom of the screen).
•
Wide Screen (16:9 Widescreen): reproduces 16:9 format films in full, on a 16:9 screen.
Video Out
Lets you choose between progressive scan and interlaced video output.
•
YUV Interlace: Choose YUV Interlace if your TV uses the traditional technology known
as interlace scan.
•
YUV Progress: Choose this option if your TV has progressive scan and you have
connected the DVD player COMPONENT OUT jacks to the COMPONENT
IN jacks of the TV. Progressive scan gives you a sharper, cleaner picture.
Note:
If the picture is lost while using progressive scan, you can toggle P-SCAN on and off by
pressing the OPEN/CLOSE button simultaneously with PLAY button on the front panel
of the player.
Menu Language
The Menu Lang feature enables you to set the preferred on-screen menu language: English,
Spanish, or French.
HDMI Setup
If you are using the DVD player’s HDMI output to connect to your TV, set the HDMI Setup
option to the resolution that matches your TV. See the user manual that came with your TV
for information on the highest resolution your TV supports.
HDMI Audio
To change the HDMI audio mode. Select “SPDIF” if your TV system is with built-in 5.1
channel digital audio decorder or “PCM” if your TV supports 2 channel digital audio output.
Menu System
Dobly Digital Setup Menu
Dynamic
This feature monitors the audio track and controls the
different sound levels via dynamic compression. It
minimizes sudden volume increases such as when a
commercial starts.
Select a range using the and buttons and press
OK.
Preferences Setup Menu
The menu gives you options to change some aspects of your DVD player to fit your personal
preferences.
Audio:
Selects the dialogue language: English, French, Spanish,
German, Italian, Swedish or Portuguese.
Subtitle:
Selects the subtitle language: English, French, Spanish,
German, Italian, Swedish, Portuguese or off.
Disc Menu:
Selects the disc’s menu language: English, French,
Spanish, German, Italian, Swedish or Portuguese.
Note:
Discs are created differently. The DVD player cannot override some language
preferences. If a disc’s software was created to play the movie (title) in a perferred
language, the preference you set might be ignored. Also, if the language is not
available on the disc you are playing the disc’s default language will be chosen. If the
disc was not created with subtitles, you won’t be able to use the Subtitle feature.
Ratings (Parental Control)
You determine the types of discs played and what types require a password to override the
rating limit. Ratings are ranked from Level 1 to 8. Level 1 is least offensive material and
Level 8 is most offensive. When adjusting Ratings for the first time:
1. Press SET UP on the remote control to display the main menu.
2. Select the Preferences menu and highlight Ratings. When asked to enter an old password,
enter any number.
3. Enter your new password; it is saved.
4. Select Ratings and select a level.
Note:
To enforce Rating Limits, the disc you’re playing must contain a rated movie (or title).
Password
Password is not defined until you set it. Should you select a password and then forget it, go
to the Troubleshooting section for instructions on resetting.
Note:
There is a lock feature on your DVD player if you want to prevent your child from
watching DVDs (don’t forget to remove the remote control). Follow the directions for
locking and unlocking in the Troubleshooting section.
Limited Warranty
Menu System
TVG Setup Menu
TV Guardian (TVG) filters out objectionable language
by monitoring the closed captioning (CC) information
contained on the DVD. It also offers various levels
of filtering and is easily adjustable with simple on-
screen menus.
TVG Mode
You can select various levels of offensive language filtering.
Off........................... No filtering.
Tolerant......................Filters only the most offensive foul language.
Moderate....................Increased standards for language filtering.
Strict......................... filters out all common offensive language.
Word Subset Filtering
In addition to the main TV Guardian Modes listed above, you can turn certain word subsets
on or off according to your preferences.
Hell/Damn..................Filters out variations of “Damn” and “Hell”.
Religious....................Filters out reference to deity. (To watch religious programming, turn
this word subset off.)
Sexual....................... Filters sexually explicit language.
CC Mode
On Mute (Default)........ Captions are displayed when offensive language is being filtered.
On Always................ Captions are displayed continuously.
CC Channel
To use the TVG captioning features while watching a DVD Movie, your television must be
capable of displaying closed captions. Make sure that your TV CC is set to “CC1” or “CC2”
(Close caption on channel 1 or 2), and that the CC channel on your DVD player is set to
“CC1” or “CC2” respectively (CC2 is the default setting.)
About TVG iActivate function
1. Power on the unit, the following dialog shows, ‘Start using your TVGuardian foul language
filter today! Press the SET UP button and select TVGuardian to enable filter. This message
will be displayed five times’.
2. Press SET UP, move the cursor to the tab “TVG” and press ENTER button. A dialog and
display registration key appears. You can access the TVG Menu after entering the correct
Activation Code.
Setup Help
Select this option and press OK to enter the Setup Help of TVG Menu to look for more
information on TV Channel Selection and TVG Website address. Press OK to exit this option.
152-52860-0285
- - Dobly Digital Setup - -
Dynamic
Dolby
To Adjust DRC, Press OK.
TVG
FULL
OFF
1/2
3/4
1/4
- - Preferences Setup - -
Audio
Subtitle
Disc Menu
Rating
Password
ENG
ENG
ENG
Dolby
Preferences Setup, Press OK.
TVG
TVGuardian Setup
TVG Mode
Hell/Damn
Religious
Sexual
CC Mode
CC Channel
Setup Help
STR
OFF
OFF
OFF
OFF
CC2
Dolby
Go To TVG Setup Page
TVG
General Setup Menu
TV Display
Video Out
Menu Language
HDMI Setup
HDMI Audio
VOD
PS
ENG
Off
PCM
VOD
Dolby
General Setup Menu, Press OK.
Dolby Digital Setup Preferences Setup
TVG
General Setup
TVGuardian Setup
Troubleshooting
You can correct most problems you have with your product by consulting the Troubleshooting
list that follows.
Player won’t work or no power
•
Try unplugging the AC power cord, wait two minutes, and plug it back in.
The remote control does not work
•
Remember to point the remote control at the front of your player (towards the infrared
remote sensor). Make sure there are no objects between the remote and the player.
•
Maybe the batteries in the remote are weak, dead, or installed incorrectly. Replace the
batteries and make sure the polarity of the terminals (+ and –) is correct.
•
Operate the remote control at a distance of no more than 20 feet.
Disc won’t play
•
Insert a disc with the label side facing up.
•
Check the type of disc you put into the disc tray. Refer to Compatible Disc section.
•
Make sure the regional code of the disc is Region No. 1.
Forgot password
•
Open the tray and press CLEAR, 0,0,0,0,1. Turn off DVD player and then turn it on by
pressing the ON/OFF key, or you can unplug the unit, wait a few seconds and plug it in
again.
Lock/Unlock DVD player
•
To lock player, press SET UP, 0, 0, 0, 8, 3 (an on-screen message, “Key Lock On” is
displayed).
•
To unlock, press SET UP, 0, 0, 0, 8, 3.
Play starts, but then stops immediately
•
The disc is dirty. Clean it.
•
Condensation has formed. Allow player to dry out.
Picture format does not match the screen format
•
The picture format is adjustable, refer to GENERAL SETUP menu section. Some discs
dictate the format, in which case no adjustment is possible.
Picture is distorted
•
The disc might be damaged. Try another disc.
•
When using FORWARD or REVERSE buttons, it is normal for some distortion while
scanning.
•
Make sure you’ve selected the correct option for VIDEO OUT feature.
Sound problems
•
If a TV is used, check whether the sound is muted or turned down low.
•
You may need to read just the settings in the AUDIO menu.
•
Sound is muted during still, frame advance, or slow-motion play.
Limited Warranty
Troubleshooting
Menu problems
•
With a DVD: the disc menus are not displayed in your language. Read the disc jacket to
see what languages are available on that disc. Choose one that suits you, if possible.
•
With a DVD: there are no subtitles. Read the disc jacket to see if subtitles are available
on that disc. Choose subtitles in a language that suits you if possible.
•
If the player’s setup menus are not displayed in the language you want, check that your
language is among those listed in the MENU LANG menu. If necessary, choose another
language.
•
To clear a menu from the screen, press button or repeatedly press SET UP.
The invalid icon ( ) appears on screen
•
The action cannot be completed at this time for one of the following reasons: the disc’s
software restricts it; the disc’s software doesn’t support that feature (e.g.,angles); the
feature is not available at the moment; you’ve requested a title or chapter number that is
out of range.
Ratings problems
•
If you forget your password, go to “Forget Password” information in this section.
•
The default language for dialogues and subtitles may be preset by the DVD.
AVC MULTIMEDIA (“AVC”)
makes the following limited warranty. This limited warranty
extend to the original consumer purchaser and is limited to non-commercial use of
One Year Parts & Labor Warranty
AVC
products purchased in the United States are warranted to be free from defects in
materials or workmanship for a period of one year from the date of their original retail
purchase. If the unit fails to conform to this warranty, we will service the product
AVC
’s sole discretion.
During a period of one year from the effective warranty date, AVC will provide, when
needed, service labor to repair a manufacturing defect at its designated Service
Center. To obtain warranty service in the Untied States, you must
first
call our
Customer Support Center at 1-800-506-5746 or 1-877-252-6873, during the hours
The determination of service will be made by AVC Customer
Support. PLEASE DO NOT RETURN YOUR UNIT TO AVC WITHOUT PRIOR
New or remanufactured replacements for defective parts or
products will be used for repairs by AVC at its designated Service Center for one year
from the effective warranty date. Such replacement parts or products are warranted for
an additional one year from the date of repair or replacement. The Customer will be
is contacted to make the necessary repairs. The customer is responsible for all
Packaging and Shipping Instruction
When you send the product to the AVC service facility you must use the original
carton box and packing material or an equivalent as designated by AVC
.
the product.
using new or refurbished parts and products, at
listed in the box below.
AUTHORIZATION.
required to ship the unit to the Service Center indicated at the time Customer Support
transportation charges to the service facility.
Your Responsibility
(1)
You must retain the original sale receipt to provide proof of purchase.
(2)
These warranties are effective only if the product is purchased and operated in the.
(3)
Warranties extend only to defects in material or workmanship, and do not extend
to any product or parts which have been lost or discarded, or damage to product or
parts caused by misuse, accident, improper operation or maintenance, or use in
violation of instructions provided with the product, or to product which has been
AVC, or to products or parts thereof
Out of Warranty
In the event your product requires repair after the limited warranty
period has expired, please contact our Customer Support Center at
1-800-506-5746, 1-877-252-6873 or
www.1800customersupport.com/RCA
Hours: Monday–Thursday: 9am–7pm, Friday: 9am–5pm, Saturday: 9am–NOON Eastern time.
Important:
You are responsible for any transportation, shipping or insurance relative to the
return of product to our Product Returns Center.
All warranties implied by state law, including the implied warranties of merchantability
and
fitness
for a particular purpose, are expressly limited to the duration of the limited
warranties set forth above. With the exception of any warranties implied by state law as
hereby limited, the foregoing warranty is exclusive and in lieu of all other warranties,
AVC
consequential or incidental damages.
No person, agent, distributor, dealer or company is authorized to change, modify or
extend the terms of these warranties in any manner whatsoever. The time within action
must be commenced to enforce any obligation of AVC arising under the warranty or
of purchase.
This warranty gives you
specific
legal rights and you may also have other rights, which
may vary, from state to state. Some states do not allow limitation on how long an
implied warranty lasts, when an action may be brought, or the exclusion or limitation
For more information on other products and services, please visit our
web site at
www.1800customersupport.com/RCA
Printed in China
U.S.A. or Canada
of incidental or consequential damages, so the above provisions may not apply to you.
altered or
modified
without authorization of
which have had the serial number removed or changed.
guarantees, agreements and similar obligations of manufacturer or seller with respect
to the repair or replacement of any parts. In no event shall
be liable for
under any statute, or law of the United States or any state thereof, is hereby limited to
one year from the date
This limitation does not apply to implied warranties arising under state law.


