background image

2

CAUTION: RISK OF EXPLOSION IF BATTERY IS REPLACED BY AN INCORRECT 
TYPE. DISPOSE OF USED BATTERIES ACCORDING TO THE INSTRUCTIONS.

Environmental Considerations

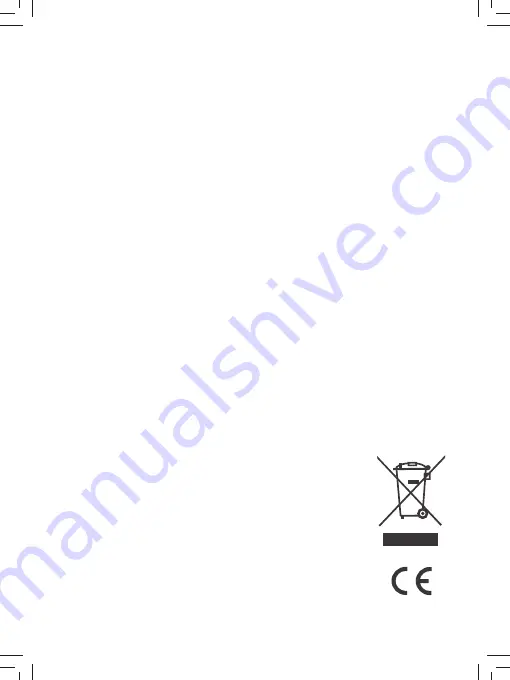
The crossed-out garbage can symbol on your product 
signifies that it falls into the category of electric/
electronic equipment. Products of this type contain 
substances that are potentially dangerous to the 
environment and to human health. Therefore, you 
should not dispose of the Venturer electronic device in 
a regular trash. As such, the current European directives 
ask that this device be collected: 
- At places of distribution in the case of a purchase of a 
similar electronic product.  
- At locally created disposal areas (waste disposal centers, 
sorted trash system, etc.)

SAR statement 

The SAR limit of Europe is 2.0 W/kg. Laptop has also been tested against 
this SAR limit. The highest SAR value reported under this standard during 
product certification for use at the body is 1.506 W/kg. This device was 
tested for typical body-worn operations with the back of the handset 
kept 0 cm from the body. To maintain compliance with RF exposure 
requirements, use accessories that maintain a 0cm separation distance 
between the user’s body and the back of the handset. The use of belt clips, 
holsters and similar accessories should not contain metallic components in 
its assembly. The use of accessories that do not satisfy these requirements 
may not comply with RF exposure requirements, and should be avoided.

•  Do not place lighted candles, cigarettes, cigars, etc. on the product.
•  Care should be taken so that objects do not fall into the product.
•  Do not attempt to disassemble the cabinet. This product does not 

contain customer serviceable components.

•  To prevent the risk of fi re or electric shock, do not expose this apparatus 

to rain or moisture.

•  Do not play your headset at high volume. Hearing experts warn against 

extended high-volume play.

Summary of Contents for Gemini 10 Pro

Page 1: ...RCT6A03W13F1 Gemini 10 Pro Quick Start Guide ...

Page 2: ...nd the point where they exit from the apparatus Only use attachments accessories specified by the manufacturer Unplug this apparatus during lightning storms or when unused for long periods of time Refer all servicing to qualified service personnel Servicing is required when the apparatus has been damaged in any way such as power supply cord or plug is damaged liquid has been spilled or objects hav...

Page 3: ...AR value reported under this standard during product certification for use at the body is 1 506 W kg This device was tested for typical body worn operations with the back of the handset kept 0 cm from the body To maintain compliance with RF exposure requirements use accessories that maintain a 0cm separation distance between the user s body and the back of the handset The use of belt clips holster...

Page 4: ...Microphone Charging indicator Reset Rear camera Volume 3 Headphones Power Standby Connector Getting to know your tablet Micro USB Charging ...

Page 5: ...E The keyboard connects to the tablet via the Connector When the connection is successful the tablet will automatically adjust its settings to use the keyboard Undocking Docking 4 Tablet docking undocking ...

Page 6: ...Please Read We recommend fully charging your tablet before using it for the first time For optimum performance please connect the provided AC adaptor to your tablet when it falls below 20 charge Charging time will vary depending on remaining battery level Charging from 0 should take approximately 4 5 hours Use ONLY the included AC adaptor You may not be able to turn on your tablet for at least 20 ...

Page 7: ...nd hold the Power button 4 5 seconds to turn on the tablet 2 Select the language then tap 3 Set the Wi Fi 5 The Jumping Icons will remind you to pull up the ALL APPs menu 6 Tap the UP arrow or swipe up from the bottom of the screen to enter the ALL APPs menu 4 Follow the onscreen instructions to setup the tablet Jumping Icons and UP arrow ...

Page 8: ...turn off the tablet screen Press the Power button to turn on the tablet screen Thursday 4 April Setting the Auto rotate screen 1 Swipe down from the top edge of screen to launch the Quick Settings 2 Touch the icon to turn on the Auto rotate screen Tip You can also go to Settings Accessibility Auto rotate screen and turn it on ...

Page 9: ...lternatively if your Wi Fi router supports Wi Fi Protected Setup you can go to the Advanced Wi Fi screen tap Wi Fi preferences and select Advanced and select WPS Push Button then press the WPS button on your router 5 If your network does not broadcast its SSID tap Add network and enter the Network SSID name of the network If necessary enter security or other network configuration details 1 Go to S...

Page 10: ...9 Power off your tablet Power DC IN 5V operate with AC adaptor Specification Press and hold the Power button until Power off appears and tap it The tablet will be completely powered off Thursday 4 April ...

Page 11: ... year from the date of their original retail purchase If the unit fails to conform this warranty we will service the product using new or refurbished parts and products at Venturer s sole discretion Google Android Google Play YouTube and other marks are trademarks of Google LLC The Wi Fi CERTIFIED Logo is a certification mark of the Wi Fi Alliance The Wi Fi Protected Setup Mark is a mark of the Wi...

Page 12: ...811 9A0391W030 Printed in China ...

Reviews: