16
17
17
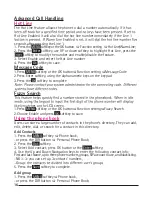
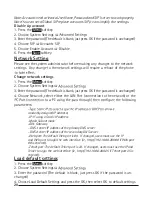
2. Press the
Opt.
softkey. :
3. Select Add Group, press OK button or the Enter softkey;
4. Name the Group using the alphanumeric keys on the keypad.
5. Press the
OK
softkey to complete.
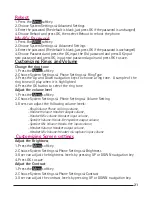
Modify group
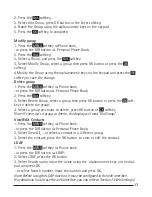
1. Press the
MENU
softkey
[
Phone book,
-or press the DIR button
[
Personal Phone Book;
2. Press the
Opt.
softkey;
2. Select a Group, and press the
Opt.
softkey.
3. Select Modify Group, select a group then press OK button or press the
OK
softkey;
4.Modify the Group using the alphanumeric keys on the keypad and press the
OK
softkey to save the change.
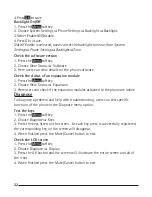
Delete group
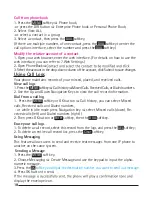
1. Press the
MENU
softkey
[
Phone book,
-or press the DIR button
[
Personal Phone Book;
2. Press the
Opt.
softkey. :
3. Select Delete Group, select a group then press OK button or press the
OK
soft-
key to delete the group;
4. Select a group you want to delete, press OK button or
OK
softkey
Note: If there isn’t a group to delete, the display will read “No Group!’.
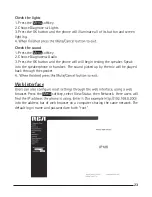
View/Edit Contacts
1. Press the
MENU
softkey
[
Phone book,
-or press the DIR button
[
Personal Phone Book;
2. Select View All, -or select a contact in a different group;
3. Select the contact, press the OK button to view or edit the contact.
LDAP
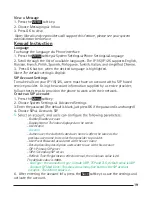
1. Press the
MENU
softkey
[
Phone book,
-or press the DIR button
[
LDAP;
2. Select LDAP, press the OK button.
3. Select Search name, input the name using the alphanumeric keys on the dial-
pad and press OK.
-or select Search number, input the number and press OK.
Note: Before using the LDAP function, it must be configured in the web interface.
(For details on how to use the web interface, you can refer to Section 7. Web Settings.)
Summary of Contents for IP115
Page 1: ...IP115 125 IP Phone ...
Page 64: ...01 13 10 send will ...

