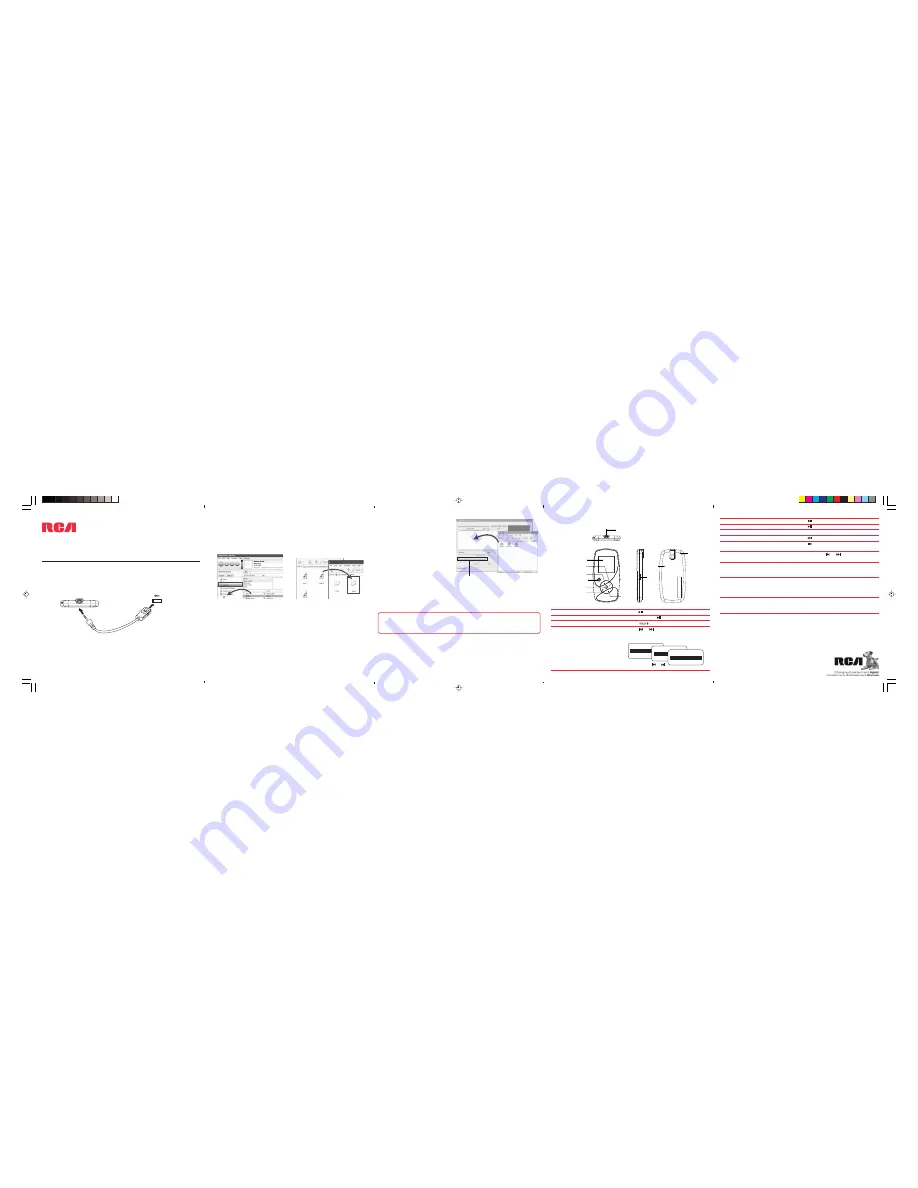
Front view
Top view
2
RESET
MIC
Right view
Back view
4
5
Getting Started
1. Install the PC software from the CD* before connecting your player.
2. Connect your player to your computer.
• The player charges automatically every time you connect it to your computer.
It should charge for
at least 3 hours
before using for the first time.
Tocom: 5641993C (EN/E)
Learn more about the player
• Read the user manual on the CD for more information on the player’s features,
safety and warranty information, and answers to Frequently Asked Questions
(FAQ).
Need more help?
• Visit
www.rcaaudiovideo.com/downloads
for the latest firmware, driver
downloads and FAQ
General controls
Thomson Inc.
P.O. Box 1976
Indianapolis, IN 46206-1976
© 2007 Thomson Inc.
Trademark Registered
Marca Registrada
Marque Deposée
www.rcaaudiovideo.com
*accessory supplied
QuickStart
Guide
M40 series
www.rcaaudiovideo.com
Congratulations on purchasing your new RCA player.
Please read these instructions for quick tips on using the player.
Do not return this product to the store.
Note:
The USB cable provided is dedicated for this player only. DO NOT connect this player
to the computer with any other USB cable. DO NOT plug this USB cable in other USB
devices.
USB port
of your
computer
The player
USB cable*
3. Transfer audio files to your player with either of the two methods below:
•
Windows Explorer
: drag-and-drop
audio files to the
Internal Storage
folder (Windows Vista
TM
) or the
Media
folder (Windows® XP) of the player.
For Windows® 2000 users, drag-and-
drop files to the player’s drive letter.
•
Yahoo! Music
TM
Jukebox
(in
Windows® XP or Windows Vista
TM
,
installed from the CD): drag-and-drop
audio files from your
Yahoo My Music
library to the player.
OPAL
OPAL
• The player is also compatible with most PC music management softwares.
• For details on file transfer, refer to
Transferring Files to the Player
in the
user manual on the CD.
4. Transfer image files to the
Internal Storage
folder (Windows Vista
TM
) or
the
Media
folder (Windows® XP) or to the root directory (in Windows®
2000) of your player by
Windows Explorer
as shown in step 3.
5. Convert and transfer video files to
your player by using the
RCA
SMV Video Converter
(installed
from the CD): drag-and-drop video
files from Windows Explorer to
the converter and check the box
as shown on the right before
clicking “Convert”.
6. Disconnect the player from the
computer and enjoy music/video
on the go.
Check this box
Turn on the player
Turn off the player
Lock the keys
Browse for an audio/video file
Press
Press and hold
Slide upwards.
Press or to go back or advance in the
file menu and press
+
or
–
to scroll up or
down to the desired audio file
Earphones Jack/USB jack/
Line-in recording jack
Microphone
Volume button
(increase)
fast forward button
The display
Advance/
Play/pause
button
Go back/
rewind button
Volume
button
(decrease)
RESET
button
HOLD
button
Menu button
Press
Press , press again to resume
Press
+
or
–
during playback
Press
Press within the beginning 4 seconds of
the current audio file
Press and hold or during playback
Press
M
Press
M
once if you are in the playback
screen. Press twice if you are in the Home
menu
Press the
RESET
button on the back of the
player with a non-metal pointed object
(e.g. toothpick)
Play an audio/video file
Pause the playback
Adjust the volume
Skip to the next audio/video file
Skip to the previous audio/video file
Rewind or fast forward an audio/video
file
Access the Library menu (to access the
Music, Audio Books, Voice Recs, Line-in
Recs, My Selection, Pictures and Video)
Acess the Player's menu (to access the
Shuffle, Repeat, DSP, Slideshow, Clear
MySel, Settings and System Info)
Reset the player (if it is not responding)
For information on new and upcoming products and to register your new player,
visit
www.rcaaudiovideo.com
.
or
+
or
–
Home
Music
Audiobooks
Music
Artists
Albums
Artists
>
Artists 1
>
Artists 2
>
Windows is a registered trademark of Microsoft Corporation in the United States and other countries.


