background image

11

GB

MORE INFORMATION

Safety Precautions

- Never open the cabinet under any circumstances.
Any repairs or internal adjustments should be made
only by a trained technician.
- Never operate this product with the cabinet
removed.
- Do not touch the player with wet hands.  If any liq-
uid enters the player cabinet, take the player to a
trained technician for inspection.
- This compact disc player uses a laser to read the
music on the disc.  The laser mechanism corresponds
to the cartridge and stylus of a record player.
Although this product incorporates a laser pick-up
lens, it is completely safe when operated according to
directions.
- Discs rotate at high speed inside the player.  Do not
use damaged, warped, or cracked discs.
- Prevent damage to this product, set switch for prop-
er voltage. 
- Do not touch the pick-up lens which is located inside
the disc compartment.  Also, to keep dust from col-
lecting on the pick-up lens and do not leave the com-
partment door open for an extended period of time.
If the lens becomes dirty, clean it with a soft brush, or
use an air blower brush designed for camera lenses.

Important Batteries Information

- Remove the batteries to avoid leakage if you do not
use your remote control for more than one month.
Discard leaky batteries immediately as leaking batter-
ies may cause skin burns or other personal injuries.
Dispose of batteries in the proper manner, according
to provincial and local regulations.  Any battery may
leak electrolyte if mixed with a different battery type,
if inserted incorrectly, if all batteries are not replaced
at the same time, if disposed of in fire, or if an
attempt is made to charge a battery not intended to
be recharged.

Headset Safety

- Do not play your headset at a high volume.  Hearing
experts are against continuous extended play.
- If you experience a ringing in your ears, reduce vol-
ume or discontinue use it.
- You should use be extreme caution or temporarily
discontinue use it in potentially hazardous situations.
Even if you headset is an open-air type designed to let

you hear outside sounds, don’t turn up the volume so
high that you are unable to hear what is around you.

Technical Specification

Power supply: 230V~50Hz for Thomson models,
120V~60Hz for RCA models.
Dimensions (mm):
RS1285: 

Unit -380W x400D x 312H
Speaker-214W x 188D x 312 H

RS1287/ RS1289/ RS3287/ VTCD850:

Unit- 380W x 400Dx 312H
Speaker- 240W x 207D x 312H
Surround Speaker ( for RS1289 
only ) - 200W  x 193D x 95H

Tape deck: Response curve: 125Hz-8kHz (-5dB)
CD player: Response curve (+/- 2dB): 20Hz to 20 kHz
Rating Plate: Look for it at the back of the set.

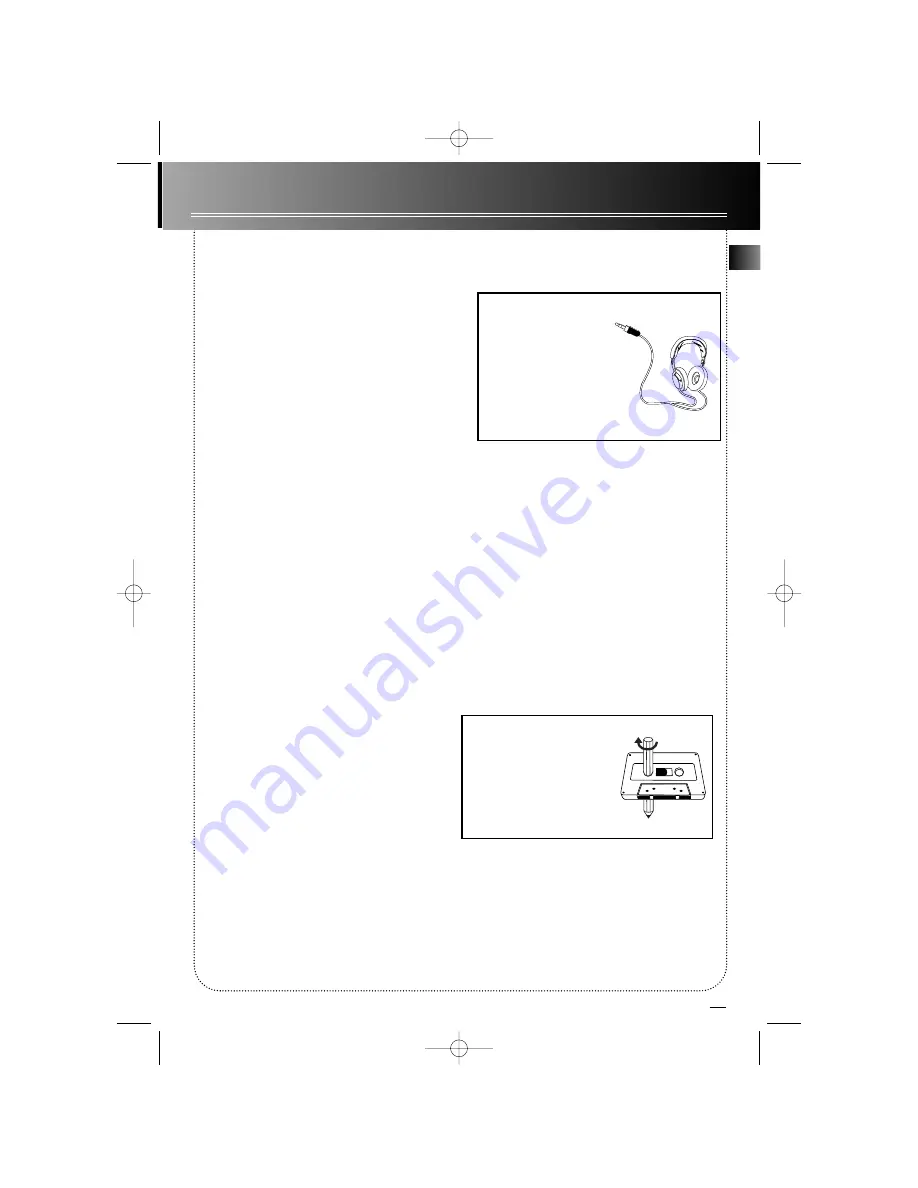
Have a Blast- Just Not in
Your Eardrums
Make sure you turn down
the volume on the unit
before you put on head-
phones. Increase the vol-
ume to the desired level
only after headphone are
in place.

Quit Slacking

A little bit of slack in your tapes

can cause scratches on the tape,
or worse yet, the tape could
break. If you notice some slack
in the tape, use a pencil to
tighten it up before you insert
it.

A

RS1285/1287 english US rev 1  2/1/00  10:57 AM  Page 15

Summary of Contents for RS1287

Page 1: ...do not output the film on this page please turn next page RS1285 1287 english US rev 1 2 1 00 10 57 AM Page 1 ...

Page 2: ...SET PRE SET S I M U L T A N E O U S AUTOMATIC RECORD LEVEL AUTO ST ONETOUCH RECORDING PLAYBACK RECORD 1 TAPE THOMSON CONSUMER ELECTRONICS 10330 N Meridian St Indianapolis IN46290 1999 Thomson Consumer Electronics Inc Trademark s Registered Marca s Registrada s Marque s Déposée s 55050050 Rev 1 RS1285 1287 english US rev 1 2 1 00 10 57 AM Page 2 ...

Page 3: ...E T E Q SHU FFLE SET DIGITALTUNING P L A Y A N D L O A D S Y S T E M O STOP MECHANISM 1 2 Y A L P S U O U N I T N O C 1 2 G N I B B U D E P A T PLAYBACK TAPE 2 DISC 1 D I S C 5 DISC 2 DISC 4 DISC 3 u s e r m a n u a l RS1285 RS1287 RS1289 RS3287 VTCD850 VTCD855 RS1285 1287 english US rev 1 2 1 00 10 57 AM Page 3 ...

Page 4: ...antenna that is the antenna for the radio or television that is receiving the interference Move the unit away from the equipment that is receiving interference Plug the unit into a different wall outlet so that the unit and the equipment receiving interference are on different branch circuits If these measures do not eliminate the interference please consult your dealer or an experienced radio tel...

Page 5: ... Play Order 6 Setting Up a CD program 7 Playing a Program List 7 Displaying the Program list 7 Deleting a Track from a Program List 7 Skipping a Disk 7 Searching through a CD 7 Tuner 8 Tuning to a Station 8 Using Presets 8 Setting Presets 8 Suppressing Stereo Signal 8 Tuning to an RDS Station 8 Displaying RDS Station Information 8 Searching by Program Type PTY 9 Tape Player 9 Playing a Tape 9 Cont...

Page 6: ...ONETOUCH RECORDING 1 2 Y A L P S U O U N I T N O C 1 2 G N I B B U D E P A T PLAYBACK RECORD 1 PLAYBACK TAPE 2 TAPE DISC 1 D I S C 5 DIS C 2 DISC 4 DISC 3 S O U N D S Y S T E M KEVLA To ensure sufficient ventilation keep the spacings shown below free from other surfaces 1 10 cm 10 cm 10 cm 5 cm 10 cm GB 1 AM Loop Antenna Connector 2 Main Speaker Jacks 3 Surround Speaker Jacks 4 FM Antenna 5 Power ...

Page 7: ...RO Turns INTRO mode on or off to play the first 10 seconds of each track RDSTIME INTRO on Thomson models SHUFFLE Turns SHUFFLE mode on or off to play CDs randomly PTY MIX for Thomson series REPEAT Turns REPEAT mode on or off to repeat a track a disc or all discs REPEAT RDS mode for Thomson model BASS BOOST Turns bass boost among different bass boost levels PRESET EQ Toggles among FLAT JAZZ ROCK PO...

Page 8: ...FFLE MIX PTY SEARCH Thomson models Turns on off random listening BASS B Turns on or off Bass Boost SLEEP Press to select the time interval in minute before the unit turns off DEMO Selects dimmer levels and activates demo display when keep pressing for 2 seconds PRESET UP DOWN Selects next previous preset station AUX RECORD do not function in this unit POWER AUX TAPE TUNER CD PRESET EQ MUTE VOL VOL...

Page 9: ...set ting with flashing VOL XX on the display Adjust vol ume between levels 5 and 28 to prevent volume being too low or high with the TUNING UP DOWN keys 5 Press SET to save settings with ON flashes for about 10 seconds During this time if you want to activate both on and off timer press PRESET UP or DOWN for setting timer off time with OF 12 00 flashes on display 6 Repeat steps 2 4 to set the time...

Page 10: ...ting the Play Order Press REPEAT to repeat the current track current disc all discs or turn REPEAT mode off DISC SKIP OPEN CLOSE DISC CHANGER AUDIO SYSTEM S I M U L T A N E O U S P L A Y A N D L O A D S Y S T E M DISC 1 D I S C 5 DIS C 2 DISC 4 DISC 3 Using Preset Equalizer Curves PRESET EQ are toggles for preset equalizer levels Press to toggle among them The display momentarily shows the selecti...

Page 11: ...y to list each track assignment in the program list Deleting Program List While in PROGRAM mode press and hold STOP for 5 seconds The system displays the mes sage CLEAR Skipping a Disk Press DISC SKIP Searching Through a CD Press and hold SKIP FORWARD BACKWARD to search through a CD as it is playing More Tips on Playing and Setting Program Direct Play function Press DISC 1 5 o r PLAY for direct pl...

Page 12: ...ing program icon AMPR FMPR or LWPR 4 If a different program location is preferred press PRESET UP DOWN to move to the desired preset number 1 32 5 Press SET to store the selected frequency at that preset Suppressing Stereo Signal Press FM STEREO to toggle between FM mono and stereo for stereo FM stations Thomson models Tuning to an RDS Station 1 Press DIGITAL TUNING UP DOWN to search for stations ...

Page 13: ... end recording From CD 1 Insert a tape into deck 1 2 Press CD 3 Insert the disc s to be recorded 4 Select the track CD or program to be recorded 5 Press RECORD to begin recording 6 CD begins to play 7 Press STOP to end recording Tape to Tape 1 Insert the destination tape in deck 1 2 Insert the source tape into deck 2 3 Press PAUSE and then RECORD on deck 1 4 Press PLAYon deck 2 The playback and re...

Page 14: ...function TAPE Tuner and then back to CD Inspect the tape heads and clean and demagnetize Check that the batteries are properly installed Replace weak batteries Check the system is plugged in to power source Point the remote directly at the system s front panel Move closer to the system Remove any obstacles between the remote and the system Disconnect the audio system from the power source before p...

Page 15: ... local regulations Any battery may leak electrolyte if mixed with a different battery type if inserted incorrectly if all batteries are not replaced at the same time if disposed of in fire or if an attempt is made to charge a battery not intended to be recharged Headset Safety Do not play your headset at a high volume Hearing experts are against continuous extended play If you experience a ringing...

Page 16: ...nsure your shipment in case of loss of damage Thomson accepts no liability in case of damage orloss A new or refurbished unit will be shipped to you prepaid freight What your warranty does not cover Customer instruction Your Owner s Manual provides information regarding operating instructions and user controls For additional information ask your dealer Installation and set up service adjustments B...

Page 17: ...X1 The provisions of this written warranty are in addition to and not a modification of or subtraction from the statutory warranties and other rights and remedies contained in any applicable legislation and to the extent that any such provisions purport to disclaim exclude or limit any such statutory warranties and other rights and remedies such provisions shall be deemed to be amended to the exte...

Reviews: