background image

10

EN

Solution

Check power cord for a secure connection.

Unplug the unit for a moment, and then plug

into power source again.

Check the outlet by plugging in another device.

Increase the volume setting.

Check connection to speakers.

Check that you have selected the appropriate

function: CD, TAPE, Tuner.

Make sure mute is off.

Check antenna connection.

Move antenna.

Turn off nearby electrical  appliances, such as

hair dryer, vacuum cleaner, microwave, fluores-

cent lights.

Check that CD is in the tray.

Check that CD label is facing up.

Check that PAUSE mode is not on.

Check that CD function is selected.

Use CD lens cleaner.

Clean the disc.

Clean the disc.

Check disc for warping, scratches, or other

damage.

Problem

System will
not turn on

No sound

Poor radio
reception

CD does
not play

CD sound
skips

Problem

CD button
will not
respond, or
does not
change
discs when
you press
DISC SKIP

Distorted or
noisy tape
recordings

Remote
control
does not
work

Solution

Check if something is causing the system to

vibrate. If so, move the system.

Make sure the speakers are at least 3 feet away

or on a different surface from the main unit.

Switch to another function (TAPE, Tuner) and

then back to CD.

Inspect the tape heads and clean and demag-

netize.

Check that the batteries are properly installed.

Replace weak batteries.

Check the system is plugged into power source.

Point the remote directly at the system’s front

panel.

Move closer to the system.

Remove any obstacles between the remote and

the system.

Disconnect the audio system from the power source
before performing any maintenance.

Cleaning

Clean the exterior of the system using a soft dust
cloth.

CD Player

CAUTION!

This system operates with a laser. It must

be opened by only a qualified technician.

Tape Player

To prevent deterioration of sound quality, periodical-
ly open the door of each deck and clean the magnet-

ic heads, pinch roller, and capstan with a cotton bud
dipped in alcohol. Also, demagnetize the head by
playing a demagnetizing cassette (available through
an audio equipment store).

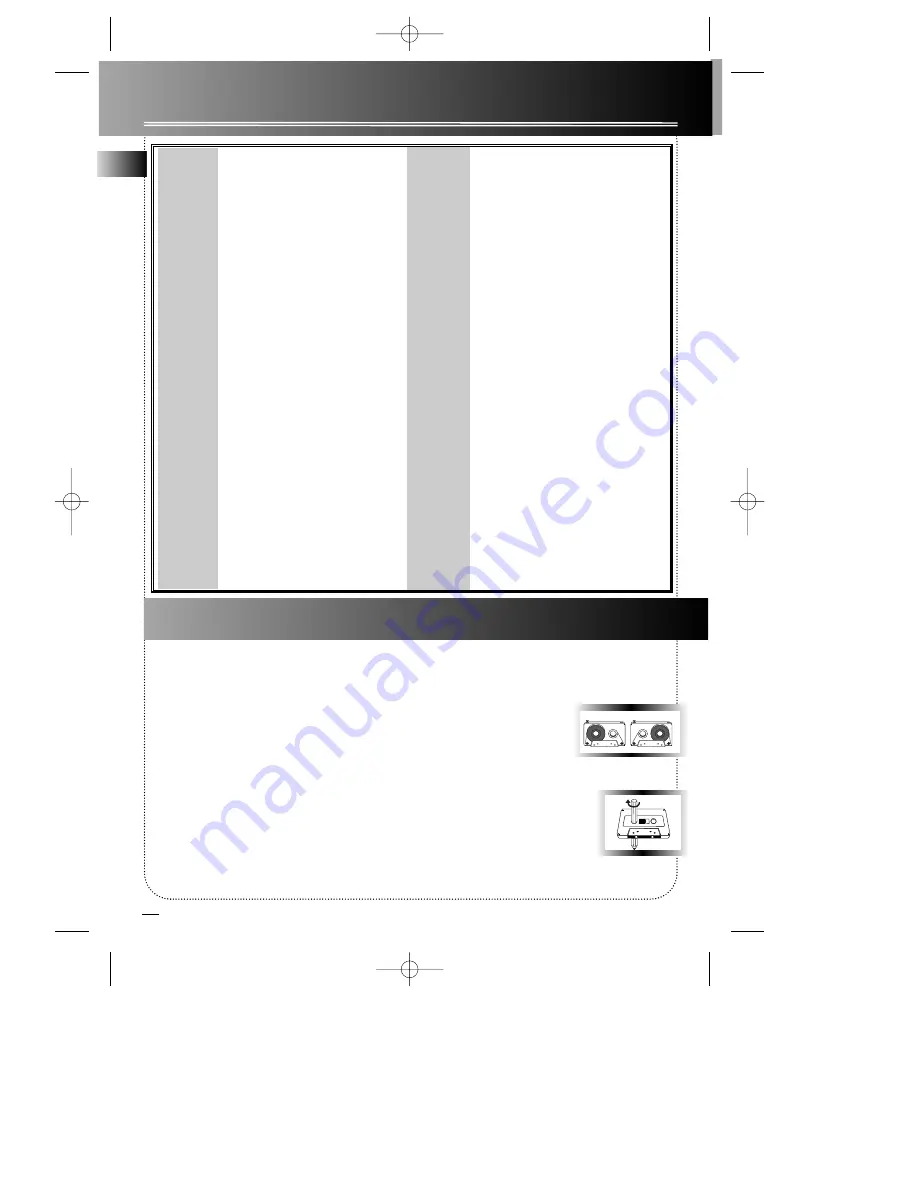
To protect recordings one or
both sides of a tape, remove
the corresponding tab. If you
later want to record on the tape, affix a piece of
adhesive tape over the hole.

Quit Slacking - A little bit of slack in
your tapes  can cause scratches on
the tape, or worse yet, the tape
could break. If you notice some slack
in the tape, use a pencil to tighten it up before you
insert it.

Maintenance

A

Side A Protection

B

Side B Protection

Troubleshooting Tips

A

RS2518/19-EN  6/21/01  2:20 PM  Page 14

Summary of Contents for RS2518

Page 1: ...No film output on this page RS2518 19 EN 6 21 01 2 20 PM Page 1 ...

Page 2: ...PATIB LE CLOCK TIMER DIGITAL ROC DISC 1 D SOURCE BAND AUTO PROG AUTOMATIC RECORD DISC SKIP OPEN CLOSE STANDBY Thomson multimedia Inc 10330 N Meridian St Indianapolis IN46290 2001 Thomson multimedia Inc Trademark s Registered Marca s Registrada s Marque s Déposée s 55151040 EN F E www rca com RS2518 19 EN 6 21 01 2 20 PM Page 2 ...

Page 3: ...S T E M MER PROG SET REPEAT DIGITAL MULTIFUNCTION DISPLAY CUSTOM FLAT ROCK CLASSIC POP JAZZ D I R E C T D I S C A C C E S S DISC 1 DISC 2 DISC 3 DISC 5 E BAND AUTO PROG OMATIC RECORD LEVEL AUTO STOP CONTINUOUS PLAY TAPE DUBBING 2 1 EQ CONTROL SYSTEM TUNE PRESET OPEN CLOSE DISC 4 CD DISPLAY u s e r m a n u a l RS2518 RS2519 RS2518 19 EN 6 21 01 2 20 PM Page 3 ...

Page 4: ...erent wall outlet so that the unit and the equipment receiving interference are on different branch circuits If these measures do not eliminate the interference please consult your dealer or an experienced radio television technician for additional sugges tions Also the Federal Communications Commission has prepared a helpful booklet How To Identify and Resolve Radio TV Interference Problems This ...

Page 5: ... Play Order 6 Sampling Tracks 6 Repeating the Play Order 7 CD display 7 Setting Up a CD program 7 Playing a Program List 7 Displaying the Program list 7 Deleting a Track from a Program List 7 Skipping a Disk 7 Searching through a CD 7 Tuner Tuning to a Station 8 Using Presets 8 Auto Preset Program for FM only 8 Setting Presets 8 Suppressing Stereo Signal 8 Tape Player Playing a Tape 9 Continuous P...

Page 6: ...AY TAP E DUBBING 2 1 EQ CONTROL SYSTEM TUNE PRESET BAND OPEN CLOSE DISC 4 CD DISPLAY STANDBY To ensure sufficient ventilation keep the spacings shown below free from other surfaces 10 cm 10 cm 10 cm 5 cm 10 cm EN 2 1 AM Loop Antenna Connector 2 Auxiliary Connector 3 Surround Speaker Jacks Surround speakers included only with RS2519 4 Main Speaker Jacks 5 FM Antenna Unpacking the system You should ...

Page 7: ... modes PROG SET Enters program or setting mode for CD and tuner mode B BOOST Turns B BOOST on or off ROCK CLASSIC CUSTOM FLAT POP JAZZ selects among the different EQ modes VOLUME Increases decreases volume Tape Player RECORD PLAY REWIND FAST FORWARD STOP EJECT PAUSE DEMO DIMMER POWER DECK 1 REC PLAYBACK DECK 2 PLAYBACK B BOOST VOLUME D OW N UP PHONES S O U N D S Y S T E M KEVLAR 5 DISC CHANGER DIG...

Page 8: ...p down tuner fre quency DISC SKIP Skips to next CD REPEAT Repeats a track CD or all CDs MUTE mutes sound SHUFFLE Turns on off random listening FM ST Toggles between FM stereo and mono INTRO Turns INTRO mode on or off to play the first 10 seconds of each track PRESET UP DOWN Selects next previous preset station RECORD does not function in this unit SLEEP selects the time interval in minutes before ...

Page 9: ...n press TIMER to shift to minute digits 3 Press SKIP FORWARD BACKWARD to set the minute 4 Press TIMER to change to OF timer off time with hour flashing Repeat steps 2 3 for timer off time setting 5 Press TIMER to select source Press SKIP FOR WARD BACKWARD to select between CD TUNER AUX TAPE 6 Press TIMER to set volume Rotate the VOLUME knob to set desired volume level 7 Press SET to save settings ...

Page 10: ... INTRO mode off Remote Only Note You may also press REPEAT to select 1 disc or all discs before activating INTRO SHUFFLE func tions 5 DISC CHANGER DIGITAL AUDIO SYSTEM S I M U L T A N E O U S P L A Y A N D L O A D S Y S T E M CD R RW COMPATIBLE DIGITAL MULTIFUNCTION DISPLAY Using Preset Equalizer Curves Press ROCK CLASSIC CUSTOM FLAT POP JAZZ on the main unit or EQ on the remote to toggle among FL...

Page 11: ... assign the selected track to the program number After 3 seconds you are prompted for the next track in the program list In CD program mode PROG icon will be lit Playing a Program List While in PROGRAM mode press PLAY Displaying the Program List 1 While the CD player is stopped press SET to enter PROGRAM mode 2 Press SET repeatedly to list each track assignment in the program list Deleting Program...

Page 12: ...g erased accidentally because the scan ning and storing process is automatic upon pressing the button You can stop the automatic scan by press ing any button but the erased stations cannot be recovered Setting Presets 1 Press SKIP FORWARD BACKWARD to access the desired frequency 2 Press the SET button once 3 The most recently accessed program location will be displayed 4 If a different program loc...

Page 13: ...s RECORD to begin recording 5 Press STOP to end recording From CD 1 Insert a tape into deck 1 2 Press SOURCE repeatedly to select CD 3 Insert the disc s to be recorded 4 Select the track CD or program to be recorded 5 Press RECORD to begin recording 6 CD begins to play 7 Press STOP to end recording Tape to Tape 1 Insert the destination tape in deck 1 2 Insert the source tape into deck 2 3 Press PA...

Page 14: ...and then back to CD Inspect the tape heads and clean and demag netize Check that the batteries are properly installed Replace weak batteries Check the system is plugged into power source Point the remote directly at the system s front panel Move closer to the system Remove any obstacles between the remote and the system Disconnect the audio system from the power source before performing any mainte...

Page 15: ...f you experience ringing in your ears reduce volume or discontinue use You should use with extreme caution or temporarily discontinue use in potentially hazardous situations Even if your headset is an open air designed to let you to hear outside sounds do not turn up the volume so high that you are unable to hear what is around you Handling CDs Do not touch the signal surfaces Hold CDs by the edge...

Page 16: ... are completed Proof of purchase in the form of a bill of sale or receipted invoice which is evidence that the product is within the warranty period must be presented to obtain warranty service For rental firms proof of first rental is also required What your warranty does not cover Customer instruction Your Owner s Manual describes how to install adjust and operate your unit Any additional inform...

Page 17: ... AND LIMITED WARRANTY ARE GOVERNED BY THE LAWS OF THE STATE OF INDIANA EXCEPT TO THE EXTENT PROHIB ITED BY APPLICABLE LAW ANY IMPLIED WARRANTY OF MERCHANTABILITY OR FITNESS FOR A PARTIC ULAR PURPOSE ON THIS PRODUCT IS LIMITED TO THE APPLICABLE WARRANTY PERIOD SET FORTH ABOVE How State Law relates to warranty Some states do not allow the exclusion nor limitation of incidental or consequential damag...

Page 18: ...epairs are completed Proof of purchase in the form of a bill of sale or receipted invoice which is evidence that the product is within the warranty period must be presented to obtain warranty service For rental firms proof of first rental is also required What your warranty does not cover Customer instruction Your Owner s Manual describes how to install adjust and operate your unit Any additional ...

Page 19: ...CEPT TO THE EXTENT PROHIBITED BY APPLICABLE PROVINCIAL LAW ANY IMPLIED WARRANTY OF MERCHANTABILITY OR FITNESS FOR A PARTICULAR PURPOSE ON THIS PRODUCT IS LIMITED TO THE APPLICABLE WARRANTY PERIOD SET FORTH ABOVE How Provincial Laws relates to warranty This warranty gives you specific legal rights which are in addition to statutory warranties that may vary from Province to Province If you purchased...

Reviews: