Chapter 4
37
Chapter 4: Radio Features
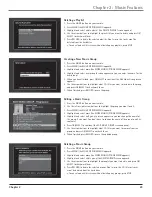
Editing an Internet Station
1. Press the RADIO button on your remote.
2. Use the arrow buttons to highlight the station you want edit.
3. Press MENU (the RADIO OPTIONS MENU appears).
4. Highlight and select
edit station
(a screen appears so you can change the name for
the station, if you want. You don’t have to change the name of the station to edit its
contents).
5. Highlight and select
continue
(the EDIT INTERNET STATION screen appears).
6. Enter the new information.
7. When finished, press RECORD to save the new settings.
• To cancel and exit this screen without editing the station information, press STOP.
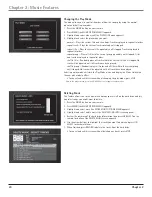
Deleting an Internet Station
1. Press the RADIO button on your remote.
2. Press MENU (the RADIO OPTIONS MENU appears).
3. Highlight and select
delete stations
(the DELETE STATION screen appears).
4. Use the arrow buttons to highlight the station(s) you want to delete, and press OK/
SELECT to checkmark them.
5. Press RECORD to delete the selected stations.
• To cancel and exit this screen without deleting any stations, press STOP.
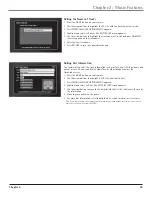
Creating a New Radio Group
1. Press the RADIO button on your remote.
2. Press MENU (the RADIO OPTIONS MENU appears).
3. Highlight and select
new group
(a screen appears so you can enter the name for the
new group).
4. When you have finished, press OK/SELECT to continue (the Edit RADIO Group screen
appears).
5. Use the arrow buttons to highlight what stations you want to include in the group,
and press OK/SELECT to checkmark them.
6. When finished, press RECORD to save the group.
Editing a Radio Group
1. Press the RADIO button on your remote.
2. Use the arrow buttons to highlight the group you want to edit.
3. Press MENU (the MUSIC OPTIONS MENU appears).
4. Highlight and select
edit group
(a screen appears so you can change the name for
the group, if you want. You don’t have to change the name of the group to edit its
contents).
5. Press OK/SELECT to continue (the EDIT RADIO GROUP screen appears).
6. Use the arrow buttons to highlight what stations you want to remove from the
group, and press OK/SELECT to uncheck them.
7. When finished, press RECORD to save the updated group.


