23
Menu settings
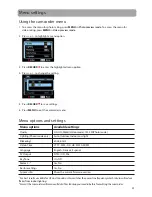
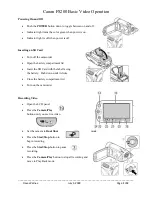
Using the camcorder menu
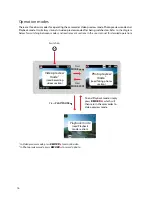
1. To access the menu for photo taking, press
MENU
in
Photo preview mode
. To access the menu for
video taking, press
MENU
in
Video preview mode
.
2. Press + or – to highlight a menu option.
3. Press
RECORD
to enter the highlighted menu option.
4. Press + or – to change the setting.
5. Press
RECORD
to save settings.
6. Press
MENU
to exit the camcorder menu.
Menu options and settings
Menu options
Available settings
Quality
HD, HQ, WebQ(Video mode); 1M, 3M(Photo mode)
Lighting (Photo mode only)
Auto, Outdoor, Indoor, Low light
Flickering
1
50Hz, 60Hz
Date & Time
YYYY - MM - DD, HR : MM AM/PM
Language
English, Francais, Espanol
TV Output
NTSC (US), PAL
Key Tone
On, Off
Format...
2
Yes, No
Restore settings
Yes, No
System info
Show the current fi rmware version
1
For best results use 60Hz for US and Canada as this matches the power line frequency which in turn will reduce
flicker from indoor lighting.
2
Format the camcorder will remove all data files. Backup your media before formatting the camcorder.

