84
OPTIONAL PARTS
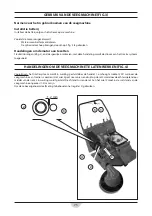
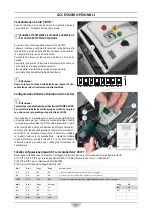
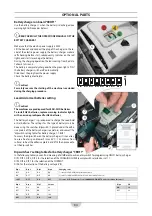
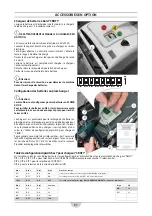
Battery charger on board “CBHF1”
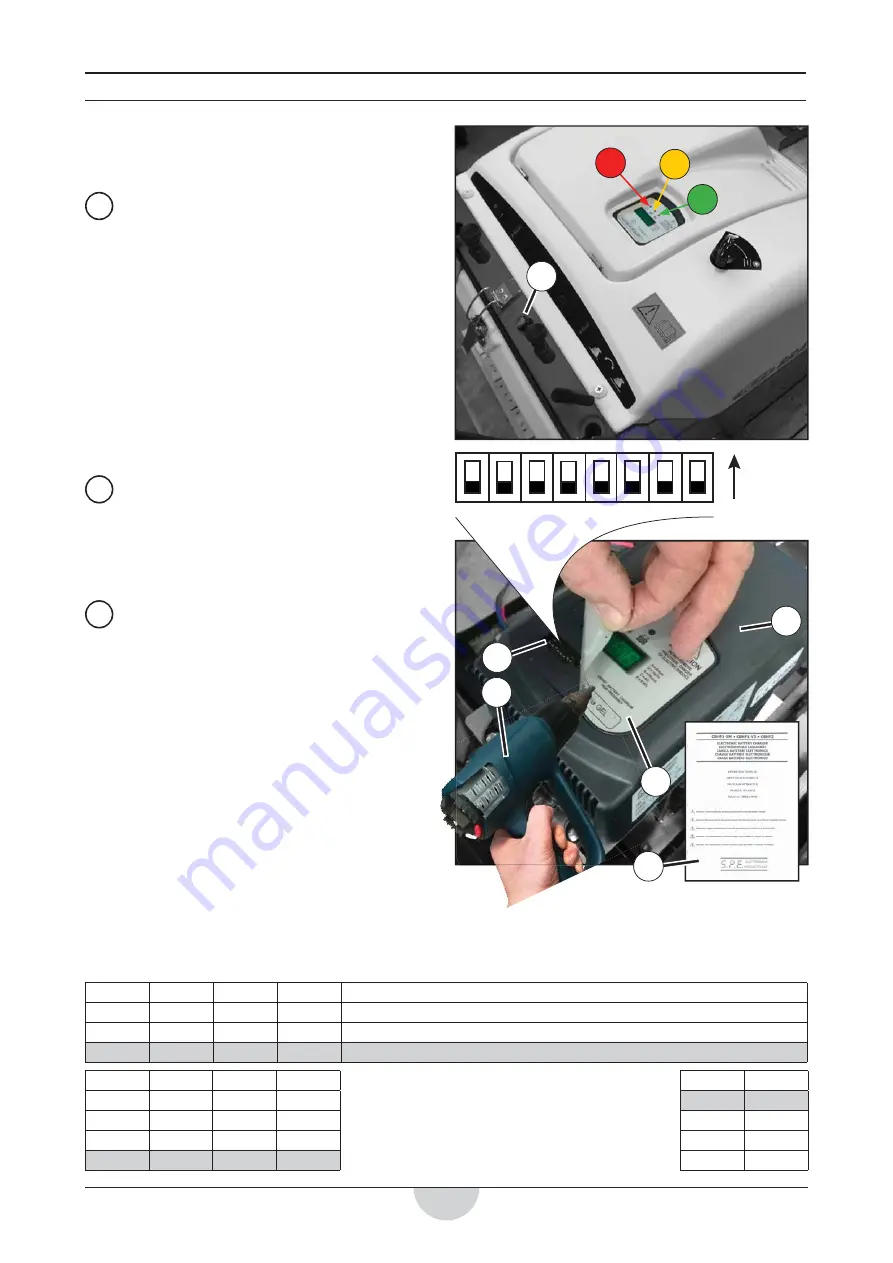
Use the battery charger 1 when the battery is discharged (see
warning light 6) Proceed as belows:
!
READ CAREFULLY THE OPERATIONS MANUAL 2 OF THE
BATTERY CHARGER 1.
Make sure that the electric power supply is 220V.
Lift the bonnet and connect the plug of the charger to the so-
cket of the electric power supply, the battery charger makes a
self-checking before start, subsequently switches on the red
light 3 and starts to recharge the battery.
During the charging operation the leds coming from Red 3 to
Yellow 4 to Green 5.
The battery is completely charged when the green light is “ON”,
the battery charger switches off automatically.
Disconnect the plug from the power supply.
Check the battery electrolyte.
!
Caution!
For safety reasons the starting of the machine is excluded
during the charging procedure.
Lead-Acid or Gel batteries setting
!
Caution!
The machines are predisposed for LEAD-ACID batteries.
To install GEL batteries, replace warning indicator light 6
with a new one predisposed for GEL batteries
3
3
4
4
5
5
6
Dipswitches 7 setting tables for battery charger “CBHF1”
In the following tables you can fi nd meaning of all diff erent position of dipswitch for programming CBHF1 battery charger.
DIP 1, DIP 2, DIP 3, DIP 4 for the selection of the CHARGING CURVE (example with selected curve 11).
DIP 5, DIP 6, DIP 7 for the selection of the CURRENT.
DIP 8, for the selection of the battery voltage (VB).
The battery charger 1 is predisposed to charge the Lead-Acid
or Gel batteries. The settings for the type of battery must be
done using the switches (dipswitch) 7 placed under the adhe-
sive plate 8 of the battery charger (see picture) and consult the
“dipswitch setting tables for battery charger”- CBHF1.
To access the dipswitches on the battery charger, it is necessary
to use a heat air gun blower 9 (max 50°C , 15 cm away from
surface) to heat the adhesive plate 8 and lift it then, proceed to
set the dipswitches.
ON
DIP 8
DIP 7
DIP 6
DIP 5
DIP 4
DIP 3
DIP 2
DIP 1
ON
ON
ON
ON
ON
ON
ON
ON
OFF
OFF
OFF
OFF
OFF
OFF
OFF
OFF
Dip 5
Dip 6
Dip 7
Current
Dip 8
VB
ON
ON
ON
4A
ON
12
OFF
ON
ON
8A
OFF
24
ON
OFF
ON
10A
OFF
OFF
ON
12A
Dip 1
Dip 2
Dip 3
Dip 4
Charging curve
OFF
ON
ON
ON
1 (curve for LEAD-ACID [Wet] traction batteries)
ON
OFF
OFF
ON
6 (curve for AGM and GEL batteries and other manufacturers)
> OFF
OFF
ON
OFF
11 (curve for GEL batteries from SONNENSCHEIN, DETA and other manufacturers)
1
8
7
F1”
f dips
t the
ry
m
9
2
Summary of Contents for Brava 900 ET
Page 2: ...2...


