29
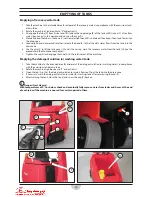
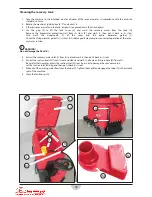
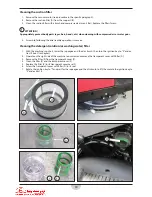
Stopping the machine
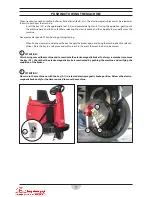
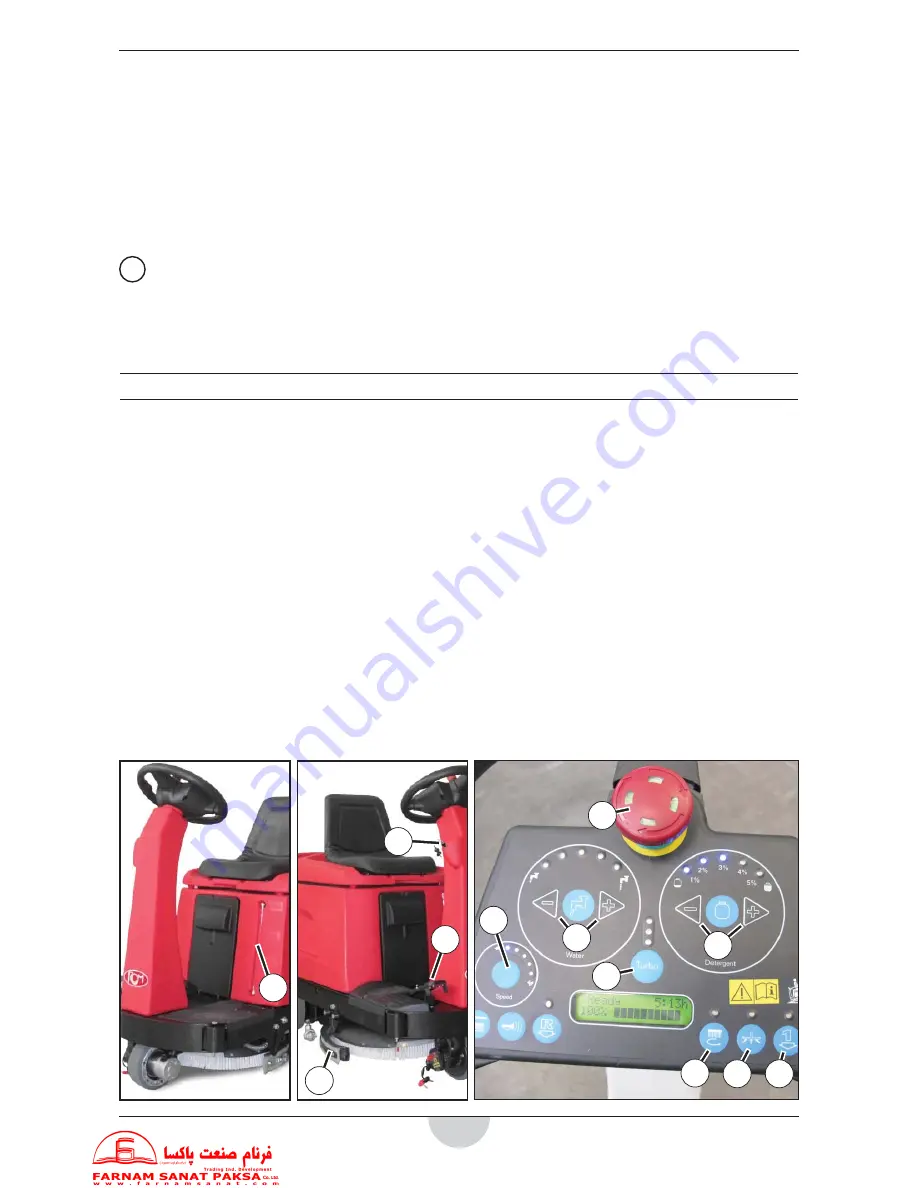
1. Release the pedal (G).
2. Press button (L) or (M) or (N) to deactivate and lift the respective active functions.
The vacuum stops a few seconds after the relative button has been pressed in order to vacuum all of the water
in the tube.
3. Rotate the ignition key (B) to “0” and extract it.
It is not necessary to lock the machine during stopping or parking as the electromagnetic brake on the front
wheel automatically brakes the machine when the accelerator is activated.
4. Empty the tanks, if necessary, as described in the specifi c paragraph.
!
ATTENTION!
Do not leave the machine unattended without having removed the ignition key.
5.
To immediately stop the machine in an emergency, press button (Q).
To release the emergency button (Q), rotate it clockwise until it is released from its lowered position.
MACHINE IN OPERATION
Adjustments and checks
1. Start the machine as described in the previous chapter.
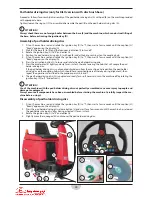
2. If necessary, adjust the balance of the squeegee (T) (see the procedure in the Maintenance chapter).
3. If required, use buttons (I) to alter the fl ow of the detergent solution (or washing water).
4. (Upon request) If required, use buttons (J) to alter the percentage of the washing detergent.
5. If required, press the turbo button (R) to activate maximum fl ow of detergent solution.
6. If required, use button (K) to alter the maximum speed of the machine.
7. Periodically check the charging status of the batteries during work so as not to have fl at batteries in areas far
from any charging points. To charge the batteries, see the procedure in the Maintenance chapter.
8.
If the recovery water tank fi lls during machine use, suction will automatically be stopped.
Empty the recovery water tank to restart suction (see the procedure in the specifi c Paragraph).
9. Use the relative level indicator (S) to periodically check the residual quantity of detergent solution (or washing
water).
10. Empty the tank at the end of work if necessary (see the procedure in the specifi c Chapter).
I
J
K
R
L
M
N
Q
S
B
G
T
Summary of Contents for KILO
Page 2: ...2 KILO ...
Page 16: ...16 WIRING DIAGRAM 2 2 ...


