Joint limits
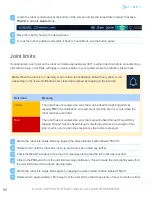
If unobstructed, each joint on the robot can rotate approximately 360° in either direction before encountering a
joint limit warning. Joint limits will trigger a warning state on your system where the robot's joints will lock.
Note:
When the robot is in a warning or error state, the notification bell will turn yellow or red
depending on the issue. Notifications are closed and opened by tapping on the bell icon.
Bell Color
Meaning
Yellow
The robot has encountered an error that can be fixed through Forge/OS by
tapping
FIX
in the notification. An example of this kind of error occurs when the
robot reaches a joint limit.
Red
The robot has encountered an error that cannot be fixed through Forge/OS by
tapping FIX and must be fixed through something external. An example of this
kind of error occurs when the emergency stop button is pressed.
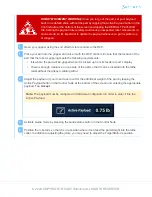
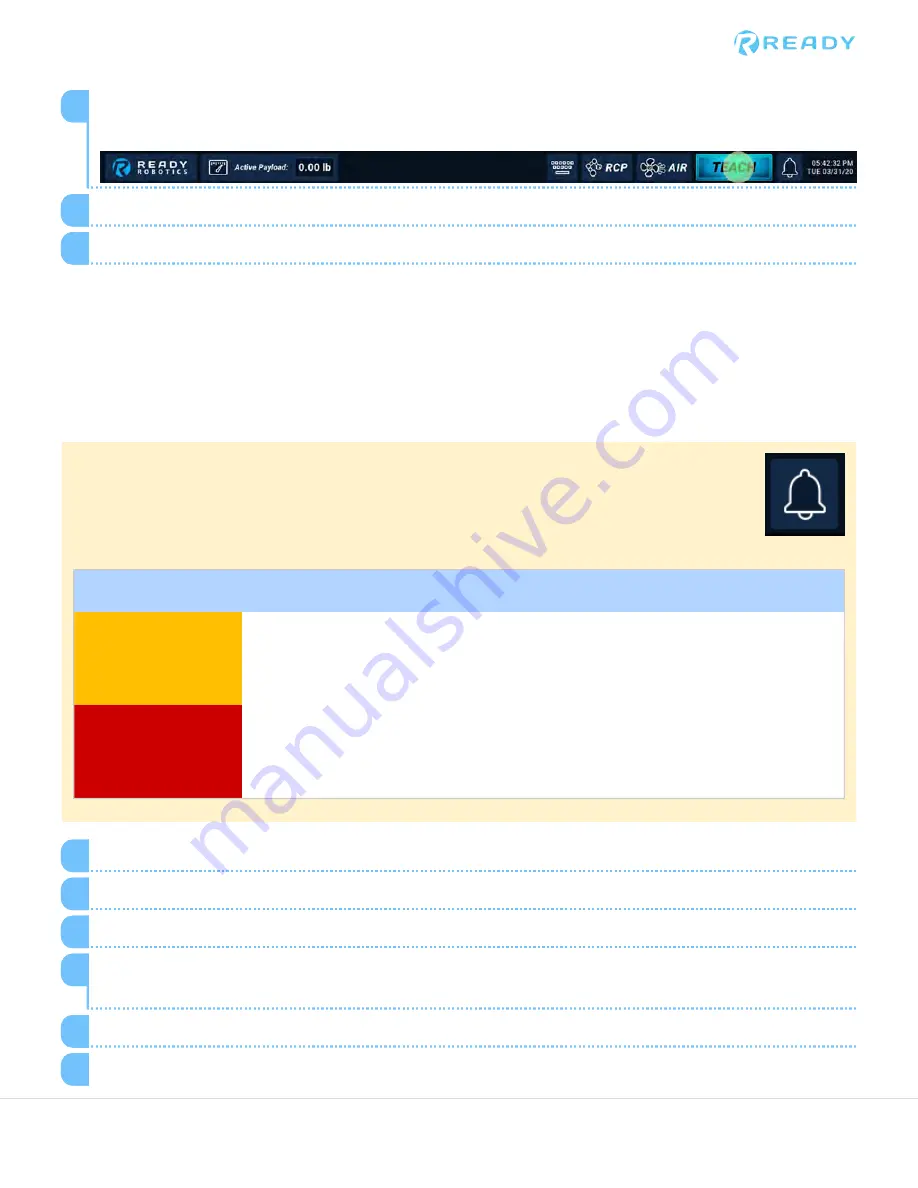
Locate the robot control panel at the bottom of the screen and tap the large State Indicator that says
TEACH
to activate
Guide
Mode.
1
Move the robot by hand to the desired pose.
2
To lock the robot's position and switch it back to Teach Mode, tap the button again.
3
Switch the robot into Guide Mode by tapping the state indicator button labeled TEACH.
1
Rotate wrist 3 until the robot arm locks up and cannot be rotated any further.
2
Check the READY pendant to see the error message stating that the joint limit was reached.
3
Click on the
FIX
button from the joint limit warning notification. This will rotate the joint slightly away from
the joint limit and exit the robot's warning state.
4
Switch the robot into Guide Mode again by tapping the state indicator button labeled TEACH.
5
Rotate wrist 3 approximately 180° away from the joint limit so that it has plenty of room to rotate in either
6
68
© 2020 COPYRIGHT READY Robotics ALL RIGHTS RESERVED

