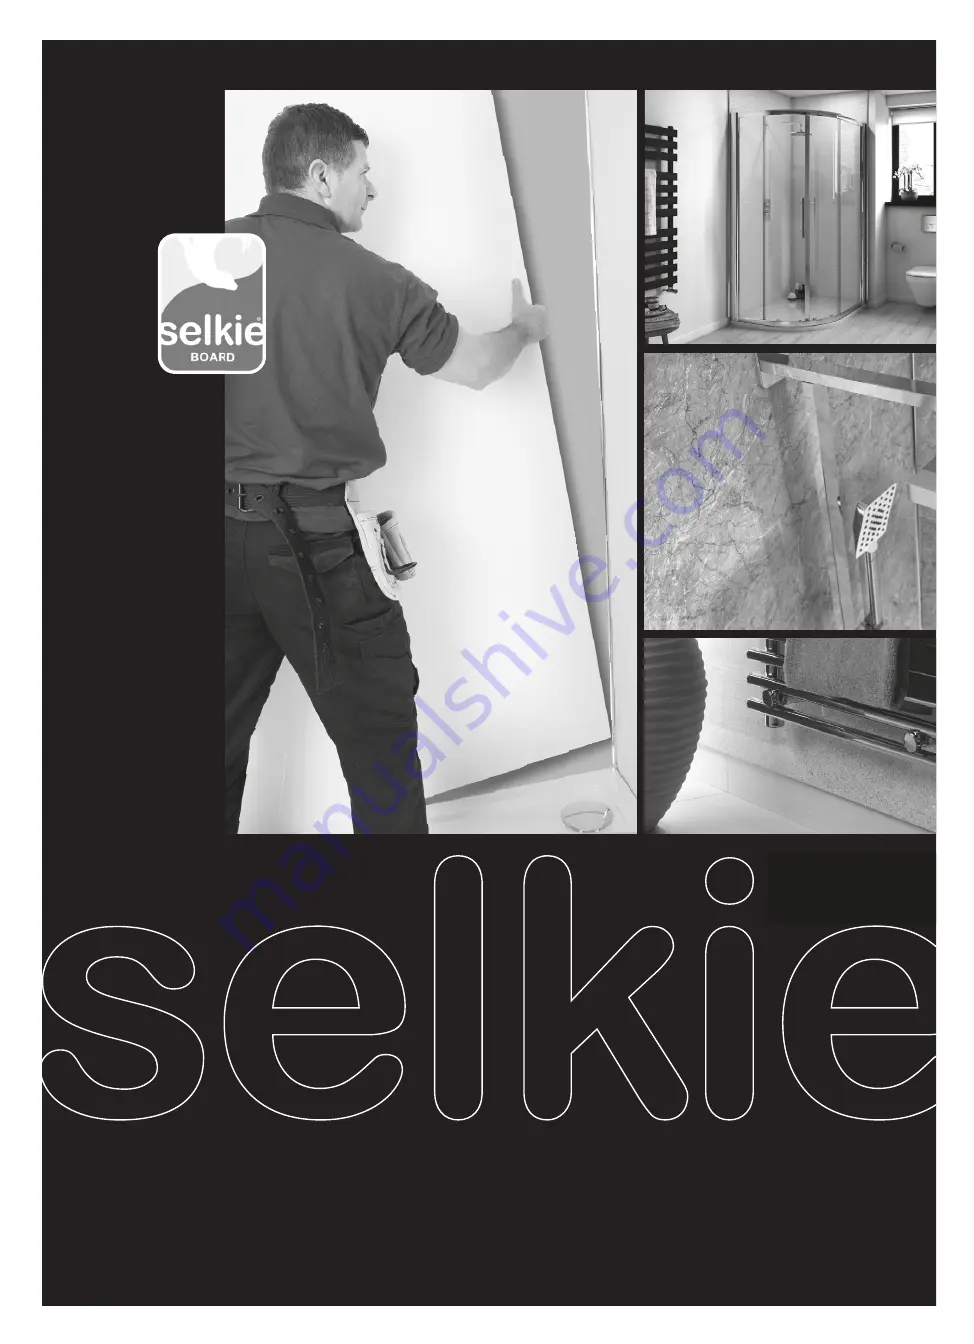
background image


INSTALLATION GUIDE

BOARD

Please carefully read the following information to ensure
that you do not invalidate your 10 year guarantee. 

DOMESTIC

2 OR 3 SIDED SHOWER INSTALLATION


k

Rearo Selkie Install 51218 .qxp_Layout 1  11/01/2019  14:48  Page 2

Summary of Contents for selkie BOARD

Page 1: ...BOARD Please carefully read the following information to ensure that you do not invalidate your 10 year guarantee DOMESTIC 2 OR 3 SIDED SHOWER INSTALLATION k Rearo Selkie Install 51218 qxp_Layout 1 11 01 2019 14 48 Page 2 ...

Page 2: ... and cut outs MUST always be smoothly radiused to as large as possible with a 5mm minimum radius This radius should be increased as the side lengths of the aperture are increased Ensure that wooden blocks are placed below your drilling areas to prevent burst out and any possible damage to the decorative face Mark out cutting shape to rear face and drill positions on front ensuring one at each corn...

Page 3: ... back surface of the panel along with a grid approx 300mm squares covering the full area of the panel fig 10 g The Selkie Board should be fitted to be positioned just above the shower tray Using packers leave a 3 4 mm gap from the base of the Selkie board to the top edge of the shower tray h Ease the panel into the corner profile and fit panel onto wall fig 11 i When the adhesive has set and the S...

Page 4: ... regarding installation or maintenance Panseal Kit Where it is identified that there may be a risk of movement such as a flexible floor or the possibility of settlement it maybe appropriate to use a system such as Panseal The Panseal kit ensures that the joint between the bottom of the Selkie Board and the top of the shower tray is secure and watertight fig 14 Please see fitting instructions suppl...

Reviews: