
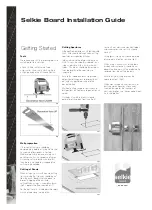
Tools
We recommend that the following tools are
available prior to installation.
• Pencil & Ruler • Measuring Tape
• Jig saw or Hand saw • Masking Tape
• High-grab adhesive • Silicone Sealant
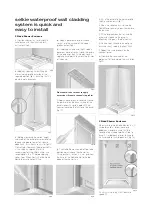
Wall preparation
It is essential that walls should be
completely dry before installing Selkie and
any source of dampness is treated.
Wherever possible, remove existing wall
coverings such as wall paper and fabrics.
Assuming walls are reasonably level/flat
then there is no need to make good the
surface to be covered.
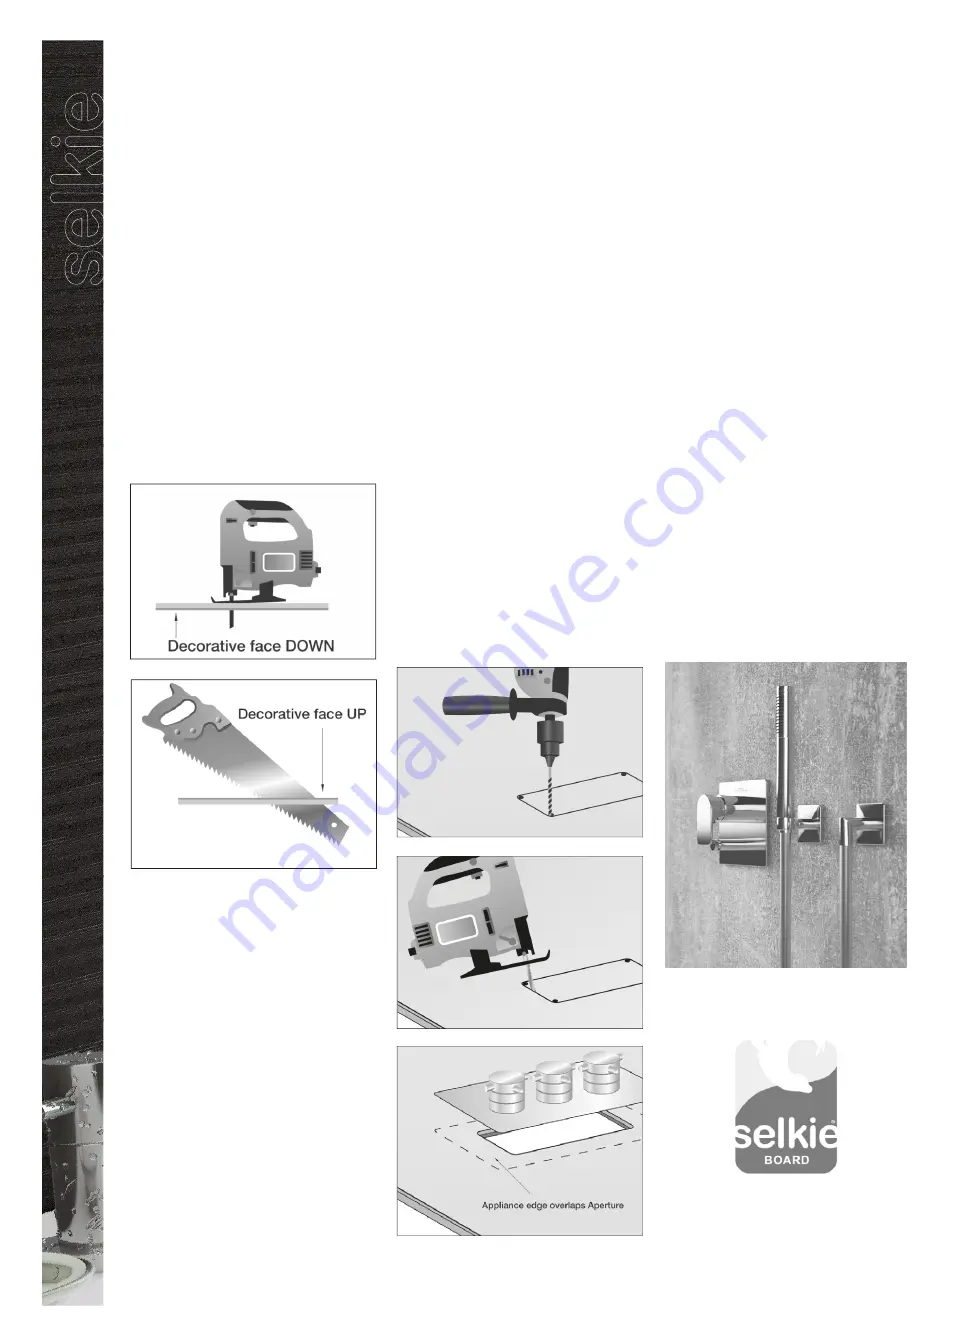
Cutting of Panels
When using a jig-saw with upward cutting
jig-saw blade (fig 1), panels should be cut
from the back, decorative face down to
prevent chipping of the laminate
surface.When using a standard hand saw
(fig 2) - decorative face should be UP.
For the best results - where possible apply
masking tape along the line of cut.
Cutting Apertures
Although Selkie Board has a highly durable
finish, care should be taken when cutting
apertures or inspection hatches.
Internal corners of apertures and cut outs
MUST always be smoothly radiused to as
large as possible, with a 5mm minimum
radius. This radius should be increased as
the side lengths of the aperture are
increased.
Ensure that wooden blocks are placed
below your drilling areas to prevent' burst
out' and any possible damage to the
decorative face.
Mark out cutting shape to rear face and
drill positions on front ensuring one at each
corner.
Drill holes at suitable intervals around
perimeter of shape on front face (fig 3).
Leave a 3mm clearance around all pipes
and accessories and seal with silicone
sealant.
Using jigsaw, slowly cut around perimeter
of shape of cut out on rear face (fig 4).
When using a circular saw or fine-tooth
blade hand-saw, panels should be cut
decorative face up, with the protective film
removed from the cutting line only.
Ensure that your fitting overlaps the
aperture cut-out. (fig 5).
When measuring distance from walls, or
past shower enclosures, allowances
should be made for the thickness of
aluminium profiles and the space between
walls and profiles.
Getting Started
Selkie Board Installation Guide
BY REARO
Fig1.
Fig2.
Fig3.
Fig4.
Fig5.
Rearo Selkie Install 51218 .qxp_Layout 1 11/01/2019 14:48 Page 3


