
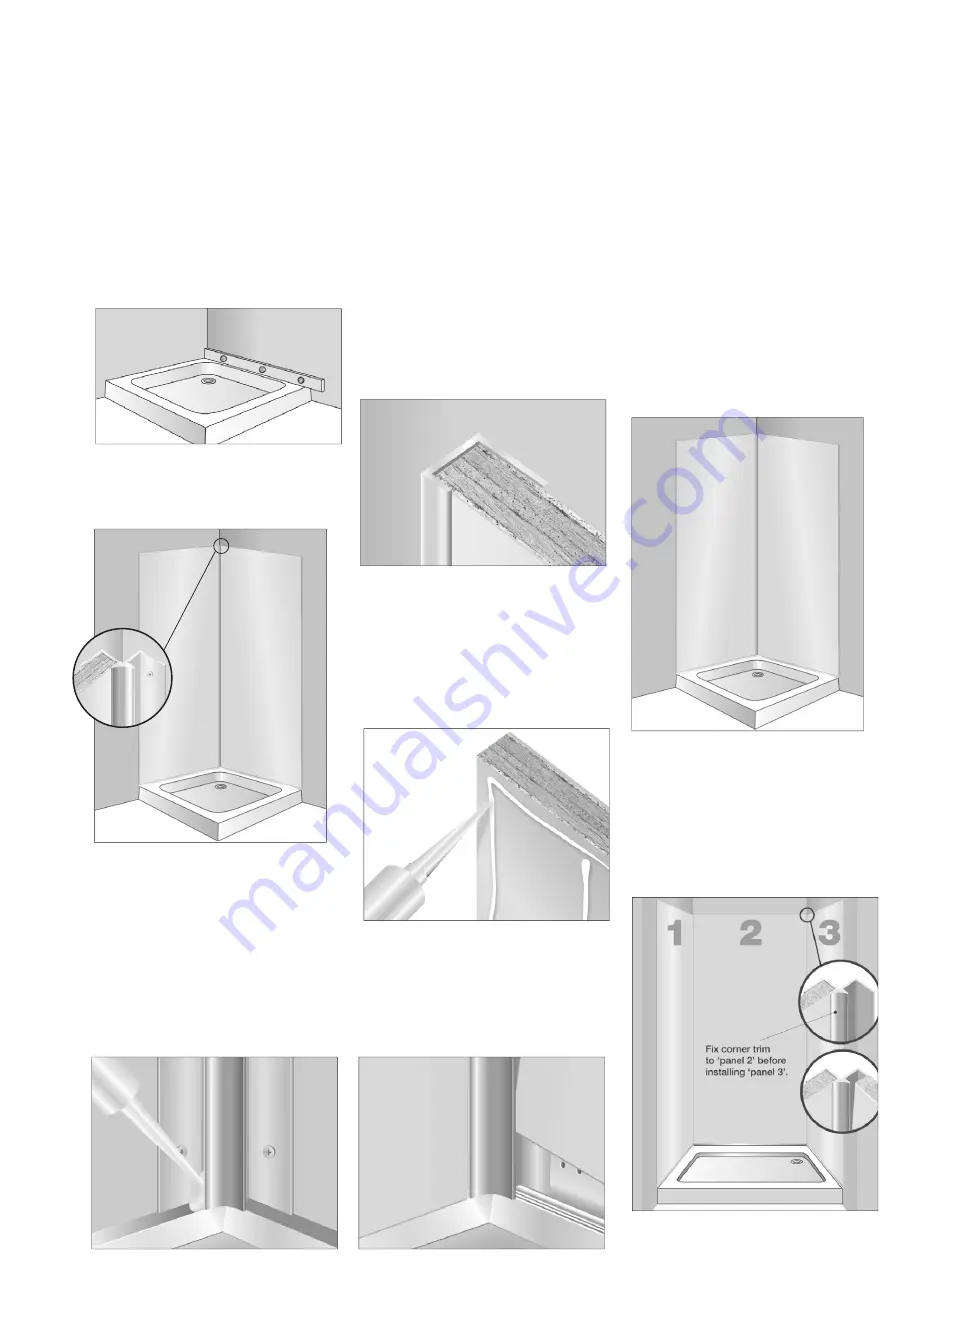
2 Sided Shower Enclosure
(a) Position shower tray, level and fix in
accordance with the manufacturer’s
instructions (fig 6)
(b) Begin by securely screw fixing the
internal corner profile extrusion in the
required position (fig 7), ensuring that it is
plumb in both directions.
(c) Before measuring the correct height
and width of the panel please remove the
tongue and groove to create a square
edge finish, this will ensure a water tight fit.
Please Note: Peel back the protective film
at this stage by approx. 50mm to
accommodate fitting. After cutting - we
recommend a “dry fit” (before applying
adhesive or Silicon Sealant) of the Selkie
Board to ensure correct fitting
(d) Apply a generous bead of silicone
sealant into the channel of the corner
profile section (fig 8).
(e) If applying an ‘end cap’ (fig 9) apply a
generous bead of sealant along the length
of the ‘end cap’, then fix into position by
applying hand pressure across the full area
of the panel.
Please note: take care not to apply
excessive silicone to channels in profiles
(f) Apply a bead of panel adhesive around
the perimeter on the back surface of the
panel along with a grid (approx 300mm
squares) covering the full area of the panel
(fig 10).
(g) The Selkie Board should be fitted to be
positioned just above the shower tray.
Using ‘packers’, leave a 3-4 mm gap from
the base of the Selkie board to the top
edge of the shower tray.
(h) Ease the panel into the corner profile
and fit panel onto wall (fig 11).
(i) When the adhesive has set and the
Selkie Board securely in position remove
the ‘packers’.
(j) Fill the gap between the tray and the
panel with silicone so the panel is
effectively sitting on a “bed” of sealant.
(k) Run bead of silicone to face of gap
ensuring a neat smooth “perfect” finish
(l) Repeat the same process on the
adjacent panel.
(m) Remove the remainder of the
protective film to complete the installation
(fig12)’.
3 Sided Shower Enclosure
When installing three Selkie Boards in a ‘U’
shape formation - follow the above
guidelines, however ensure that the
second internal corner profile is fitted to
‘panel 2’ - middle panel, prior to fixing to
‘wall and before ‘installing panel 3’ (fig 13).
It is always wise to dry fit first to ensure
a good fit.
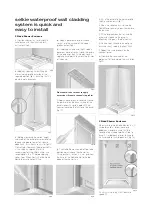
selkie waterproof wall cladding
system is quick and
easy to install
Fig6.
Fig7.
Fig12.
Fig13.
Fig9.
Fig11
Fig10.
Fig8.
Rearo Selkie Install 51218 .qxp_Layout 1 11/01/2019 14:48 Page 4


