10
EN
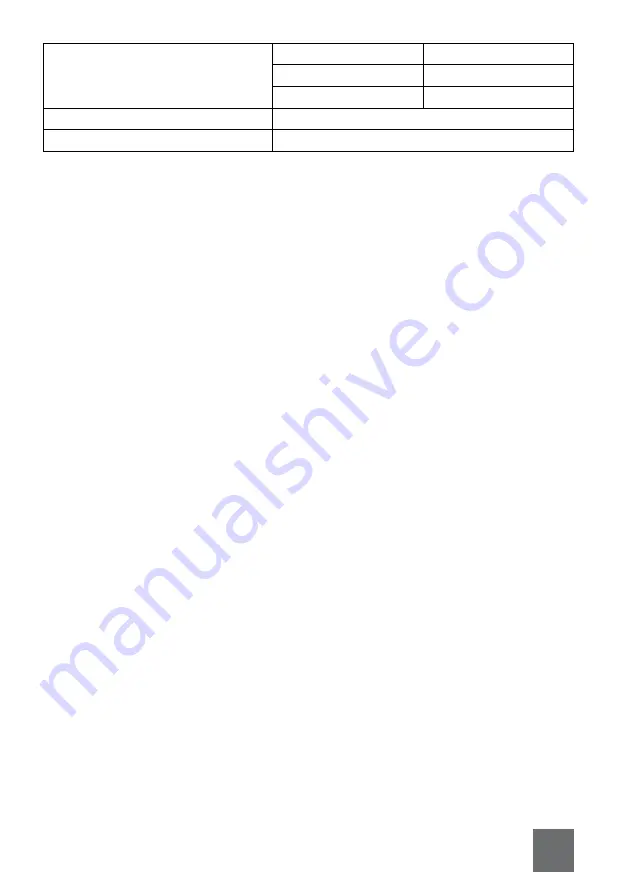
temperature/air flow
Level 1
60°C / 500 l/min
Level 2
350°C / 300 l/min
Level 3
600°C / 500 l/min
Weight
0,7 kg
in set
4 nozzles, user’s manual
OPERaTION
WaRNING
.
Prior to each use, make sure that the air outlet is free of dirt and there are no
objects inside.
Fitting and removing nozzles
WaRNING
.
Prior to fitting/removing the nozzles, make sure that the nozzle and the power
tool has cooled down completely. Always wear protective gloves.
You can use the hot air gun without the nozzles being installed although it facilitates work
and increases effectiveness when you work with them.
there are 4 nozzles included in the set, each of them is intended for different application.*
* always use the nozzle suitable for planned work and the material of the workpiece.
to mount the nozzle, push it onto the air outlet (1) until it locks in place.
to remove the nozzle, grip it and pull out of the air outlet.
WaRNING
.
Do not remove the nozzle directly after switching off the power tool as it is still
hot. Wait until the nozzle and power tool cools down completely. Use protective gloves.
Work mode selection
WaRNING
.
Before connecting the power tool to the power supply socket, make sure that
the ON/OFF switch is in the lowest position (0).
When the power tool is connected to the power supply, switch it on by sliding the oN/oFF
switch up to the required position.
the hot air gun has three work modes- they are marked with the 1, 2, 3 digits on the oN/
oFF switch.*
•
Level 1: the lowest temperature and high air flow. set the power tool to this position to
heat up cool objects or to dry a surface.
•
Level 2: Medium temperature and low air flow.
•
Level 3: High temperature and high air flow.
* temperature and air flow range for each level is listed in the specification of this power tool.
Summary of Contents for RB-1099
Page 1: ...TOOLS Hot air GUN user manual model RB 1099 EN GR ...
Page 2: ......
Page 22: ......
Page 23: ...www moutsioulis gr ...


