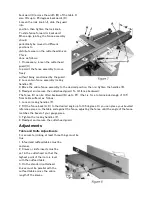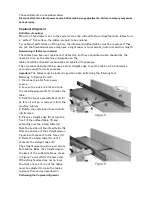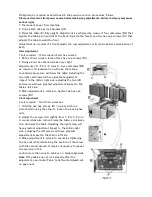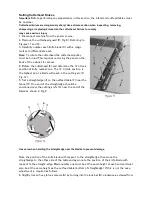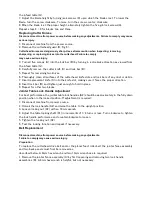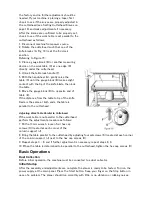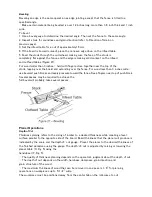
1. Position the workpiece with the face to be planed on top.
2. Turn the planer on.
3. Turn the power feed on.
4. Rest the board end on the infeed roller plate and direct the board into the planer.
5. Slide the workpiece into the infeed side of the planer until the infeed roller begins to advance
the workpiece.
6. Let go of the workpiece and allow the automatic feed to advance the workpiece.
7. Do not push or pull on the workpiece. Move to the rear and receive the planed lumber by
grasping it in the same manner that it was fed.
To avoid the risk of injury due to kickbacks, do not stand directly in line with the front or rear of the
planer.
8. Do not grasp any portion of the board that has not gone past the outfeed roller.
9. Repeat this operation on all of the boards that need to be the same thickness.
Avoiding Snipe
Snipe refers to a depression at either end of the board caused by an uneven force on the
cutterhead when the work is entering or leaving the planer.
Snipe will occur when the boards are not supported properly or when only one feed roller is in
contact with the work at the beginning or end of the cut.
Precautions for avoiding snipe:
Push the board up while feeding the work until the outfeed roller starts advancing it.
Move to the rear and receive the planed board by pushing it up when the infeed roller looses
contact with the board.
When planning more than one board of the same thickness, butt the boards together to avoid
snipe.
Make shallow cuts. Snipe is more apparent when deeper cuts are taken.
Feed the work in the direction of the grain. Work fed against the grain will have
chipped, splintered edges.
Maintenance
Blade Care
Blades are extremely sharp! Use caution when cleaning or changing. Failure to comply may cause
serious injury!
The condition of the blades will affect the precision of the cut. Observe the quality of the cut
that the planer produces to check the condition of the blades.
Dull blades will tear, rather than cut the wood fibers and produce a fuzzy
appearance.
Raised grain will occur when dull blades pound on wood that has varying density. A raised edge
will also be produced where the blades have been nicked. When gum and pitch collect on the
blades, carefully remove with a strong solvent. Failure to
remove gum and pitch build up may result in excessive friction, blade wear and overheating. When
blades become dull, touch up blades. See Sharpening the Knives.
Sharpening the Knives
Blades are extremely sharp! Use caution when handling. Failure to comply may cause serious injury!
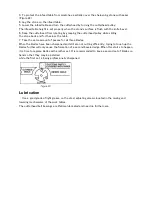
1. Disconnect the machine from the power source.
2. Remove the blade guard and belt cover.
Summary of Contents for PT260
Page 25: ...Troubleshooting Performance Troubleshooting Jointer ...
Page 26: ...Performance Troubleshooting Planer ...
Page 27: ...Mechanical Troubleshooting Planer Jointer ...
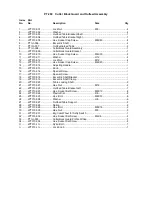
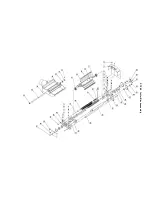
Page 28: ...PT 260 Cutter Block Guard and Outfeed Assembly ...
Page 30: ...PT 260 Cutter Block assembly ...
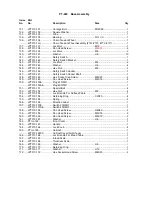
Page 32: ...PT 260 Base Assembly ...
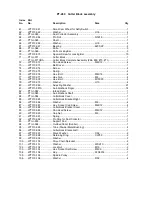
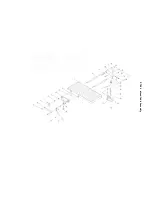
Page 34: ...PT 260 Infeed Table Assembly ...
Page 36: ...PT 260 Drive and Motor Assembly ...
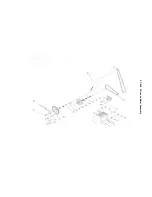
Page 38: ...PT 260 Thickness Table Assembly ...
Page 40: ...PT 260 Working Fence Assembly ...

