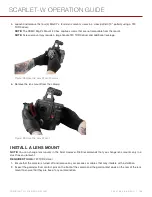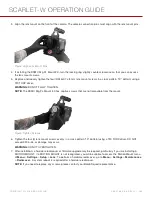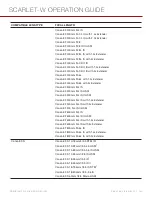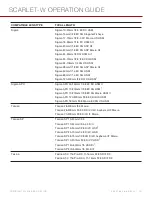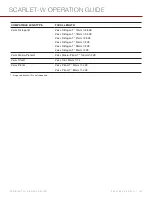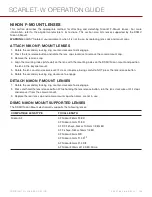
3. Align the lens mount on the front of the camera. The camera connection pins must align with the lens mount pins.
Figure: Align Lens Mount Pins
4. If installing the DSMC Mg PL Mount 2.0, turn the locking ring slightly counter-clockwise so that you can access
the lens mount screws.
5. Replace and loosely tighten the four (4) M4x0.7 x 8 mm lens mount screws in a cross pattern (“X” pattern) using a
T20 TORX driver.
WARNING:
DO NOT FULLY TIGHTEN.
NOTE:
The DSMC Mg PL Mount 2.0 has captive screws that are not removable from the mount.
Figure: Tighten Screws
6. Tighten the four (4) lens mount screws evenly in a cross pattern (“X” pattern) using a T20 TORX driver. DO NOT
exceed 350 in-oz, or damage may occur.
WARNING:
DO NOT OVERTIGHTEN.
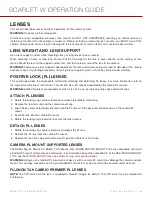
7. After installation, a hardware rediscover or firmware upgrade may be required, particularly if you are installing a
MOTION MOUNT. If a MOTION MOUNT is not recognized, you will be unable to access the Motion Mount menu
at
Menu
>
Settings
>
Setup
>
Lens
. To perform a hardware rediscover, go to
Menu
>
Settings
>
Maintenance
>
Rediscover
. A system reboot is required after a hardware rediscover.
NOTE:
If you need to replace any screws, please contact your Bomb Squad representative.
C O PYR I G HT © 2 0 1 6 R ED.C O M , I NC
9 5 5 - 0 1 3 3 _V 6 .3 , R EV - H
|
2 3 4
SCARLET-W OPERATION GUIDE

