AL LEICA-M MOUNT LENSES
This section describes the appropriate method for attaching and detaching Leica-M® lenses. For more information,
refer to the original manufacturer’s instructions. This section also lists lenses supported by the DSMC AL Leica-M
Mount.
WARNING:
ALWAYS protect your equipment, when it is not in use, by replacing lens caps and mount caps.
ATTACH LEICA-M LENSES
1. Rotate the locking ring counter-clockwise to release the camera mount cap.
2. Remove the rear lens cap and the camera mount cap.
3. Align the mounting index (white dot) on the lens with the mounting index on the DSMC AL Leica-M mount.
4. Insert the lens into the DSMC AL Leica-M mount.
5. Rotate the locking ring clockwise to secure the lens in place.
DETACH LEICA-M LENSES
1. Rotate the locking ring counter-clockwise to release the Leica-M lens.
2. Remove the Leica-M lens from the DSMC AL Leica-M mount.
3. Replace the rear lens cap and camera mount cap when the lens is not in use.
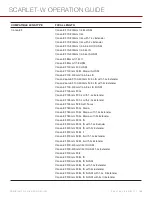
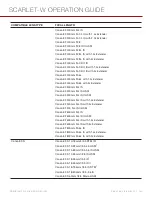
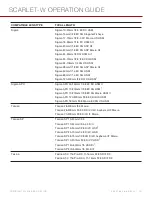
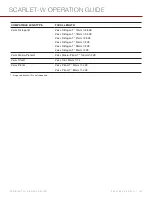
DSMC AL LEICA-M MOUNT SUPPORTED LENSES
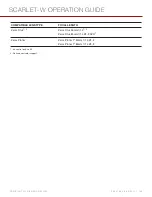
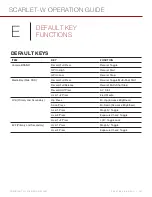
The DSMC AL Leica-M Mount is compatible with most Leica M-series lenses with focal lengths of 50mm and greater,
EXCEPT for the 50mm f2.0 Dual-Range Summicron. The 50mm f2.0 Dual-Range Summicron has a protruding lug on
the exterior of the lens body for mounting a supplementary finder. This lug interferes with the locking ring on the
DSMC AL Leica- M Mount. Most Leica lenses with focal lengths of less than 50mm will encounter mechanical
interference between the rear lens cell and the camera’s front panel.
WARNING:
Attempting to mount Leica lenses of focal lengths of less than 50mm could result in damage to the lens
and/or the camera.
C O PYR I G HT © 2 0 1 6 R ED.C O M , I NC
9 5 5 - 0 1 3 3 _V 6 .3 , R EV - H
|
2 4 6
SCARLET-W OPERATION GUIDE


