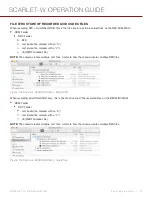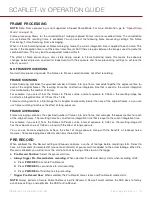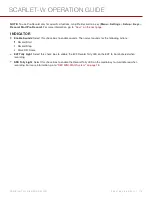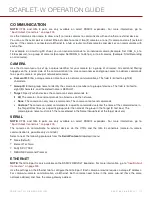
ADVANCED MULTI-SHOT MODE
In this mode, the camera is continuously recording, but is not saving frames. This eliminates the delay you get in Basic
Multi-Shot mode. Since the camera is continuously recording, the camera requires the same amount of power it does
during Continuous Record (as opposed to Preview mode). Unlike Basic mode, all frames are added to one (1) clip,
instead of to separate clips.
To use Advanced Multi-Shot mode, follow the instructions below:
1. Press the
PWR/REC
key on the camera to start a new clip. This initial press adds one (1) frame to the clip.
2. Press the
Record
key on the media bay to add frames to the clip:
Press a
Record
key once to add a few frames to the clip. (The number of frames varies, and depends on the
buffer.)
Press and hold a
Record
key to continuously add frames; release the
Record
key to stop adding frames.
3. Press the
PWR/REC
key on the camera to end the clip.
NOTE:
You cannot shut down the camera until you end the clip.
ENABLE MULTI-SHOT MODE
To enable Multi-Shot mode, follow the instructions below:
1. Set the camera to Stills mode.
2. Go to
Menu
>
Settings
>
Recording
>
Mode
.
3. Select
Multi-Shot
from the
Mode
drop-down menu.
4. Use the
Limit Recording to
fields to set the recording to end at a predefined frame limit (optional).
5. Close the menu.
6. For more information on using the different sub-modes, go to:
"Basic Multi-Shot Mode" on the previous page
"Advanced Multi-Shot Mode" above
STILLS
NOTE:
This mode is available in Motion mode, but is only recommended in Stills mode.
Motion + Stills mode is identical to Continuous Record, except that when you initiate recording by pressing the
PWR/REC key on the camera, all other Record keys mark frames for the duration of the clip. (If you initiate recording
by pressing any other Record key, you can press any key mapped to “Record: Mark Frame” to mark stills.)
To use Stills mode, follow the instructions below:
1. Set the camera to Stills mode.
2. Go to
Menu
>
Settings
>
Recording
>
Mode
.
3. Select
Stills
from the
Mode
drop-down menu.
4. Use the
Limit Recording to
fields to set the recording to end at a predefined frame limit (optional).
5. Close the menu.
6. Press the
PWR/REC
key on the camera to start recording.
7. Press the Record key on the media bay to mark a frame.
8. Press the
PWR/REC
key on the camera to stop recording.
C O PYR I G HT © 2 0 1 6 R ED.C O M , I NC
9 5 5 - 0 1 3 3 _V 6 .3 , R EV - H
|
1 0 8
SCARLET-W OPERATION GUIDE

