3
•
If any lights do not work on your pre-lit tree, please check the following:
a. If the entire tree, or tree section (top, middle, bottom) does not light:
i. Gently turn the pole to make sure the poles are properly connected into
place.
ii. Check to see if all plugs are properly connected and verify the power cord is
plugged into the wall outlet.
iii. Check On/Off Foot Pedal to ensure it is in the ON position.
iv.
Check the fuses in the tree’s extension cords and replace if necessary, using
the
Fuse Replacement
steps below. Please note, this tree utilizes an 8-Amp
extension cord fuse, which is different than a 3-Amp fuse utilized in the mini
light sets.
b.
If a strand of lights doesn’t not light:
i. Check that all bulbs tightly fit inside their sockets and ensure no bulbs are
broken or missing. Replace broken or missing bulbs with the provided
replacement bulbs. See the
Bulb Replacement
section for further
instructions). If all bulbs are firmly in the sockets, slightly twist the bulbs from
side to side to ensure proper connection.
ii. Check the fuse in the mini light cord and replace if necessary.
IMPORTANT:
This is the only time you should remove the tape wrapping the outlets of the
mini lights. Please remove tape to inspect 3-Amp fuse and replace tape to
original condition after inspecting.
iii. If the lights still do not work, carefully remove each bulb, one by one, from the
problem light string. Pull both the bulb and plastic base straight out of the
socket. Do not twist bulbs while removing from sockets. Check the two wires
located at the bottom of the bulb holder. Each wire should be aligned properly
on the bulb holder to ensure a proper connection with the lamp socket. If one
wire is missing, or too short, please replace it
with the provided replacement bulb.
•
Fuse Replacement: This product comes with overload
protection (fuse). A blown fuse indicates an overload or
short circuit. If a fuse blows, first unplug tree from the wall
outlet. Then, replace the fuse, per the instructions below and
follow product marking for the proper fuse rating. If the
replacement fuse blows, a short circuit may occur, and the
product should be reviewed to determine the cause.
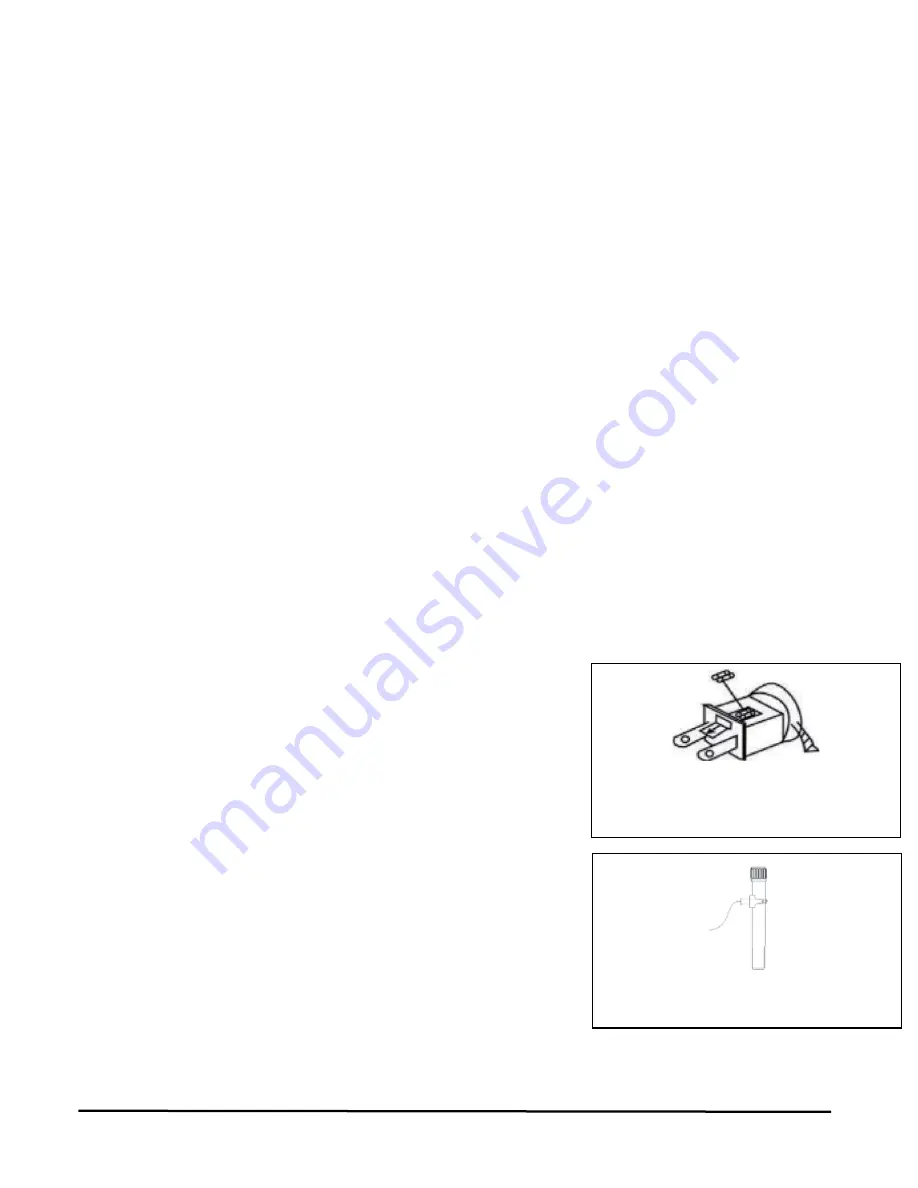
a. Light set fuse replacement (replaceable 3-amp 125V
fuses are located in the plug, as seen in Figure 3.)
i. Ensure the plug is dismantled from the plug
body as seen in Figure 4.
ii. Grasp the plug and remove from its power
source.
iii. Locate the blown fuse by sliding access cover
on top of the plug towards prongs.
iv. Remove the blown fuse by turning the plug
over. The fuse should fall into your hand.
Gentle tapping may be required to dislodge
the fuse.
Fig. 3
Fig. 4


