13
3
TROUBLESHOOTING
THERE ARE NO LEDS ON AT ALL…
This indicates that there is no battery connected to the output (BROWN wire) or that battery is not at a suitable voltage level to be
charged AND the input (RED wire) of the charger is not connected.
1. Check the Auxiliary battery is above 0.1 V
2. Check all wiring to the charger and battery, particularly the Ground (BLACK wire).
3. Check fuses are intact and properly connected.
If the problem is still evident please contact your local Auto-Electrician.
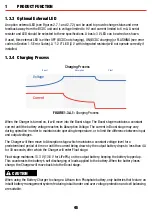
THE ‘CHARGE PROFILE’ LED IS FLASHING…
This indicates that either Output or Input is not valid.
Specifically, an Auxiliary battery, at a suitable voltage level to be charged, is connected to the output of the charger however there is
currently no valid charging source OR a valid charging source is available but the Auxiliary battery is not at a suitable voltage level to
be charged or is not connected.
1. Check that the Vehicle (RED wire) is electrically connected. The Vehicle (RED wire) should connect directly to the Vehicle battery
positive terminal via an adequately rated fuse.
2. Check that the Ground (BLACK wire) is connected to the Auxiliary battery and Chassis Ground.
3. Disconnect any loads from the Auxiliary battery and check the Auxiliary battery is above 0.1V.
4. Check all wiring to the Auxiliary battery, particularly the Ground (BLACK wire).
5. Check fuses are intact and properly connected.
If the problem is still evident please see the relevant points below.
THE BCDC IS CONNECTED TO THE ‘VEHICLE’ BUT THE VEHICLE LED IS OFF…
This indicates that the required turn ON conditions for this source have not been met. With the BLUE wire left unconnected, the
voltage at the RED wire must be above 12.9 V for a 12 V installation or above 25.8 V for a 24 V installation. With the BLUE wire
connected to Ignition, Ignition must be on and the voltage at the RED wire must be above 12.0 V for a 12 V installation or above
24.0 V for a 24 V installation.
1. Check that the vehicle is running.
2. Check the voltage on the RED wire is above the required turn ON threshold for your installation (See section 1.4 on page 7).
3. Check all wiring to the Vehicle battery, particularly the Ground (BLACK wire).
If the problem is still evident please contact your local Auto-Electrician.
4
CHECKING THE PRODUCT SERIAL NUMBER
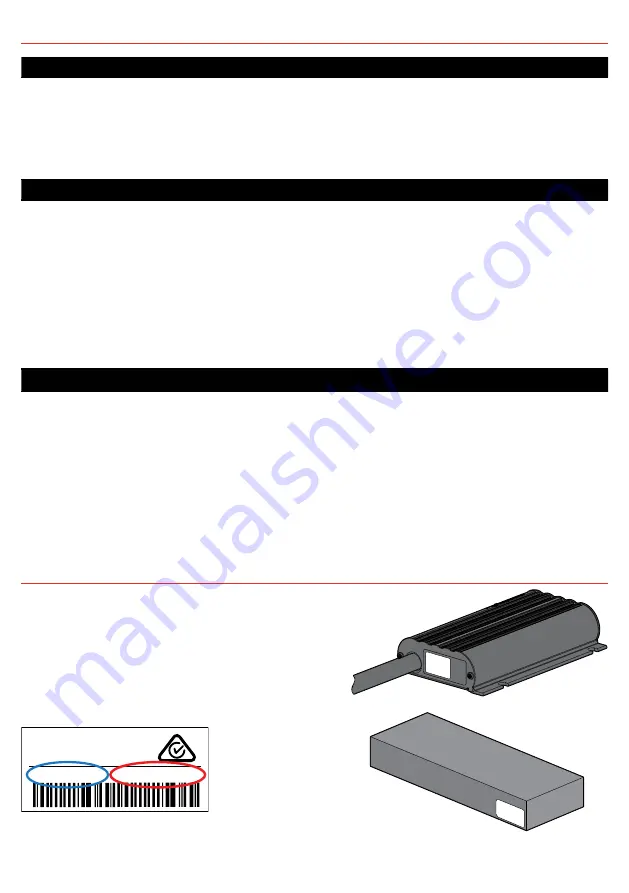
The images indicate where the Product Serial Number on
the Main Unit and on the Product Packaging.
The Serial Number Label contains the Part Number (circled
in BLUE) and the Serial Number (circled in RED).
The first 4 digits of the serial number indicate the YEAR
and MONTH of manufacture, in the form YYMM.
MADE IN AUSTRALIA BY
REDARC ELECTRONICS
PH (08)83224848
BCDC1212T
2007800851337


