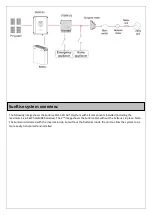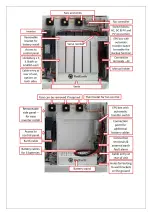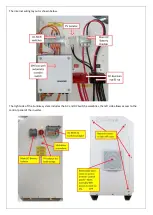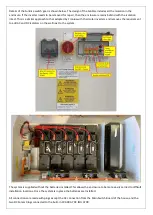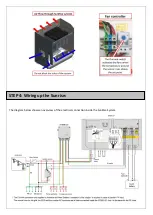
A typical complete installation of the SunRise will require the electrical connection of;
1.
AC cables to the Main Switch Board (MSB) (Grid/Solar and Essential/EPS).
If the Backup option is required
then the loads will need to be split in the MSB between essential and non-essential loads.
2.
Install the CT current monitor in the MSB (use the supplied cable to power the CT monitor from the MSB).
Then install the 8 metre long CT current monitor comms cable from the MSB to the Sungrow inverter inside
the SunRise system. It can be extended if required.
3.
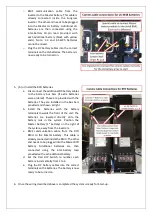
Connect the PV array cables to the PV isolator inside the SunRise
4.
Optional – Cat5E internet cable to the SunRise (otherwise use Wi-Fi)
Note: All isolators and MCBs are included in the Sunrise, so no wall-mounted isolators are required.
Note: The SunRise is not designed to act as the customers main switch board (MSB) as it does not include space for
additional main & customer circuit breakers or RCDs.
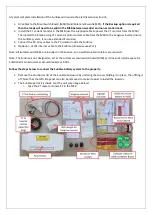
Follow the steps below to connect the SunRise battery system to the property.
1.
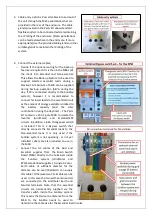
Remove the aluminium lid of the SunRise enclosure by undoing the screws holding it in place, then lifting it
off. Note that the left side panel can also be removed to make it easier to install the Inverter.
2.
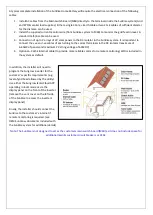
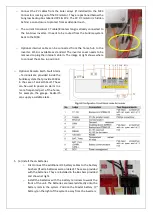
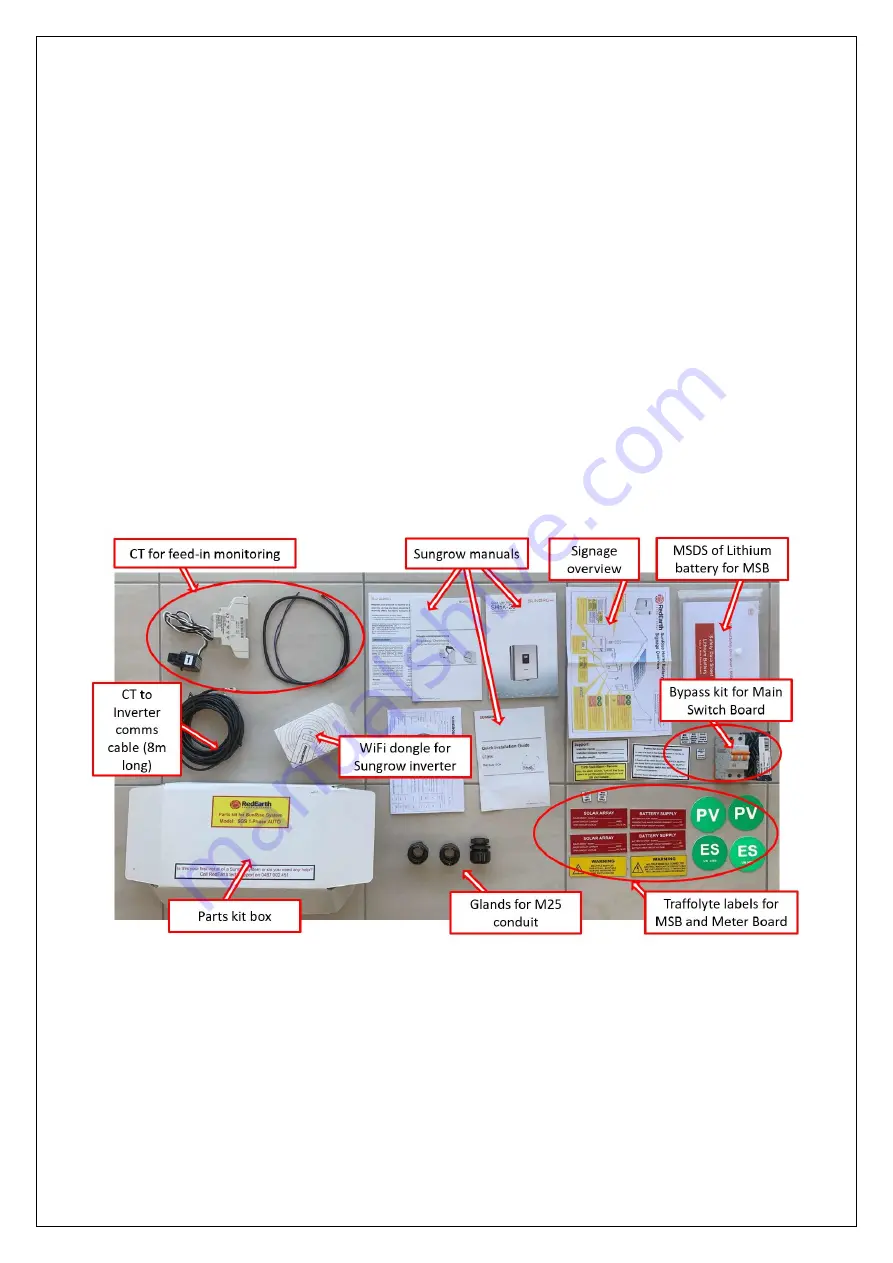
The SunRise parts kit is inside sent the unit (see image below)
o
Take the CT meter and install it in the MSB
Summary of Contents for SunRise 1-PH
Page 1: ...SunRise Home Battery System Model SGS 1 PH AUTO with LG BYD battery Installation Manual...
Page 6: ......
Page 19: ......
Page 22: ......


