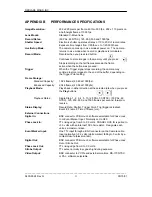
Motion
Meter
High Speed Video Camera
_____________________________________________________________________________
9400-0024 Rev. G
2-3
OPERATOR'S INSTRUCTIONS
2.3.4
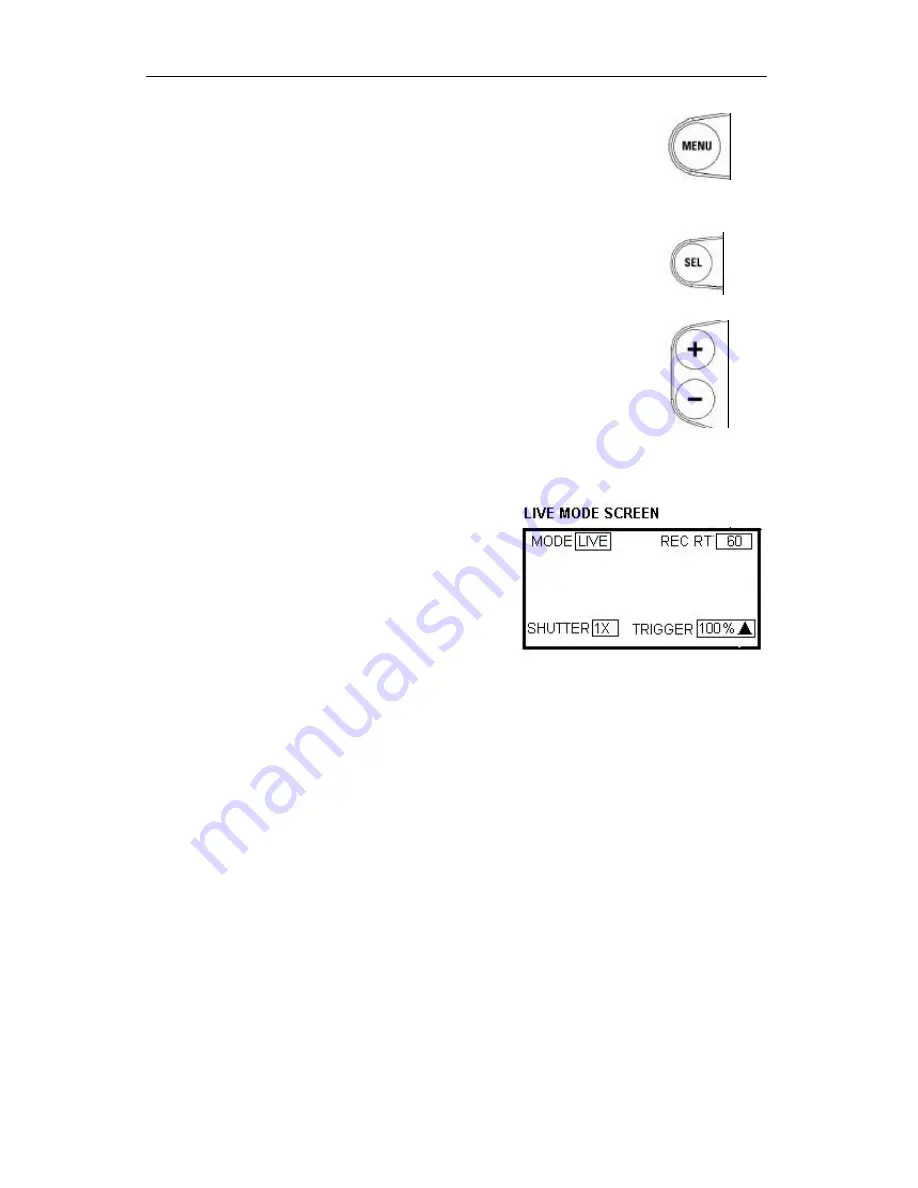
The MENU Button
This momentary push button selects one of three states:
1.
LIVE mode.
2.
The SETTINGS menu.
See the Settings Menu description below.
3.
Menu OFF.
This turns the Menu displays OFF and allows you to view the full video. If the
Menu is OFF, press the MENU button to display the LIVE mode menu.
2.3.5
The SELect Button.
This button selects the next parameter in the menu displayed. A white
background identifies the active parameter.
2.3.6
The + and - Buttons
These buttons have the following functions:
1. During Setup they step the active parameter value up (+) or down (-)
through the range of values available.
2. During PLAYBACK, press the + or - button to select the next playback
speed in the range.
3. To reset the EVENT NUMBER to 0, press both buttons simultaneously.
This
action also resets the Record Rate to 60 fps, the Shutter to 1X, the Trigger Point to 100%, and
the viewfinder brightness to 100.
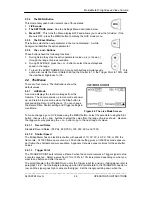
2.4 The Menus
There are four menus. The illustrations show the
default values:
2.4.1
LIVE Mode
Live mode displays the real-time images from the
Camera. The camera comes up in Live mode at power
up, and returns to Live mode when the Stop button is
pressed during Record or Playback. You can change
the Record Rate, Shutter setting and Trigger settings in
Live Mode.
Figure 2-2 The Live Mode Screen.
To make changes, go to LIVE mode using the MENU button, select the parameter using the SEL
button, then use the + and - buttons to select the value from the range of values shown. Reverse
the trigger arrow by pressing the + or – button to go to the next range of values.
2.4.1.1
Record Rates
Standard Record Rates: (50 PAL, 60 NTSC), 125, 250, 500, and 1000.
2.4.1.2
Shutter Speed
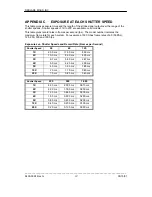
The
Motion
Meter has an electronic shutter with speeds of 1X, 2X, 3X, 4X, 5X, 10X, or 20X the
frame rate. At 1000 frames per second, a 20X shutter setting gives a 1/20000 second exposure
per frame, the shortest exposure available. Appendix C shows exposure times for these shutter
values.
2.4.1.3
Trigger Point
The TRIGGER POINT sets reference Frame 0 when the camera receives a Trigger signal to stop
a record sequence. Select a value from 0% to 100% in 10% increments, depending on what you
want to see before and after the event.
The small triangle in the TRIGGER menu sets the Trigger input for a rising or falling signal, refer to
paragraph 1.6.2. Set the triangle pointing up when the normal state to the TRIGGER connector is
low, and the signal goes high to activate the trigger. Set the triangle pointing down when the


