AN-30 System User Manual
7
7
.
.
S
S
y
y
s
s
t
t
e
e
m
m
C
C
o
o
n
n
f
f
i
i
g
g
u
u
r
r
a
a
t
t
i
i
o
o
n
n
a
a
n
n
d
d
O
O
p
p
e
e
r
r
a
a
t
t
i
i
o
o
n
n
V
V
i
i
a
a
T
T
h
h
e
e
C
C
o
o
n
n
s
s
o
o
l
l
e
e
P
P
o
o
r
r
t
t
All operator communications with the AN-30 terminal may be made using a direct
connection to the serial Console Port on the back of the terminal. This section describes
the procedures for configuring and operating the AN-30 terminal via the Console Port
using the command line interface (CLI).
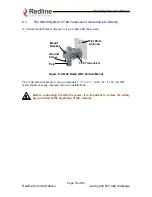
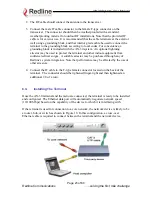
Connect a PC/Terminal to the AN-30 terminal’s serial port DB9 connector using a cross-
connect or null modem cable (DB9 female-female). Set the PC/Terminal to emulate a
VT-52 or VT-100 terminal, using the following port settings:
Bits Per Second:9600; Data Bits:8; Parity: None; Stop Bits:1; Flow Control: Hardware
Hit the ‘Enter’ key – the AN-30 prompt will appear.
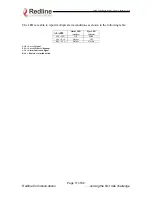
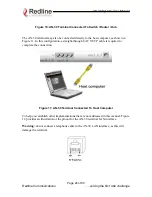
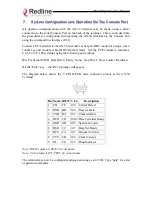
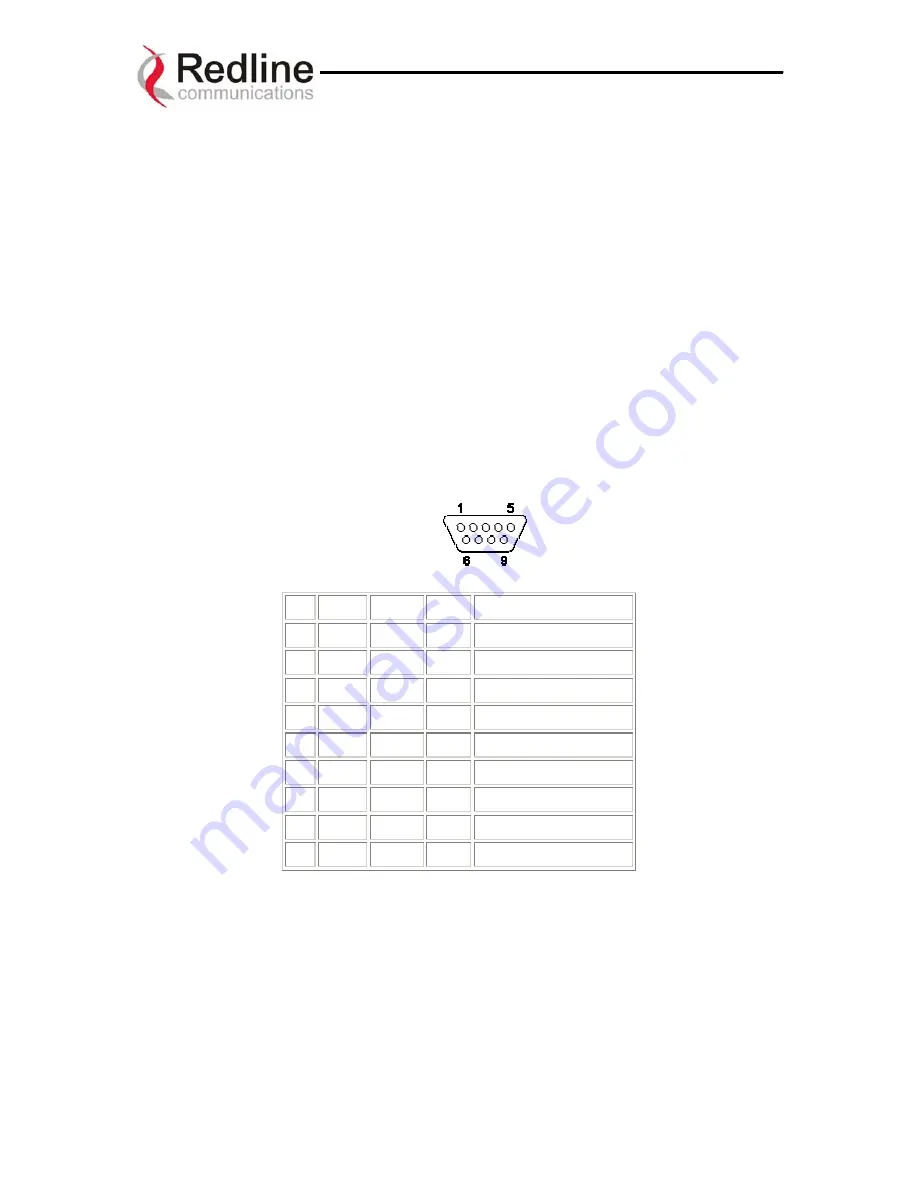
The diagram below shows the 9 PIN D-SUB male connector pinout at the AN-30
Terminal:
Pin Name RS232 V.24
Description
1 CD CF 109 Carrier
Detect
2 RXD BB 104 Receive
Data
3 TXD BA 103 Transmit
Data
4 DTR CD
108.2 Data Terminal Ready
5 GND
AB 102 System
Ground
6 DSR CC
107 Data Set Ready
7 RTS CA
105 Request to Send
8 CTS CB
106 Clear to Send
9 RI CE 125 Ring
Indicator
Note: RS232 column is RS232 circuit name.
Note: V.24 column is ITU-TSS V.24 circuit name.
The terminal may now be configured and queried using a set of CLI. Type ‘help’ for a list
of general commands.


