12
HOW TO TURN ON THE POWER
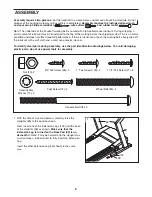
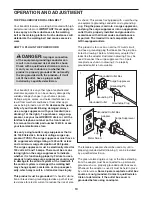
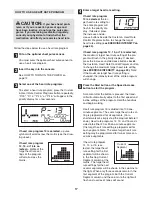
Plug in the power cord
(see page 10). Next, locate
the reset/off circuit breaker
on the treadmill near the
power cord. Make sure that
the circuit breaker is in the
reset position.
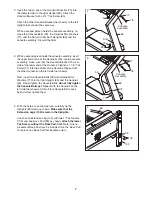
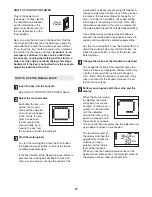
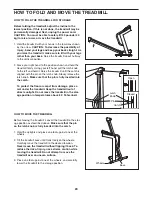
Next, stand on the foot rails of the treadmill. Find the
clip attached to the key (see the drawing on page 11),
and slide the clip onto the waistband of your clothes.
Then, insert the key into the console; after a moment,
the matrix and the display will light.
Important: In an
emergency situation, the key can be pulled from
the console, causing the walking belt to slow to a
stop. Test the clip by carefully taking a few steps
backward; if the key is not pulled from the console,
adjust the position of the clip.
HOW TO USE THE MANUAL MODE
Insert the key into the console.
See HOW TO TURN ON THE POWER above.
Select the manual mode.
Each time the key is in-
serted, the manual
mode will be selected
and a track will appear
in the matrix. If a pro-
gram has been se-
lected, reselect the
manual mode by re-
moving the key from
the console and then reinserting it.
Start the walking belt.
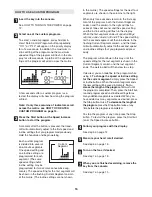
To start the walking belt, press the Start button,
the Speed increase button, or one of the twelve
numbered speed buttons.
If the Start button or the Speed increase button is
pressed, the walking belt will begin to move at 1
mph. As you exercise, change the speed of the
walking belt as desired by pressing the Speed in-
crease and decrease buttons. Each time a button
is pressed, the speed setting will change by 0.1
mph; if a button is held down, the speed setting
will change in increments of 0.5 mph. Note: After
the buttons are pressed, it may take a moment for
the walking belt to reach the selected speed setting.
If one of the twelve numbered speed buttons is
pressed, the walking belt will gradually increase in
speed until it reaches the selected speed setting.
To stop the walking belt, press the Stop button. To
restart the walking belt, press the Start button, the
Speed increase button, or one of the twelve num-
bered buttons.
Change the incline of the treadmill as desired.
To change the incline of the treadmill, press the
Incline increase and decrease buttons. Each time
a button is pressed, the incline will change by
0.5%. Note: After the buttons are pressed, it may
take a moment for the treadmill to reach the se-
lected incline setting.
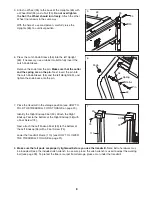
Follow your progress with the matrix and the
display.
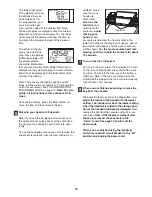
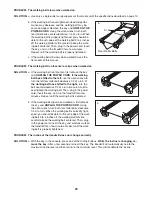
When the manual mode
is selected, the matrix
will show a track repre-
senting 1/4 mile. As you
walk or run on the tread-
mill, the indicators
around the track will ap-
pear in succession until
the entire track appears.
The track will then disappear and the indicators will
again begin to appear in succession.
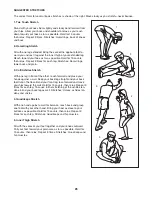
The lower left corner of
the display will show the
approximate number of
calories you have
burned and the incline
level of the treadmill.
When you use the handgrip pulse sensor or the
optional chest pulse sensor, the lower left corner of
the display will also show your heart rate.
5
4
3
2
1
Reset
Position

