


12
Any revisions must first be approved by the product designer. Version: 201808
Revision By: JST
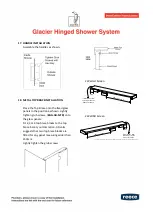
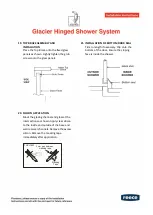
12.
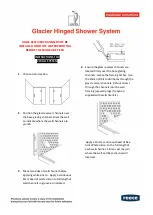
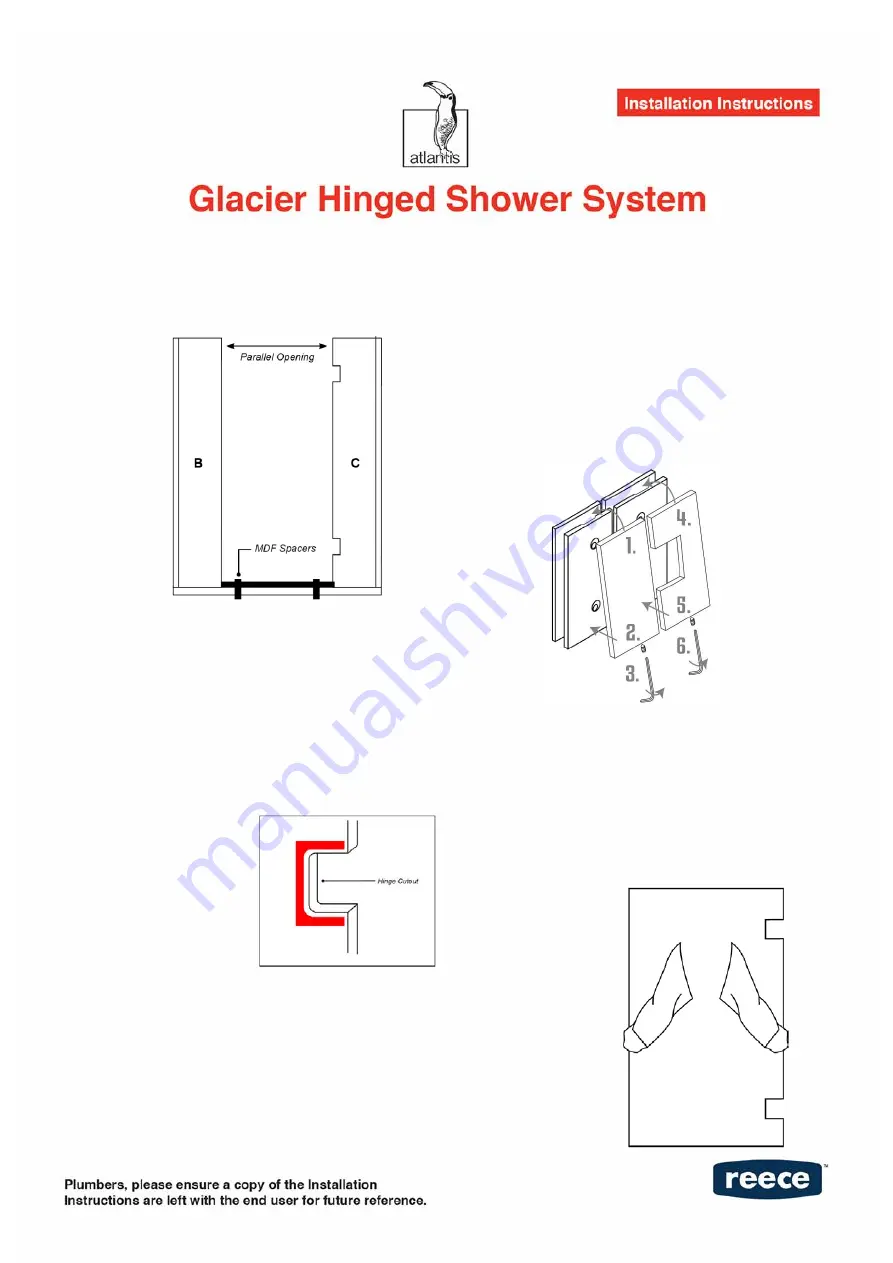
CLEARANCE UNDER DOOR
Place 6mm Spacers over the door infill
before the installation of the glass door.
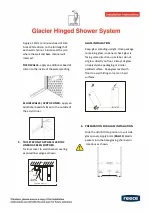
13.
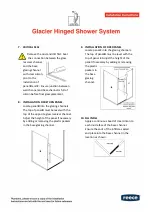
HINGE INSTALLATION
Atlantis glass is now coated with
CristalCote glass protection at the factory.
This coating may cause the hinge to slip
after installation. Atlantis recommends
cleaning around the hinge cut out prior to
fitting hinges. Clean both sides of the
glass 15mm around the edge of the cut
out with Fuelite
(fuellite is
available from
petrol stations).
Alternatively,
the area can be
lightly sanded
with 300grit sandpaper.
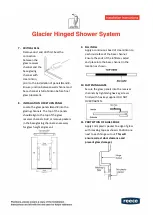
14.
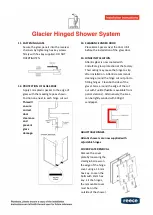
ADJUSTABLE HINGES
Atlantis showers are now supplied with
adjustable hinges
COVER PLATE REMOVAL
Remove the cover plate with the small grub
screw on the top of the hinge cover using
1.5mm key. Loosen the bolts with 4mm hex
key.
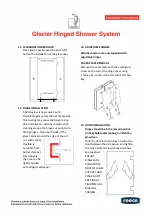
15.
DOOR INSTALLATION
Hinges should be in the closed position
(in line) before attempting to install the
glass door.
Slide the door into the hinges. Centre the
door between the side panels and tighten
the hinge bolts firmly with the 4mm hex
key supplied.
ENSURE
HINGES ARE
CLEAR FROM
SIDES OF GLASS
CUTOUTS AND
HINGE BOLTS
ARE FINALLY
TIGHTENED AS
MUCH AS
POSSIBLE.
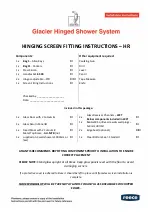
Summary of Contents for Atlantis Glacier SFK-GL-HR
Page 1: ...SFK GL HR...


