
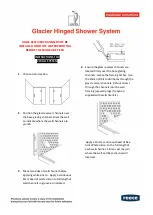


13
Any revisions must first be approved by the product designer. Version: 201808
Revision By: JST
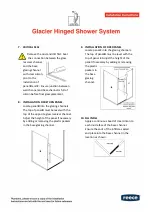
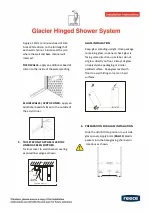
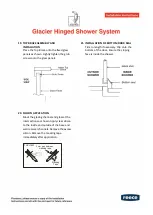
REFIT COVER PLATE
Ensure bolt heads
are on the outside
of the shower. Fit
to glass and
tighten until you
hear a squeaking
you sound. Refit
cover plate with
1.5mm hex key.
DOOR REALIGNMENT
Use 3mm key on the cap screws near the
pivot to loosen
the screws,
align the door
to desired
position and
then tighten.
This will set the
new 0 degree
point.
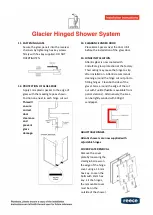
16.
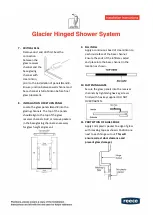
HANDLE INSTALLATION
Assemble the handles as shown.
17.
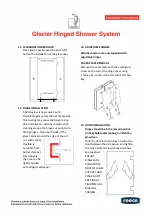
DOOR CLEARANCE
18.
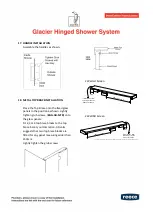
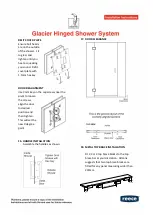
METAL TOP BRACE INSTALLATION
Fit 2,3 or 4 top brace blocks to the top
brace bar at your discretion. Atlantis
suggests that two top brace blocks are
fitted for any panel measuring wider than
230mm.
DOOR SIZ
E + 20
mm
45mm
45mm
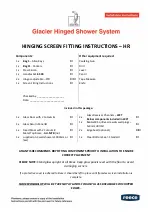
Summary of Contents for Atlantis Glacier SFK-GL-HR
Page 1: ...SFK GL HR...


