


14
Any revisions must first be approved by the product designer. Version: 201808
Revision By: JST
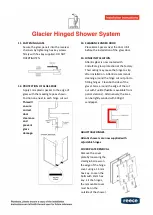
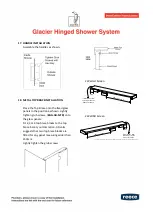
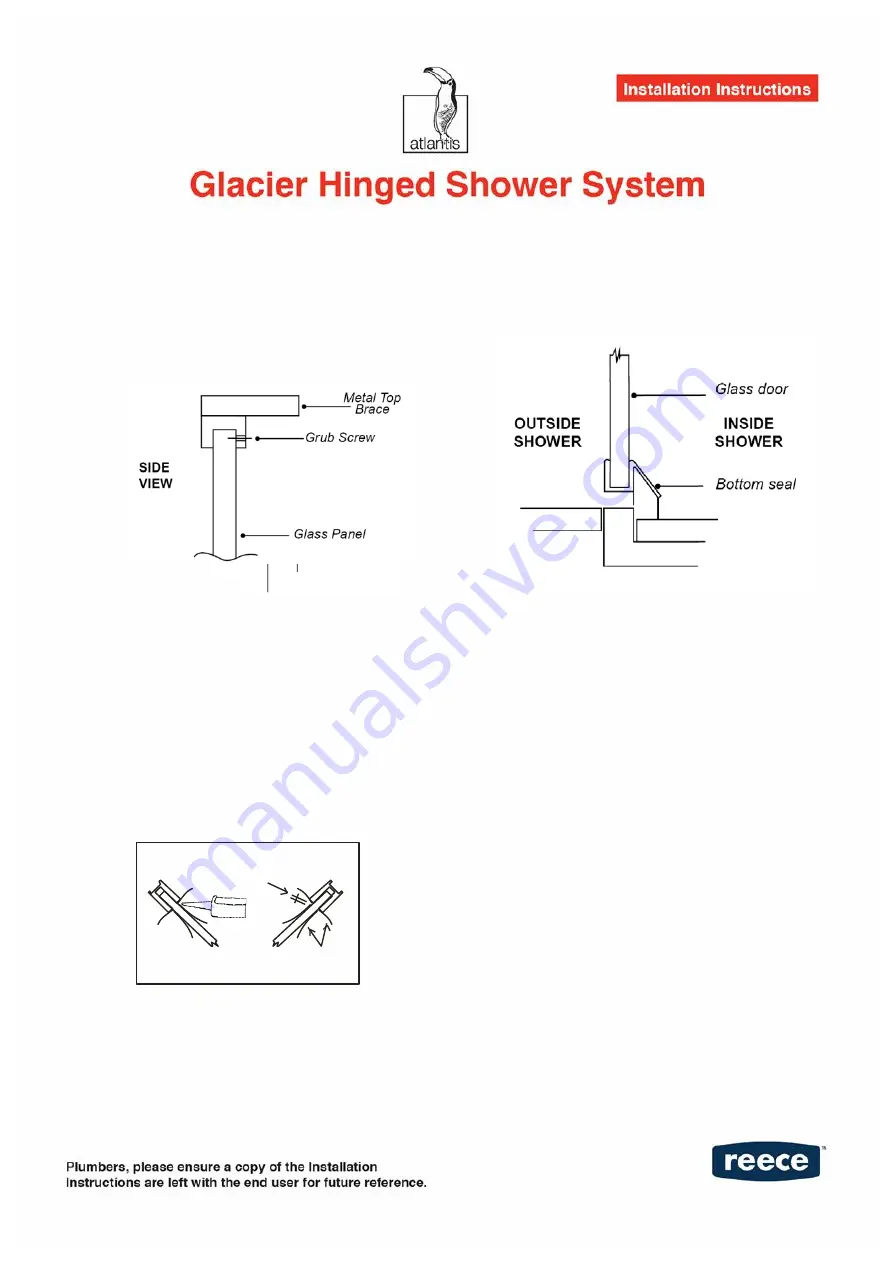
19.
TOP BRACE ASSEMBLY AND
INSTALLATION
Place the Top Brace onto the fixed glass
panels as shown. Lightly tighten the grub
screws onto the glass panels.
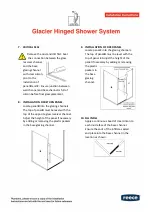
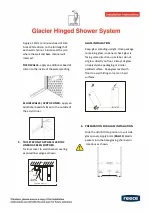
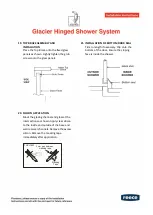
20.
SILICON APPLICATION
Mask the glazing channel and glass at the
intersections as shown. Apply clear silicon
to the inside and outside of the base and
wall receiver channels. Remove the excess
silicon. Remove the masking tape
immediately after application.
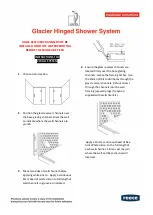
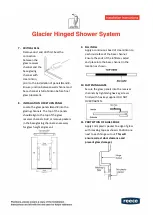
21.
INSTALLATION OF BOTTOM DOOR SEAL
Trim to length if necessary. Clip onto the
bottom of the door. Ensure the sloping
face is inside the shower.
Masking
Tape
TOP VIEW
3mm gap between
masking tape
Summary of Contents for Atlantis Glacier SFK-GL-HR
Page 1: ...SFK GL HR...


