5
CHARGING THE IBOBBER (2 OF 2)
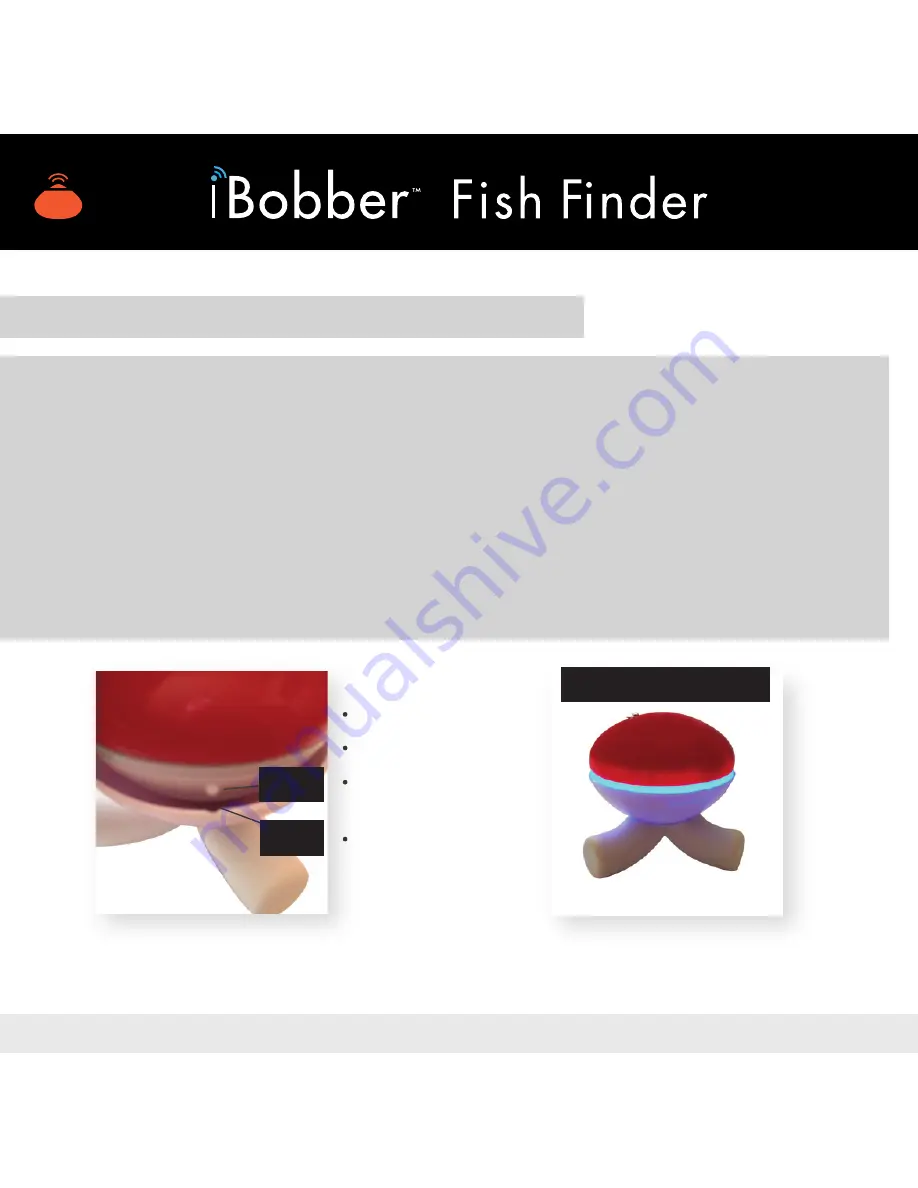
Gently push the bobber into the charger (image 3), gently twisting it
clockwise so “bumps” slide horizontally through the grooves. Plug charging
cable into a computer USB port, or using a USB adapter into a wall outlet
and charging will be indicated by a solid blue ring of light around the iBobber
(image 4). Light remains on until fully charged, then flashes indicating a full
charge. Note: When fully charged, iBobber turns on once disconnected from
the charger and remains on for up to 25 minutes. Please, check for
firmware update through app (page 26) when initially charging the iBobber,
and update if necessary. Once charged, do not leave iBobber in the charger
as this slowly drains the battery.
bumps enter grooves
push down gently
gently twist clockwise
to lock
unlock gently twist
counter clockwise
blue light = charging
bump
groove
Image 3
Image 4
Summary of Contents for iBobber
Page 1: ......


