57
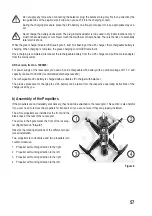
Do not apply any force when connecting the balancer plug; the balancer plug only fits in one direction (the
two guide tabs of the plug must point up when you push it into the charging socket).
During the charging procedure, place the LiPo battery on a fire-proof support or in an appropriate clay ves
-
sel.
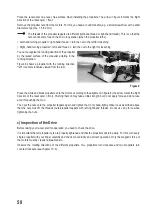
Never charge the battery unobserved. The plug-in mains adapter is to be used in dry indoor locations only. It
must not become damp or wet. Never touch them with wet or damp hands. There is the risk of a potentially
fatal electric shock.
While the green charge indicator LED (see figure 5, item 5) is flashing at the LiPo charger, the rechargeable battery is
charging. When charging is complete, the green charging control LED remains lit.
Once charging is completed, disconnect the rechargeable battery from the LiPo charger and pull the mains adapter
from the mains outlet.
ARF-version, item no. 1409645:
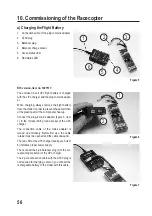
For power supply of the racecopter you need a 3-cell rechargeable LiPo battery with a nominal voltage of 11.1 V and
capacity of about 1300 mAh (recommended discharge rate 25C).
The rechargeable LiPo battery is charged with a suitable LiPo charger with balancer.
The precise procedure for charging the LiPo battery can be taken from the respective operating instructions of the
charger used by you.
b) Assembly of the Propellers
If the propellers are not installed yet at delivery, they need to be attached to the racecopter. This section is also helpful
if you ever need to remove the propellers for transport or if you are not sure if they are properly installed.
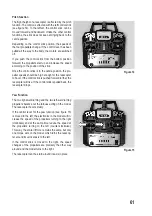
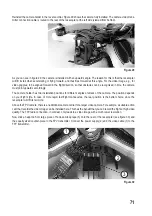
The white propellers are installed at the front and the
black ones at the rear of the racecopter.
The arrow in the figure marks the front of the racecop
-
ter (flight direction "forward").
Observe the rotating directions of the different propel-
lers at installation.
Two propellers turn clockwise and two propellers turn
counter-clockwise.
1 Propeller with running direction to the right
2 Propeller with running direction to the left
3 Propeller with running direction to the right
4 Propeller with running direction to the left
Figure 8
1
2
3
4

