18
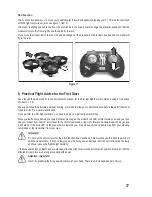
When the red and blue LEDs at the quadrocopter start to flash, the flight battery has reached its lower voltage limit.
In this case, end your flight without delay and charge the flight battery again to avoid harmful deep discharge of the
flight battery.
If you are using the quadrocopter outdoors, observe the flight distance. The farther the quadrocopter moves away
from you, the more difficult it is to recognise the flight position. The transmitter also has a limited range of about 15 m
(also depending on the ambient conditions).
Never switch off the remote control while the quadrocopter is still flying. In this case, the quadrocopter would drop to
the ground without power, which may damage it.
g) Trimming the Quadrocopter
First start the transmitter, then the model.
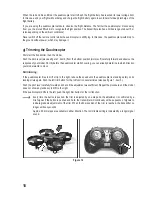
Push the pitch lever (also see figure 1, item 9) from the bottom position (motors off) carefully forward and observe the
response of your model. Shortly before the quadrocopter starts hovering, you can already determine in which direction
your model wants to move.
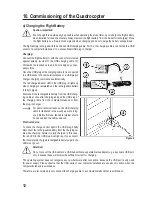
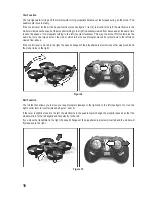
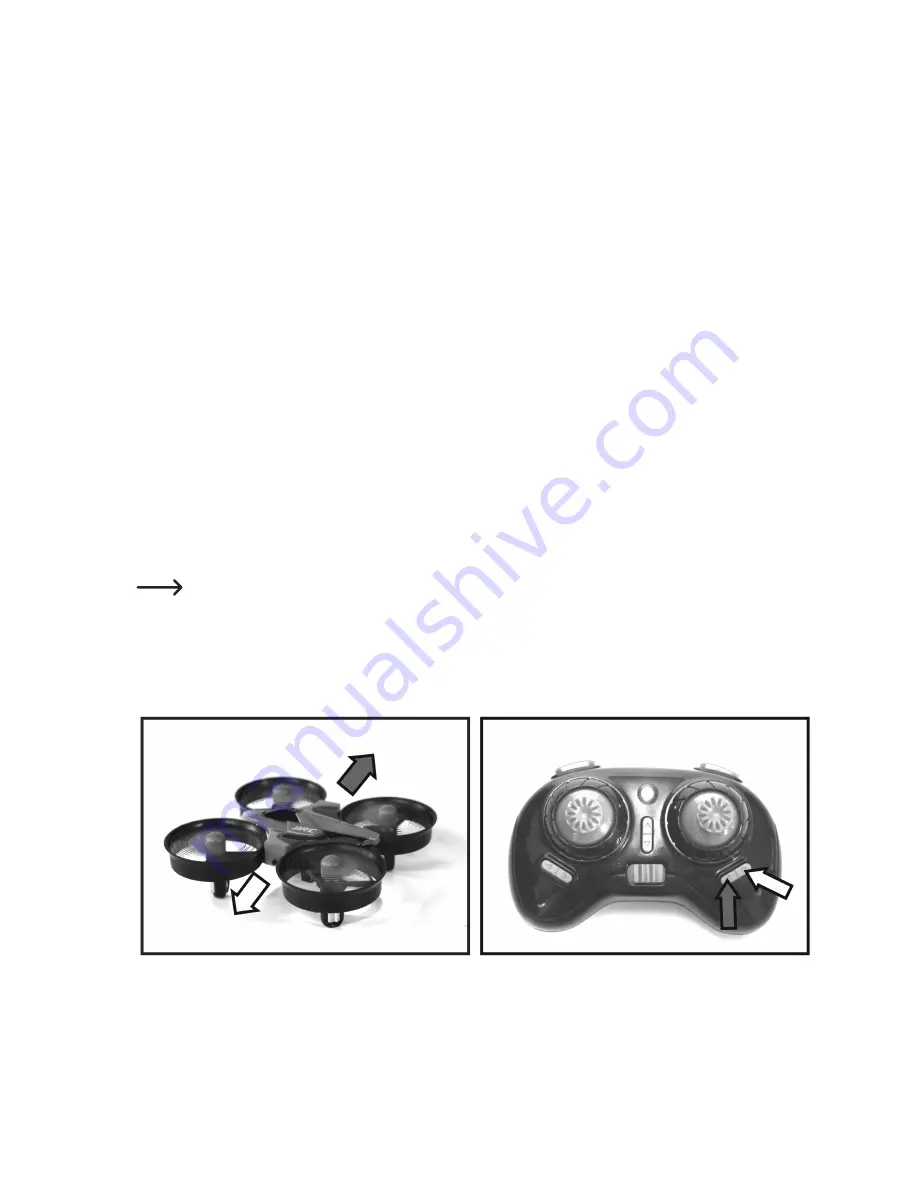
Roll trimming:
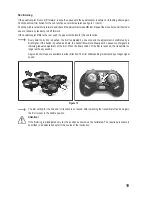
If the quadrocopter tries to drift or tip to the right, reduce the speed until the quadrocopter is standing safely on its
landing struts again. Push the left trim button for the roll function several times (also see figure 1, item 5).
Push the pitch lever carefully forward and check if the adjustment was sufficient. Repeat the procedure until the model
does not show any tendency to drift to the right.
If the quadrocopter drifts to the left, push the right trim button for the roll function.
Every time the button is pushed, the trim is adjusted by one step and the adjustment is confirmed by a
brief signal. If the button is pushed and held, the transmitter will continually emit a sequence of signals to
indicate graduals adjustment of the trim. When the final position of the trim is reached, the transmitter no
longer emits any sounds.
Approx. 60 trim steps are available in either direction. The trim middle setting is indicated by a longer signal
sound.
Figure 12

