34
h) Checking drive and steering functions
Prior to each drive, check whether the settings on the transmitter are correct and whether the vehicle responds correctly
in line with the control commands sent by the transmitter.
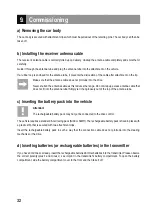
• Adjust the trim for the drive (see chapter 7, pos. 10) in such a way that the drive does not move when letting go of the
lever (13).
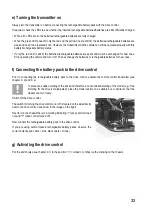
• Adjust the trim for the steering (see chapter 7, pos. 9) in such a way that the front wheels are straight when letting go
of the steering wheel (8).
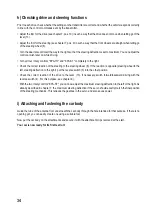
• Turn the dual rate control all the way to the right so that the steering deflection is set to maximum. You can adjust the
control at wish later on while driving.
• Turn all four rotary controls "EPA-TH" and "EPA-ST" completely to the right.
• Check the correct reaction of the steering to the steering wheel (8). If the reaction is opposite (steering wheel to the
left, steering deflection to the right), put the reverse switch (3) into the other position.
• Check the correct reaction of the drive to the lever (13). If necessary, switch forward/backward driving with the
reverse switch (4). For this purpose, see chapter 9 j.
• With the two rotary controls "EPA-ST", you can now adjust the maximum steering deflection to the left or the right. As
already described in chapter 7, the maximum steering deflection if the servo should exactly match the final position
of the steering mechanics. This relieves the gearbox in the servo and also saves power.
i) Attaching and fastening the car body
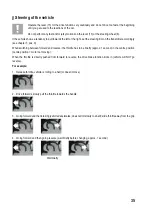
Guide the tube of the antenna from underneath the car body through the hole intended for that purpose. If there is no
opening yet, you can easily create one using a suitable tool.
Now put the car body on the attachments and secure it with the attachment clips removed at the start.
Your car is now ready for its first test run!

