52
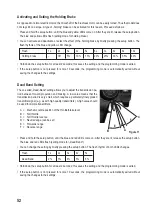
Activating and Setting the Holding Brake
As opposed to normal electric motors, the driveshaft of the brushless motor can be easily turned. Thus the model does
not stay still on a slope. A type of „holding“ brake can be activated for this reason. Proceed as follows:
• Press and hold the setup button; until the blue and yellow LEDs come on. After they are lit, release the setup button.
The blue and yellow LEDs flash (setting mode for holding brake).
• You can activate and deactivate or select the effect of the holding brake by briefly pressing the setup button. The
flash rhythms of the blue and yellow LED change.
Flash
1x
2x
3x
4x
5x
6x
7x
8x
9x
10x
Holding brake
-
Off
5%
10%
15%
20%
25%
30%
35%
40%
• Hold down the setup button for at least 2 seconds; this saves the setting and the programming mode is exited.
• If the setup button is not pressed for some 10 seconds, the programming mode is automatically exited without
saving the changes to the settings.
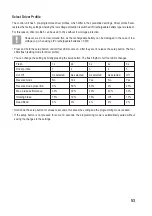
Dead Band Setting
The so-called „Dead-Band“ setting allows you to adjust the transmission pe-
riod between forward propulsion and braking. A low value means that the
transmission period is very small, which requires a particularly finely graded
transmitter signal (e.g. as with high quality transmitters). A high value should
be used for simple transmitters.
A = Mechanic centre position of the throttle/brake lever
B = Full throttle
C = Full throttle reverse
D = Neutral range (can be set)
E = Forwards range
F = Reverse range
• Press and hold the setup button; until the blue and red LEDs come on. After they are lit, release the setup button.
The blue and red LEDs flash (setting mode for „Dead Band“).
• You can change the setting by briefly pressing the setup button. The flash rhythm of both LEDs changes.
Flash
1x
2x
3x
4x
5x
Dead Band
2%
3%
4%
5%
6%
• Hold down the setup button for at least 2 seconds; this saves the setting and the programming mode is exited.
• If the setup button is not pressed for some 10 seconds, the programming mode is automatically exited without
saving the changes to the settings.
A
B
C
D
E
F
Figure 11
Summary of Contents for 23 73 30
Page 119: ...118 ...
Page 120: ...119 ...

