62
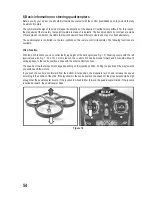
b) Adjusting the lens
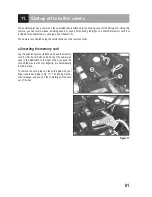
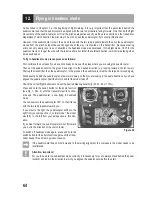
Depending on the desired recording angle, it is possible
to change the vertical viewing angle of the camera lens
(1). For this purpose, you have the option to adjust the
camera head individually by hand before the flight.
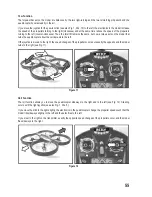
c) Recording videos
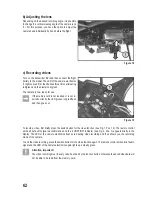
Turn on the transmitter first and then connect the flight
battery to the model. The LED of the camera electronics
(1) lights up red first, then flashes three times alternating
red/green and then remains lit green.
The camera is now ready for use.
If the memory card is not inserted or is not in-
serted correctly, the LED gives a long red flash
and then goes out.
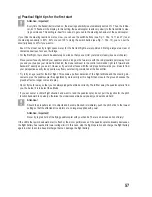
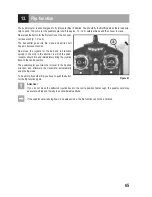
To record a video, first briefly press the switch button for the video function (see Fig. 1, Pos. 16). The remote control
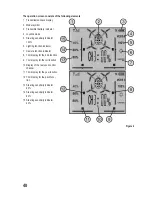
emits a brief audio signal as confirmation and the „FUNCTION“ indicator (see Fig. 4, Pos. 7) appears briefly in the
display. The LED of the camera electronics flashes red during video recording and thus shows you the recording
mode of the camera.
To end the video recording, press the switch button for the video function again. The remote control emits a brief audio
signal and the LED of the camera electronics again lights up a steady green.
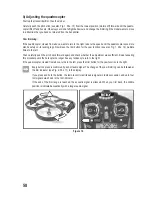
Attention, important!
The video recording must in every case be ended by the function button; otherwise the saved video data will
not be able to be read from the memory card.
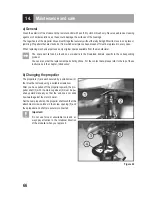
Figure 18
Figure 19
Summary of Contents for Cyclone Multi
Page 10: ...10 8 Bedienelemente des Senders Ansicht Vorderseite Bild 1 ...
Page 44: ...44 8 Transmitter controls Front view Figure 1 ...
Page 78: ...78 8 Éléments de commande de l émetteur Vue de face Figure 1 ...
Page 112: ...112 8 Bedieningselementen van de afstandsbediening Vooraanzicht Afbeelding 1 ...
Page 138: ...138 ...
Page 139: ...139 ...

