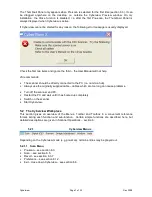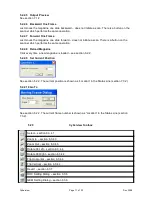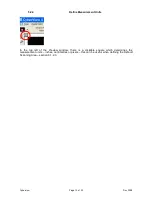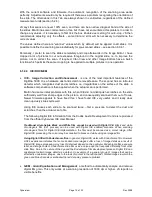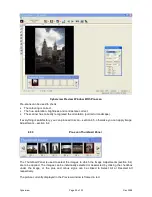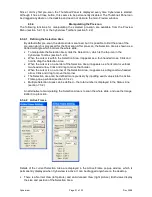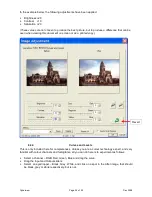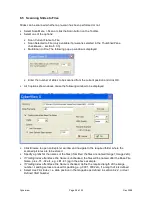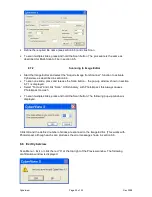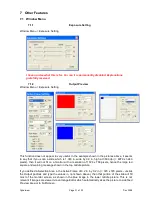
Since I did my first pre-scan, the Thumbnail Panel is displayed every time Cyberview is started.
Although it has a Close button, this seems to be permanently disabled. The Thumbnail Panel can
be dragged anywhere on the desktop and need not obscure the main Preview window.
6.3.4
Manipulating the Pre-scan
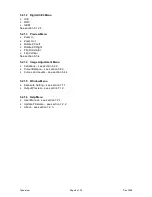
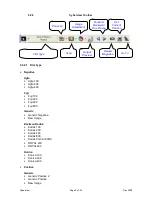
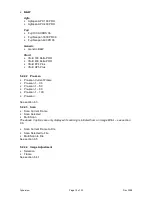
The following functions for manipulating the selected pre-scan are available from the Preview
Menu (section 5.2.1.3) or the Cyberview Toolbars (section 5.2.2).
6.3.4.1 Defining the Selection Area
By default after pre-scan, the whole slide is scanned, but it is possible to limit the area of the
pre-scan which is processed for the final scan. After pre-scan, the Selection Area is shown as a
dotted rectangle which borders the whole slide.
•
To manipulate the Selection Area, click the Select icon, which is the top icon in the
Cyberview Toolbox (section 5.2.3).
•
When the cursor is within the Selection Area, it appears as a four-headed cross. Click and
hold to drag the Selection Area
•
When the cursor is on a border of the Selection Area, it appears as a horizontal or vertical
two-headed arrow. Click and drag to move that border.
•
When the cursor is on a corner of the Selection Area, it appears as a diagonal two-headed
arrow. Click and drag to move that corner.
•
The Selection Area can be defined more precisely by inputting exact values into the Active
Frame pop-up window (section 6.3.4.2).
•
Multiple Selection Areas can be defined – the total number is displayed in the Status Line
(section 7.3.2).
An alternative to manipulating the Selection Area is to scan the whole slide, and use the Image
Editor Crop function.
6.3.4.2 Active Frame
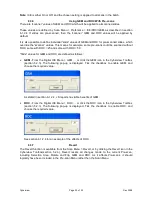
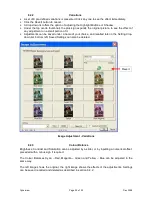
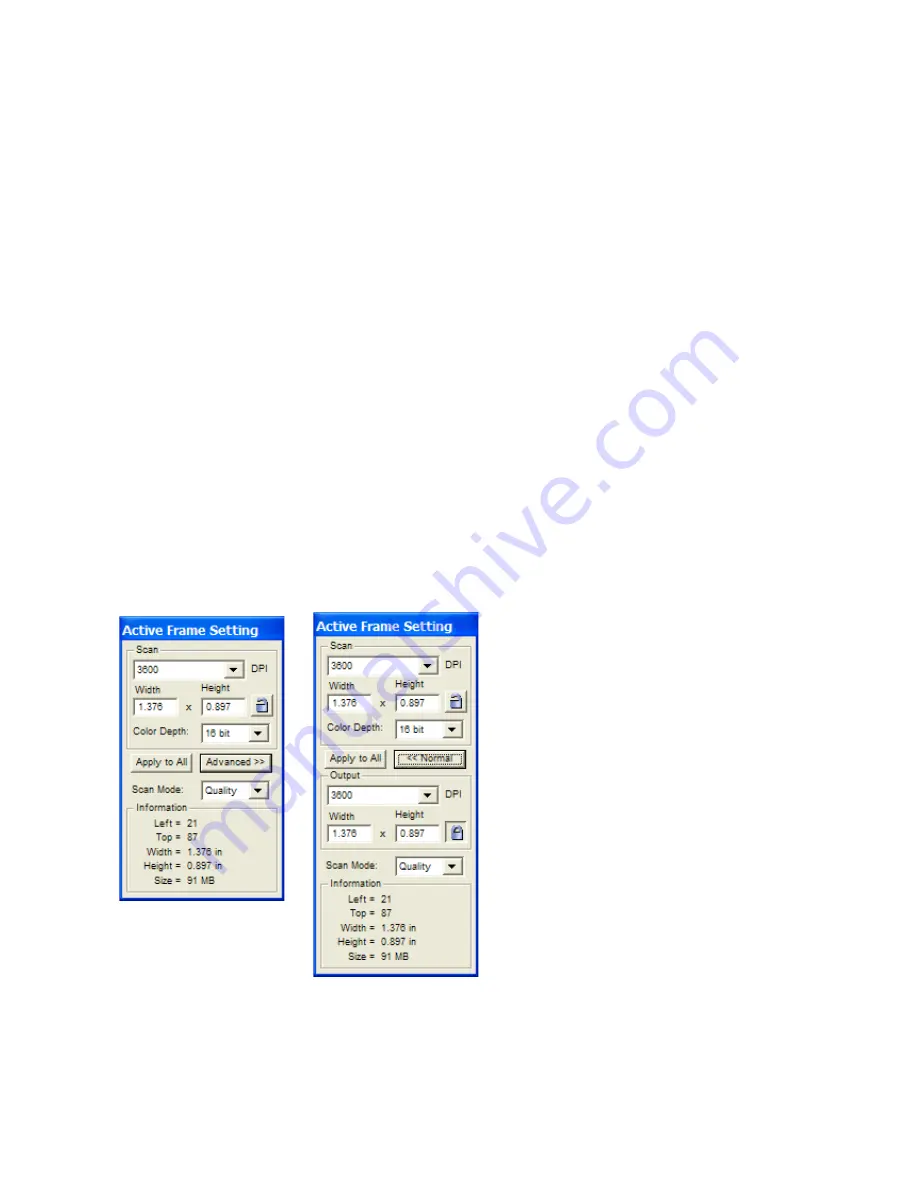
Details of the current Selection Area are displayed in the Active Frame pop-up window, which is
permanently displayed when Cyberview is active. It can be dragged anywhere on the desktop.
•
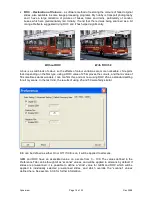
There is a Normal View (left picture) and an Advanced View (right picture). Both views display
the size and position of the Selection Area.
Cyberview
Page 21 of 33
Dec 2008

