•
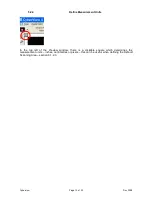
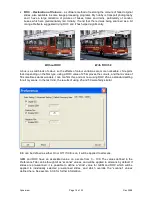
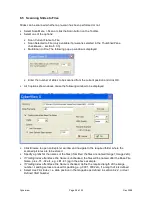
Although the width and height are shown in the user defined measurement units (section
5.2.4), the Left and Top start position of the Selection Area are shown in printer’s points (1/300
inch).
•
The Size value is always very large and is presumably the RAW image file size.
Because I prefer to use the Image Editor Crop function rather than manipulate the Selection Area
in Cyberview, I shall just summarise a few features:
•
The Start Position can be changed by clicking inside the Selection area, and then using the
keyboard arrow keys (repeated pressing necessary, no press and hold function)
•
The Selection Area can be bigger or smaller then the picture, i.e. it is possible to scan and
deliberately create a black border around the scan.
•
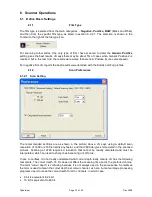
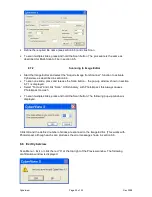
The easiest way to use Active Frame is to check that the Scan padlock is “open”, and then to
input required values for resolution (any value up to 3600, affects file size), width and height.
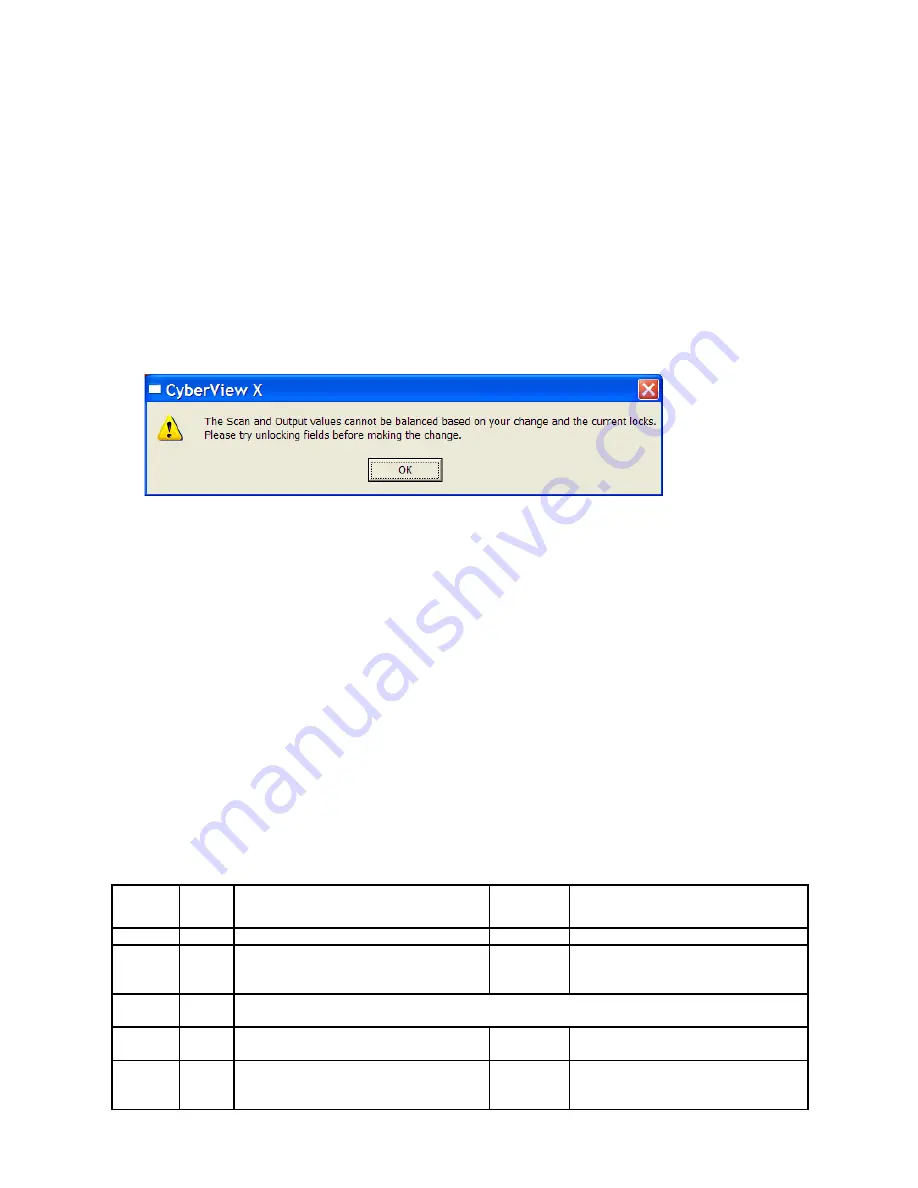
•
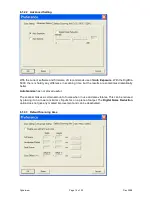
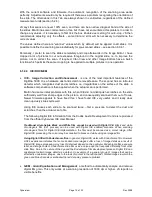
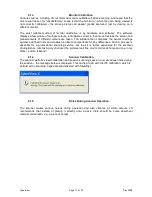
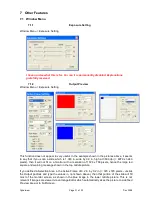
Strange effects can be achieved by “locking” the Scan padlock, including the following error
message.
6.3.4.3 Zoom In and Zoom Out
Selecting these functions causes the cursor to turn into a magnifying glass with a plus or minus
sign at the centre. Click on the pre-scan to enlarge or reduce it. In practice, one zoom in click
causes the pre-scan to fill the screen, and further clicks give a very pixelated image. The
current zoom scale is shown in the Status Line (section 7.3.2).
6.3.4.4 Rotate 90 Left, Rotate 90 Right, Flip Horizontal, Flip Vertical
These pre-scan manipulation functions are self-explanatory.
6.3.5
Using ICE With Pre-scans
There is a separate Cyberview User Manual for ICE, GEM and ROC. It has a rather confusing
statement which implies there is a difference between enabling ICE before pre-scan, or enabling
ICE after pre-scan but before the final scan. The following statements apply:
•
ICE is applied to the final scan, whether enabled before or after pre-scan
•
The effect of ICE is not visible in the pre-scan
•
Whatever combination of ICE and pre-scan is defined, there is a maximum of 2 scans, as
follows:
ICE
Before
pre-scan
Pre-
scan
First Scan
ICE
After
pre-scan
Second Scan
No
No
Final scan (no ICE)
N/A
N/A
No
Yes
Pre-scan displays image in Preview
window and creates ICE profile (which
is not used)
No
Final scan (no ICE)
Yes
No
Pre-scan to create ICE profile, followed directly by Final scan with ICE. No image
displayed in Preview window
Yes
Yes
Pre-scan displays image in Preview
window and creates ICE profile
Yes
Final scan with ICE
No
Yes
Pre-scan displays image in Preview
window and creates ICE profile (even
though ICE not yet enabled)
Yes
User action
Final scan with ICE
Cyberview
Page 22 of 33
Dec 2008

