City Series ACB60E
|
39
installation
Optional Framing Kit
920-321
12.23.20
1
CITY SERIES
tooltip
B
B
H
H
Optional Framing Kit
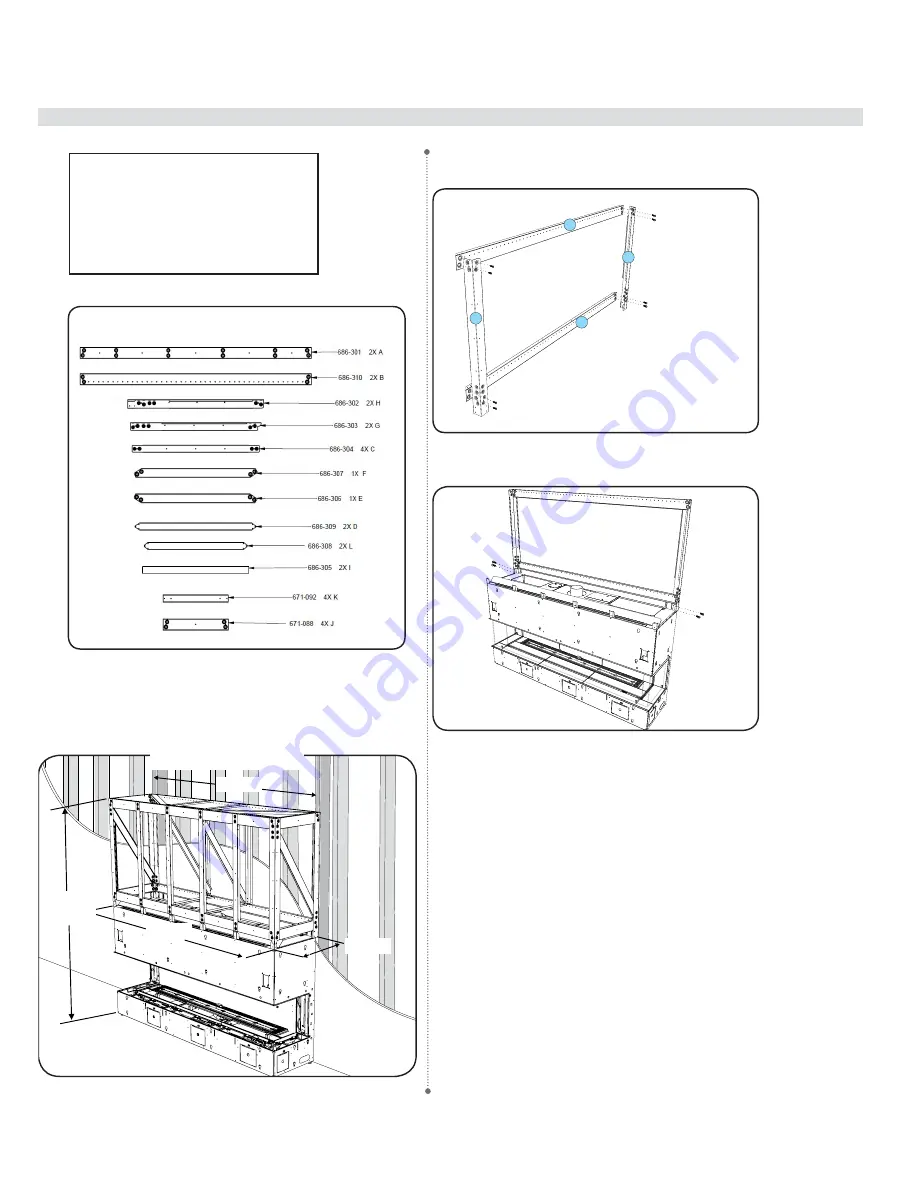
ACB60E framing kit parts layout*
*See last page of these instructions for assembled overview.
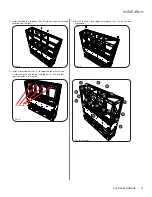
Assemble back frame
(view from back)
Install back frame on unit
Note: Extra screws are provided to assemble this kit.
Tools/hardware required:
- Level
- Stud finder
- Cordless screwdriver
- Phillips bit
- 8 mm hex head bit
- 51 mm x 76 mm wood screws (minimum 16)
- Torch
Note: Unit nailing strips are not required (and can be recycled) when using
the framing kit.
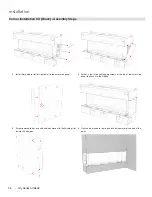
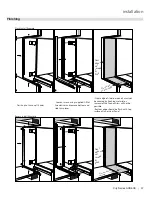
1. Assemble the back frame as shown above by assembling 2x Part B with
2x Part H with 8 screws installed from back of frame.
2. Install the frame assembled in Step 1, onto the back of the unit as shown
above with 2 screws on each side.
3. Place unit against wall in desired location. Level the unit by adjusting 4
leveling bolts on unit.
4. Install venting before proceeding further with framing kit construction.
Refer to manual for venting instructions.
5/16
71
”
1/
78
2
”
3/4
69 ”
3/8
20 ”
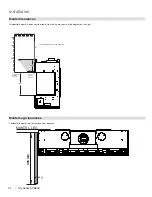
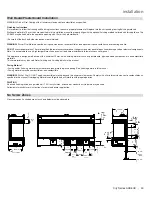
Framing Kit with unit - Overall dimensions
Additional wall studs required
1772 mm center to center
Before starting the installation, ensure the wall framing contains 2 ad-
ditional studs spaced 1772 mm apart from center to center. The framing
will need to be secured to these studs as well as secured to the original
studs of the wall framing.
1772 mm
1994 mm
518 mm
1811 mm
Summary of Contents for City ACB60E
Page 95: ...City Series ACB60E 95 notes ...
Page 102: ...102 City Series ACB60E notes ...
Page 103: ...City Series ACB60E 103 notes ...

