10
Regency GF900C-1 Gas Fireplace
installation
UNIT ASSEMBLY
PRIOR TO
INSTALLATION
The nailing Strips must be correctly positioned and attached before unit is
slid into position.
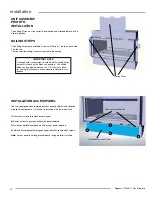
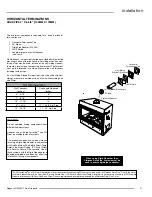
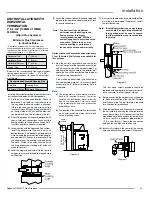
NAILING STRIPS
The nailing strips come attached to the unit. There is 1 plate on each side,
1 on the top.
The top and side nailing strips are secured to the framing.
IMPORTANT NOTE
Framing depth measurement is noted with the nailing strips
set as far forward on the firebox as possible. The nailing
strips can be adjusted back up to 1-1/2” (38mm) to allow
for varying thicknesses in non-combustible material & wall
finishes.
Nailing Strips
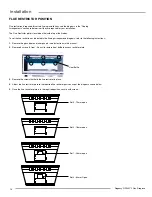
INSTALLATION ACCESS PANEL
The unit is equipped with a removable access panel for pre-finish installation
of optional components - this panel is located on the lower front face.
1)
Remove 4 screws to remove access panel.
2)
Easier access to gas connection with panel removed.
3)
Install any optional components with access panel removed.
4)
Reinstall access panel by lining up 2 upper tabs, then secure with 4 screws .
Note:
Access panel is no longer usable once facing material installed.
Installation Access Panel
Tabs on Access Panel


